Create Saved Searches in Workspace
You can save any search you perform in Workspace as a new saved search and you can manage the saved searches available to you.
Your application administrator determines which saved search you see by default when you open Workspace and which saved searches are available for each business object, but you can override these settings with your own personal preferences. A saved search includes all of the search terms you enter and all of your preferences, including the columns that display for your search results.
Oracle delivers predefined default saved searches for some user roles and the search results returned depends on what role is assigned. For example, ready-to-use partner roles include Partner Sales Representative, Partner Sales Manager, and Partner Administrator.
Users of Actionable Infolets can include saved searches created in Workspace as filters to quickly access relevant records. To access a different set of data, they can create a new saved search in Workspace and then expose the relevant saved search in the Actionable Infolets UI. This gives them a more targeted view of the records that they want to update and take immediate action on.
By entering precise search criteria for your saved search, you can greatly decrease the number of records returned and decrease the load time.
Create Saved Searches
Here's how to create a saved search:
-
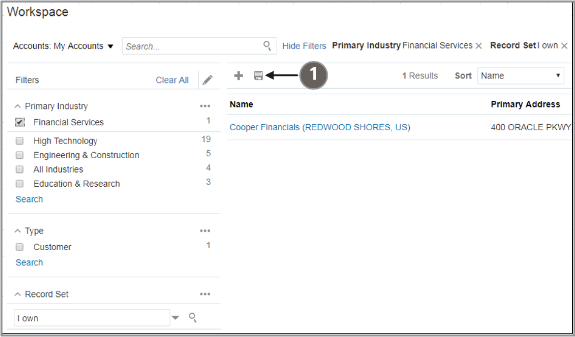
Select a saved search as your starting point. For example, the All Accounts saved search provided by Oracle lets you create your saved search for all the accounts you can see. The My Accounts saved search restricts your saved search to the accounts you own.
-
Enter your search terms. You can enter search terms in the Search box, use filters, or both.
-
You can add or change the columns displayed in the search results. See the Change Columns Displayed in Search Results topic for details.
-
Click Save As.
Here's a screenshot of Workspace highlighting the location of the Save icon (callout 1).
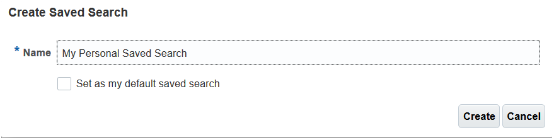
The Create Saved Search window appears.
-
Enter the name of your saved search.
-
Optionally, select Set as my default saved search to make the saved search your personal default whenever you navigate to Workspace.
-
Click Create.