Using Views in Product Management Search
In Product Management Search, views are grouped into two types—system views and personal views. System views are available in the application by default and are predefined.
Only administrators can create and modify the system views. All other users can access the system views but can’t edit them. Users can create their own personal views by copying a system view and modifying the columns to suit their requirements. Personal views are associated with only the user who created it. When the user logs in again, they will can access the personal views they've created. You can also identify important or irrelevant columns and choose the order in which you want to view these columns for a specific task.
In the Product Information Management work area or the Product Development work area, when you click Search Products on the Tasks panel tab, the Product Management Search page is displayed based on the default system view. If you’ve set a personal view as default, then the Product Management Search page will initially display the default view. You can control the display of columns in your personal view. The personal view will maintain the same view settings as the system view it was created from.
The following screenshot shows the view name that’s currently being used.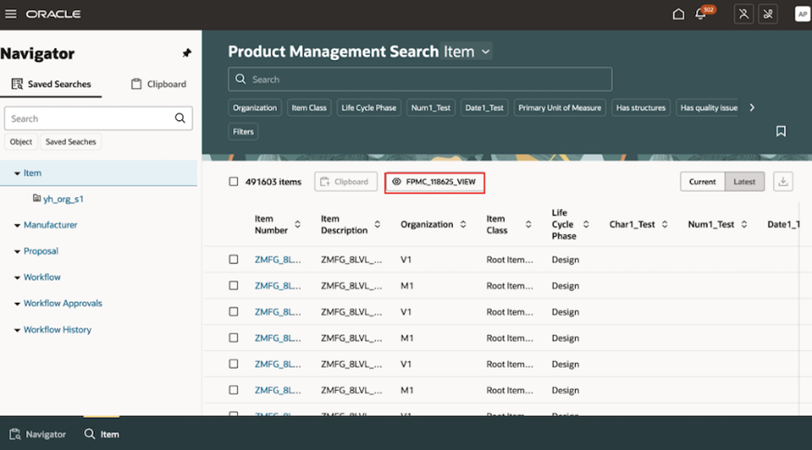
Only the person who created the personal view can use the view. When necessary, the administrator can edit the personal view on the Configure View page. On the Configure View page, the administrator can create system views that the business users can then use to create their own personal views.
Create Personal Views
- Click the current system view name. A view selector appears that displays all the enabled system views and the current view name is highlighted.
- To create a personal view based on another system view, you must first click
the required system view name to make it the current view.
The Product Management Search page changes to display the column names based on the selected system view. Click the view name and then click the
 Duplicate icon for the highlighted the view
name.
Duplicate icon for the highlighted the view
name.The Columns drawer slides open on the right side and displays all the attributes (column names) that are configured in the current view.
-
You can show or hide the columns by selecting or clearing the checkboxes, and you can change the order of the columns using the
 icon. After you’ve completed the changes, click Save
As.
icon. After you’ve completed the changes, click Save
As.The Columns drawer displays, where you can specify the details for the personal view.
- Enter a name for the new personal view. Also, you can select the Mark as default checkbox to set the personal view as the default view. Click Save and Apply to save the view as a personal view.
Edit Personal Views
To edit a personal view, go to the view selector and click the ![]() Edit icon next to the view name. The Columns drawer appears.
You can show or hide columns by selecting or clearing the check boxes and change the
order of the columns using the
Edit icon next to the view name. The Columns drawer appears.
You can show or hide columns by selecting or clearing the check boxes and change the
order of the columns using the ![]() icon. After you’ve completed the changes, click
Save.
icon. After you’ve completed the changes, click
Save.