Using the Infolets Designer
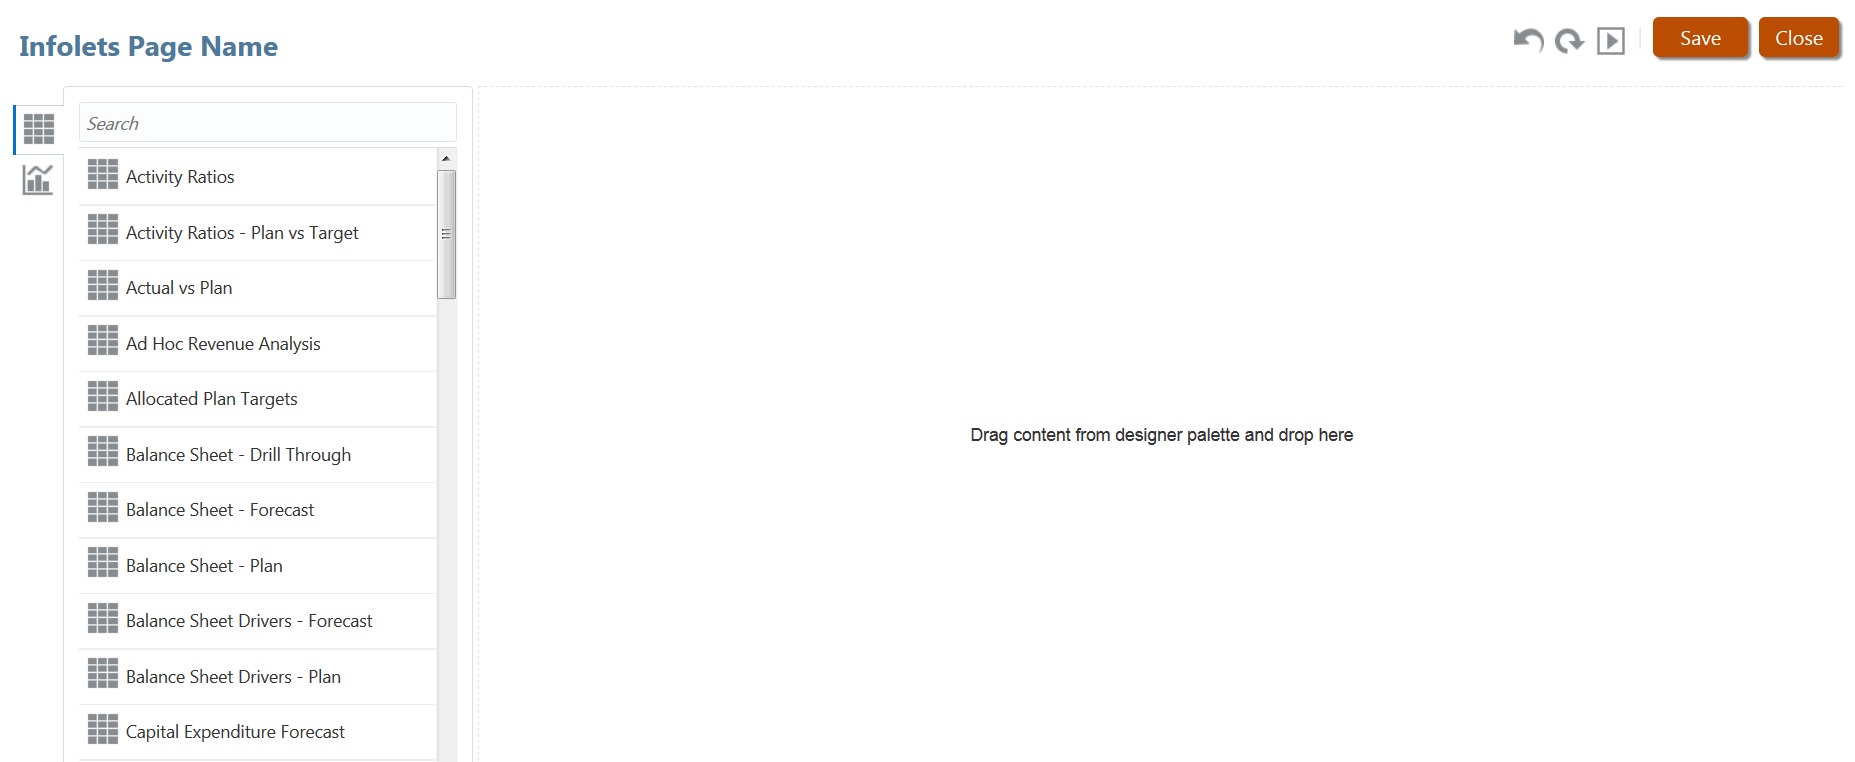
Administrators use the Infolets Designer to create infolets and infolet pages. The Infolets Designer enables easy toggling between runtime and designer views.
To access the Infolets Designer:
- From the Home page, click Library, and then select the Infolets tab.
- Click Create, or select an infolets page in the listing.
- Click Actions, and then click Edit. Clicking the infolet name in the listing launches the runtime version of the infolet page. You can toggle from runtime view to designer view by clicking

Infolets Designer

Infolets Toolbar
On the upper right is the Infolets Toolbar.
![]() —Resets the Infolets Designer to a previously saved state
—Resets the Infolets Designer to a previously saved state
![]() —Refreshes the data from Essbase and updates the infolet definition from the database
—Refreshes the data from Essbase and updates the infolet definition from the database
![]() —Hides all Infolets Designer elements and displays the infolet as it would appear to users during runtime
—Hides all Infolets Designer elements and displays the infolet as it would appear to users during runtime
![]() —From runtime mode, displays the Infolets Designer
—From runtime mode, displays the Infolets Designer
Infolets Designer Palette
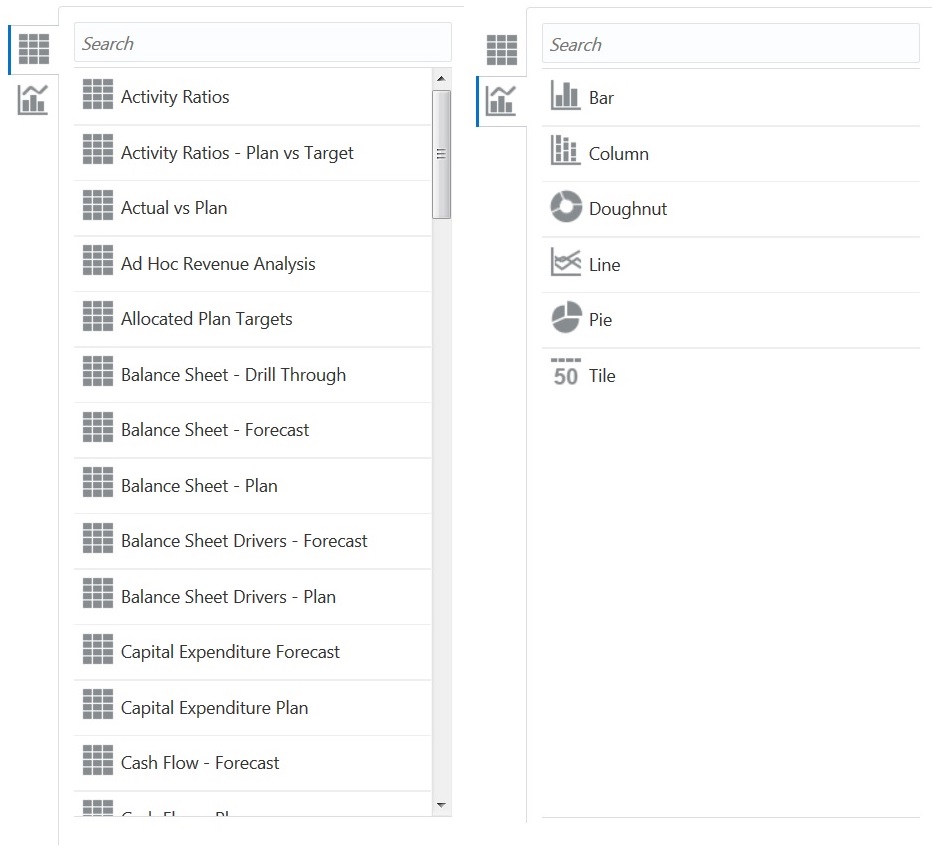
On the left is the Designer Palette. The Designer Palette has two tabs: Forms and Chart Types. Highlight objects in the Designer Palette and then drag and drop them onto the drop zone.

Designer Palette objects:
-
Forms—Select simple forms to include in the infolet by scrolling through the forms or by searching for them by name. For details about forms, see Designing Forms for Infolets.
Note:
The access permissions set for forms are honored in infolets.
-
Chart Types—Select the chart types to include in the infolet. Infolets display sample data in the charts until you associate the chart with a form as its data source. When you link a chart to a form, users can see the impact of changing data in the form on the associated charts. To associate a chart with a form, highlight a chart and drag and drop it onto the drop zone, hover over the upper right corner of the infolet, click the down arrow, click Data, and then click Forms to select the data source. For details about charts, see Designing Charts for Infolets.
Infolet Menu
To work with the infolet menu, hover over the upper right corner of the infolet, and then click the down arrow to display the menu options:
-
Layout—Enables you to edit the infolet header and subtitle.
Note:
The header you specify is the same for all views of an infolet, but you can specify a different subtitle for each view; for example, the front, back, and expanded views of an infolet can each have different subtitles, but they must have the same header.
-
Chart Type—Displays the infolet data as the selected chart type
-
Size—Displays the infolet in the selected size
-
Data—Associates the infolet with a data source
-
Delete—Removes the infolet from the page
-
Clear—Clears infolet details