Create an Entity for India
Next, we will add a new entity for India. As we add the entity, we will synchronize the Domicile custom attribute to include the India jurisdiction we just added.
-
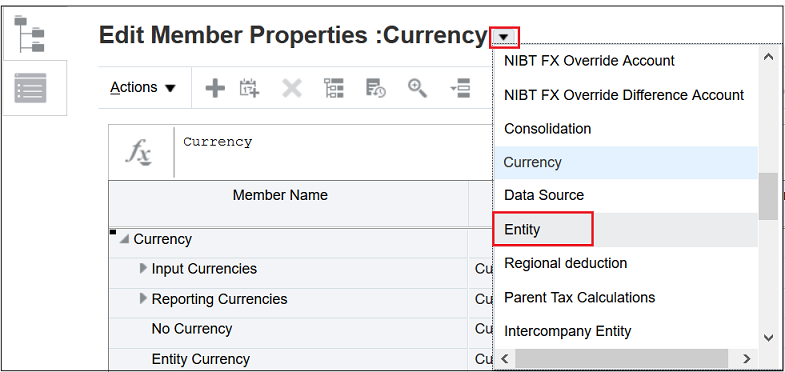
Click the drop-down next to Edit Member Properties: Currency, and then scroll down and select Entity.
-
At the top of the Edit Member Properties: Entity screen, click
 (Synchronize Reference Attribute Members button).
This synchronizes the Domicile custom attribute to include the India jurisdiction we just added.

-
Expand FCCS_Total Geography, and then expand APAC.

-
Click
 (Add Child button).

-
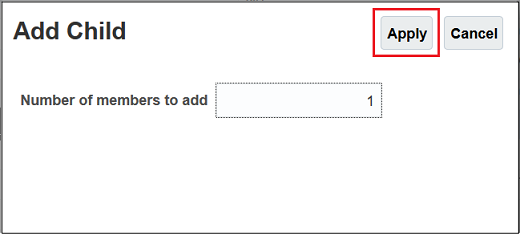
In the Add Child dialog box, since we are just adding one member (Vision India), click Apply.
-
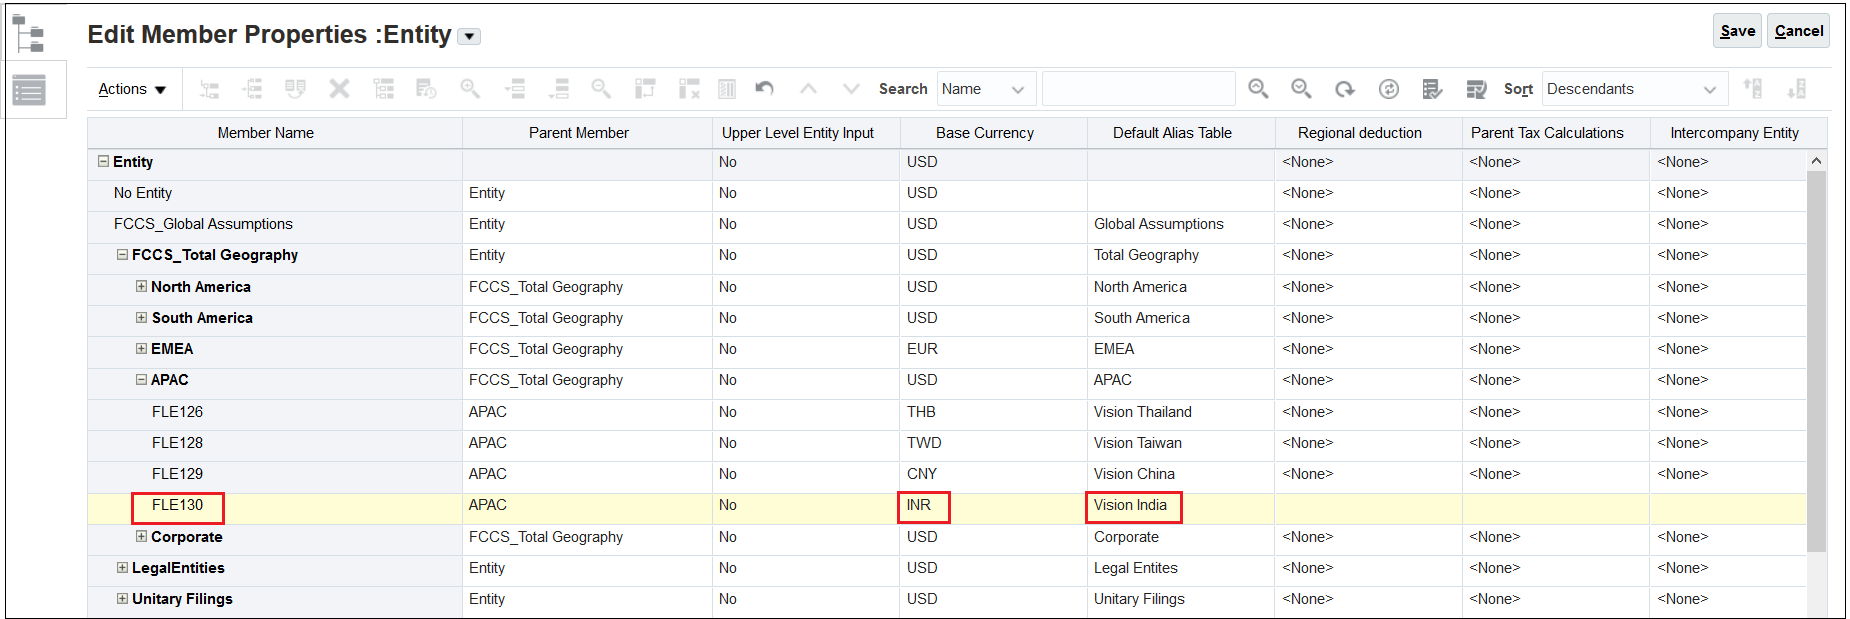
Enter FLE130 for the Member Name, and Vision India for the Default Table Alias. Click the drop-down and select INR for the Base Currency.
INR is the currency that we added in the previous step.
-
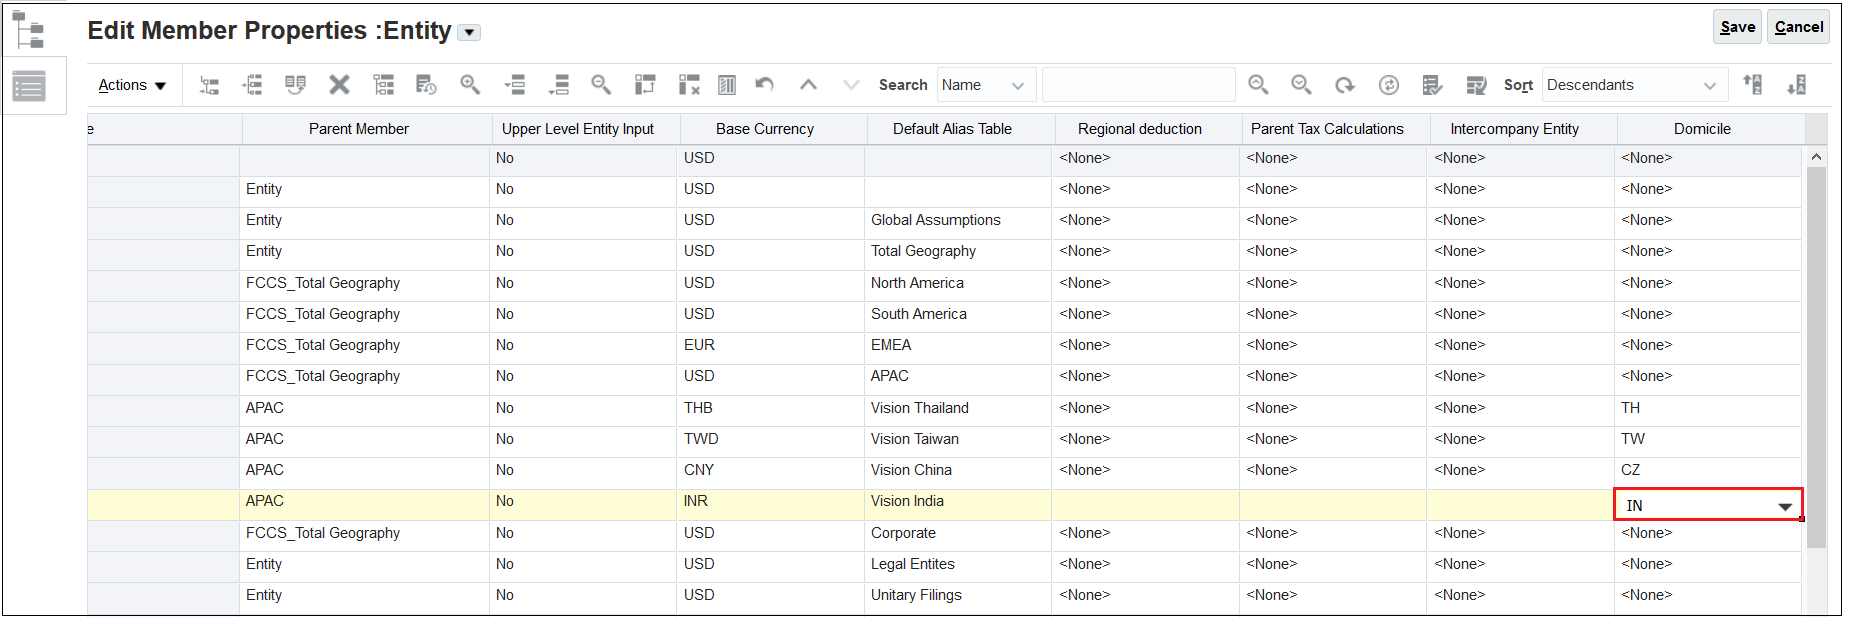
Scroll to the right and select IN for the Domicile.
The domicile attribute assigns the national jurisdiction, and only one domicile is allowed.
If IN is not displayed in the Domicile drop-down, it is most likely because you did not select
 to synchronize the India jurisdiction with the India entity (see step 2 above).
-
Click Save to push the India entity to Essbase.

-
At the top of the Edit Member Properties: Entity screen, click
 (Refresh Database button).
Refreshing the database generates valid combination rules that restricts data entry to only the respective domicile jurisdictions.

-
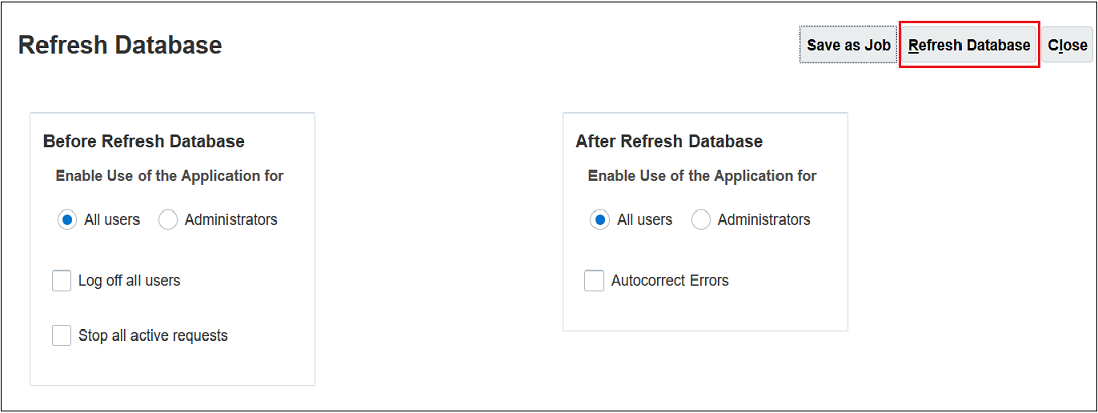
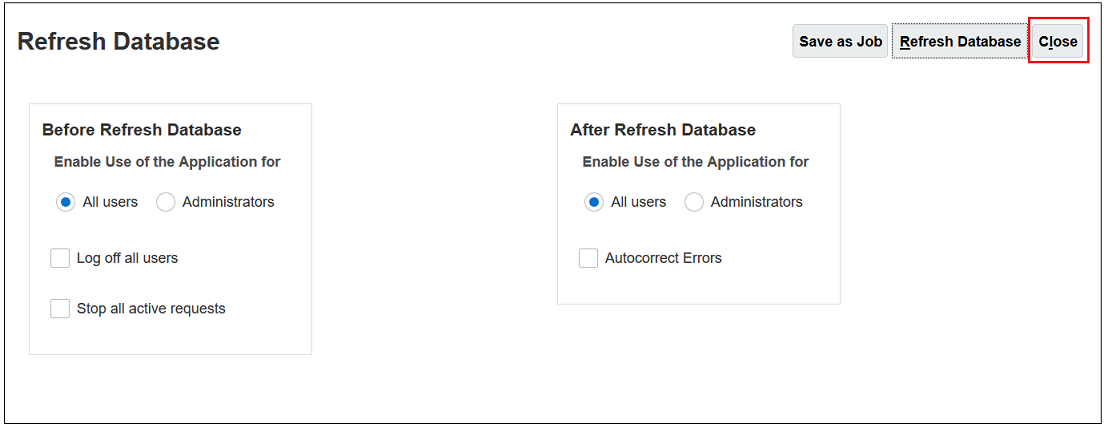
In the Refresh Database dialog box, click Refresh Database.
-
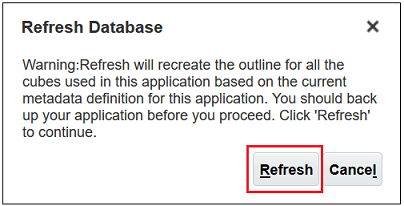
Read the warning about recreating the outline for all the cubes in the application, and then click Refresh.
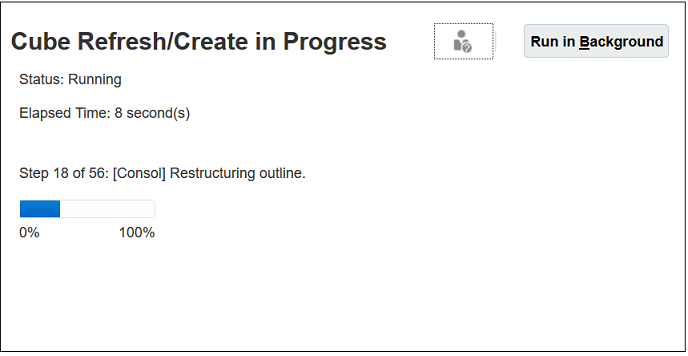
A dialog box lets you know the status of the refresh operation.
-
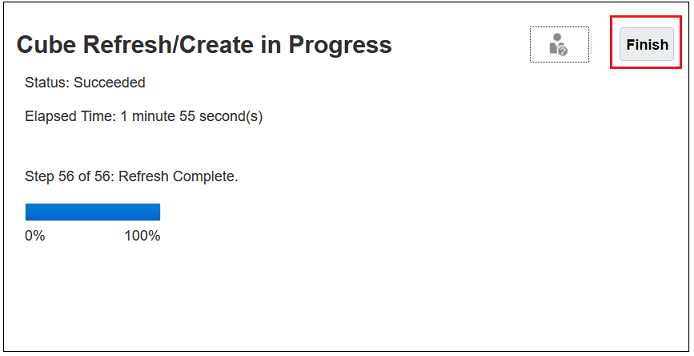
When the refresh is complete, click Finish.
-
In the Refresh Database dialog box, click Close.
-
Click Save and then Cancel to save the information about the India entity and exit from the Edit Member Properties: Entity screen.

-
Click
 (Home button) to return to the Tax Reporting Home page.