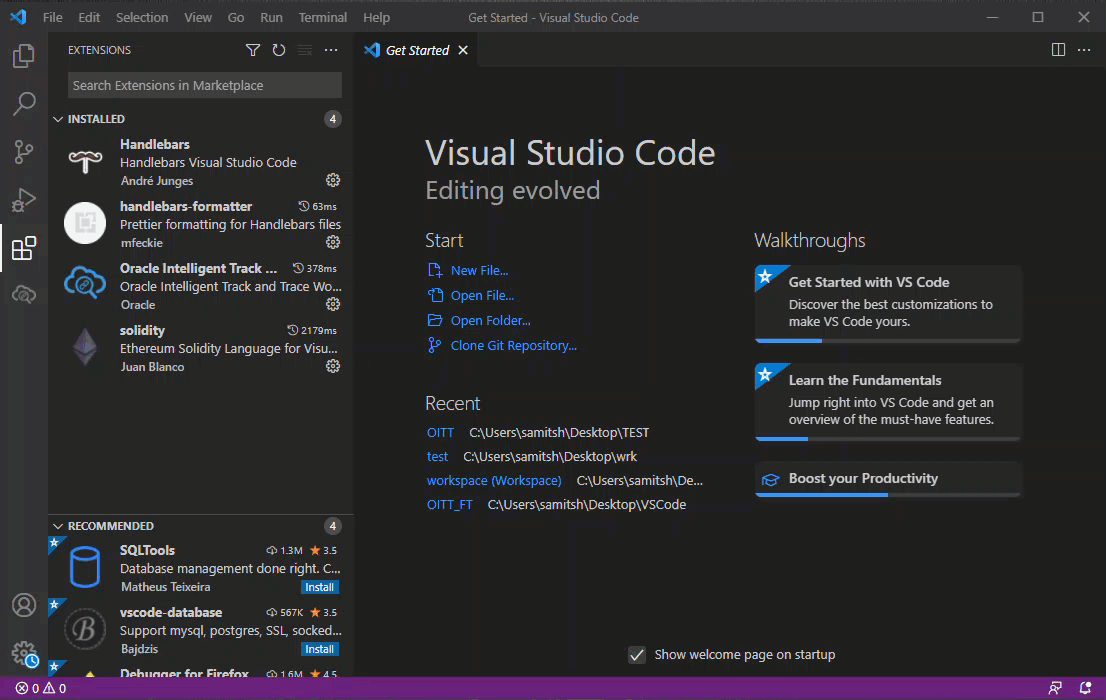
Configure Oracle Intelligent Track and Trace Extension for VS Code Editor
After you download and install the Oracle Intelligent Track and Trace extension, configure the required settings to work with your Oracle Intelligent Track and Trace instance.
- Create Workspace for Oracle Intelligent Track and Trace extension
- Setup the Workbench for Oracle Intelligent Track and Trace extension
- Setup the connection with Oracle Intelligent Track and Trace instance
Create Workspace for Oracle Intelligent Track and Trace extension
Oracle Intelligent Track and Trace extension uses workspace to setup the workbench.
-
In the Visual Studio Code editor activity panel, click
Explorer (
 ).
).
Setup the Workbench for Oracle Intelligent Track and Trace extension
-
In the Visual Studio Code editor activity panel, click (
 ) to activate the
workspace.
The Oracle Intelligent Track and Trace extension will search for any existing workbench. Select the workbench to proceed.
) to activate the
workspace.
The Oracle Intelligent Track and Trace extension will search for any existing workbench. Select the workbench to proceed.
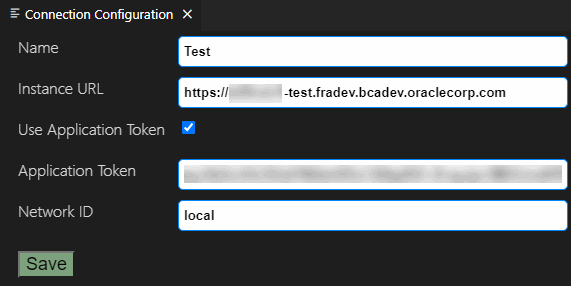
Setup the connection with Oracle Intelligent Track and Trace instance
-
In the INSTANCE panel, click Click to
Setup and then click Connection
Details.
The Connection Configuration page is displayed.
Results:
The following animation shows how to configure Oracle Intelligent Track and Trace extension in VSCode Editor: