Create a Custom View
You create custom views to embed customizations of various transaction documents and items.
Before you start
You should have required permissions to create Custom Views.Custom UI Views
To create non-contextual custom views:
Here's what to do
-
Click Menu (
 ) and then click Configurations.
-
Click Integrations (
 ).
).
-
Under Configurations : Integrations dashboard, select
Custom Views tab and then click Create
Custom View.
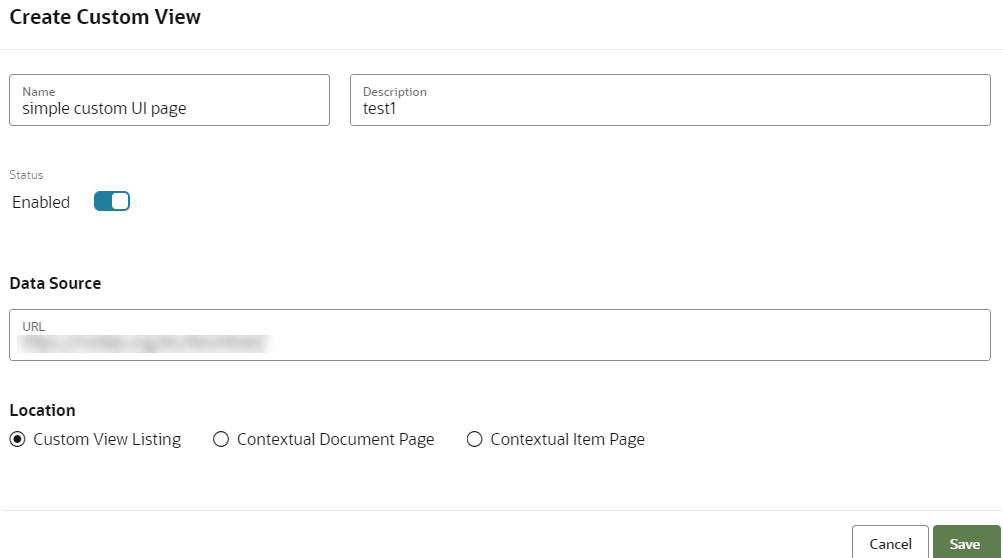 Note: Custom View Listing option is selected by default.
The two types of contextual custom views are:
-
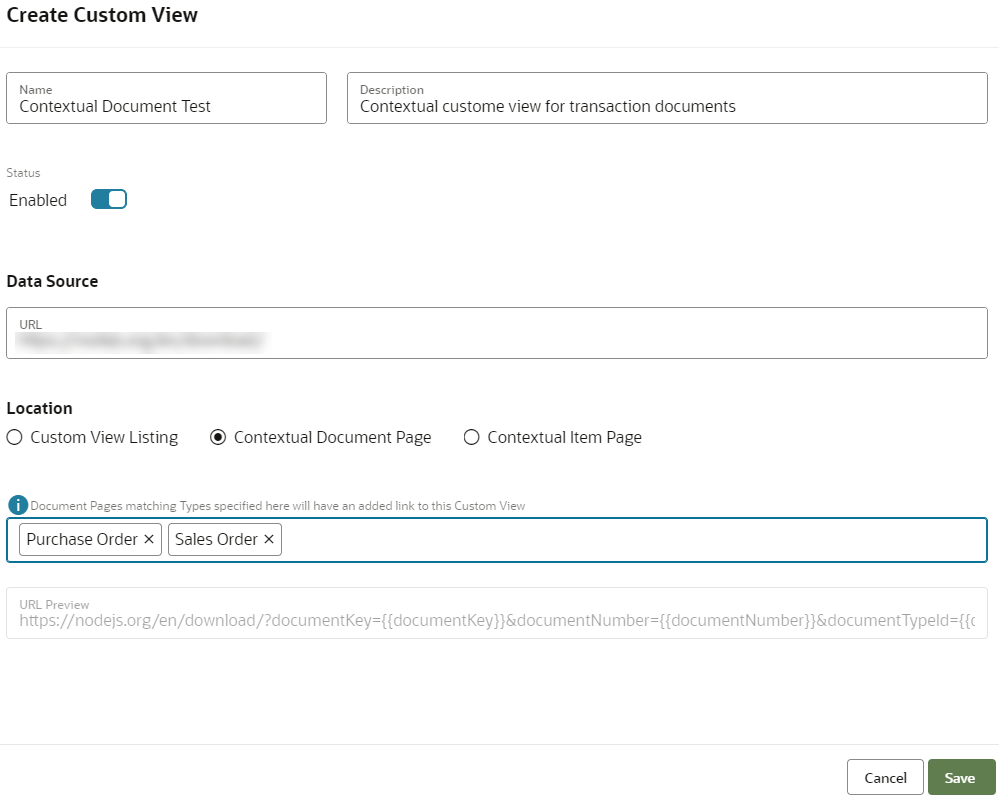
Contextual Document Page: It enables you to integrate customizations associated to transaction document types. The Contextual Document Page links the document specific custom views that you can access from the Documents dashboard alongside other details, such as business flows and trace view details.
-
Contextual Item Page: It enables you to integrate customizations associated to Item types. The Contextual Item Page links item specific custom views that you can access from the Items dashboard.
-
To create custom views associated to document types:
-
Enter the required values of the attributes mentioned in Step 4 and
toggle the Location attribute to Contextual Document Page.
-
Enter the required values of the attributes mentioned in Step 4 and
toggle the Location attribute to Contextual Document Page.
-
To create custom views associated to Item types:
-
Enter the required values of the attributes mentioned in Step 4 and
toggle the Location attribute to Contextual Item Page.

-
Enter the required values of the attributes mentioned in Step 4 and
toggle the Location attribute to Contextual Item Page.