Inventory History
Inventory history records various WMS transactions taking place in the facility for purposes of informing the
ERP or any other external system that may be interested.
For more information about the Iventory History UI fields, see the Interface Specifications document.
Enable/Disable Auto Process
To help customize your view of inventory history records, from the Inventory History Activity Parameters UI you can click the Enable Auto Process or Disable Auto Process buttons.

Once you click the Enable or Disable Auto Process buttons, a dialogue box appears asking for your password. Enter your password and click Submit.
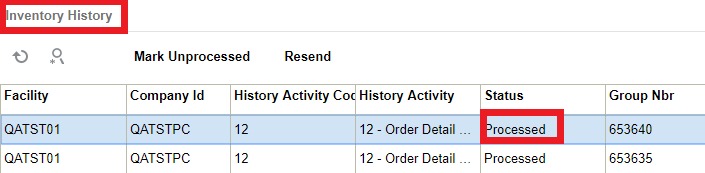
For any inventory records where you have selected and clicked the AutoProcess flag, the associated inventory history record will display as Processed in the Inventory History UI.
Enable Auto Send of Inventory History
In the past the main way to extract WMS transaction records would be via scheduled jobs at pre-determined intervals. Scheduling too frequently may place unnecessary load on the system and scheduling too infrequently may caused delays in notifying the ERP or other systems of critical WMS updates. You can now automatically send inventory history records as and when they are created.
They are sent via the Output Interface setup just like other outgoing messages. The new fields "enable_auto_send" and "disable_auto_send" are available in the Inventory History Activity Parameter. From the Inventory History Activity Parameter screen, you can select all history activities that are crucial for you to monitor. If the enable_auto_send flag is enabled, then the system will post the relevant IHT records as soon as the records are written to the relevant webservice end point setup in the Output Interface Configuration screen.
the flag is No. Auto send is supported if the file format is XML and also if the interface type is Rest
WebServices.
To enable Auto-Send of Inventory History, do the following:
- From the Inventory History Activity Parameter screen > Select the IHT Record.
- Click on enable_auto_send.
Set Inventory History Transactions to Not Ready (Un-Processed)
From the Inventory History UI, you can click the “Mark Unprocessed” button to change the IHT status of a record to Un-Processed (Not Ready).
The Mark Unprocessed button allows you to reprocess the IHT records and let the system to pick up inventory again.
Steps:
- Go to the Inventory History UI.
- Select the IHT record. You can select one or more IHT records to process the request
at the same time. Note: The system enables the button only if the selected IHT records is in status “Processed/Processing/Cancelled”.
- Click the Mark Unprocessed button. The system prompts for password.
- Enter your OCWMS password. Click Submit. To discard, click Cancel.
- Upon success, the system displays a confirmation message “Updated 1 record”, and the IHT status for that particular record is changed to “Not Ready”.