Creating and Assigning Facilities and Companies to Users
After user and group setup is complete, you must create facilities and companies in WMS.
Step 1: Create Companies
- Go to the “Companies” screen.
- Click the Create (
 ) button.
 - Populate the company’s information such as the Code, Name, and Address. Note that the first company will be the parent company in the environment by default. To verify this, see the “Parent Company” column.
- Click “Save”.
Step 2: Create Facilities
Facilities are controlled at the company level. This means, that every company has its own set of facilities. This link is defined in the “Parent Company” column in the “Facilities” screen. By default, all parent and child company facilities are displayed.
- Go to the “Facilities” screen.
- Click the Create () button.
- Populate the facility’s information such as the Code, Name, and Address.
| Field | Description |
|---|---|
| Default Ship Via Code | This field is used when ‘ship via’ codes are activated through the company’s “PACKING_ROUTING_MODE” parameter. The system will default to this ship via value if the order header does not have a ship via code specified. |
| Parent Company | Indicates the company that the facility belongs to. |
| Accept Transfer Shipment | If checked and if this facility is a warehouse in WMS, this facility will accept ASNs from other facilities configured in the environment. |
| RF Inactive Timeout in Minutes | Allows you to set up a time limit for inactive timeout in minutes. This parameter works along with the timeout settings on the customer's network (for example: configuring keep alive/time-to-live in PuTTY). So if the time-to-live configuration is less than the WMS screen parameter, the session will end on the network side before the wms parameter time limit. |
Step 3: Assign Facilities to Users
Once you have created the Companies and Facilities, the next step is to assign them to users. This step defines the list of companies and facilities that you will have access to.
- Go to the “Users” screen.
- Select the user to modify.
- Click on “Eligible Facilities”.
- Using the Create () button, add the Facilities that this user will have access to.
- Repeat steps three and four for adding Companies (using the “Eligible
Companies” button).
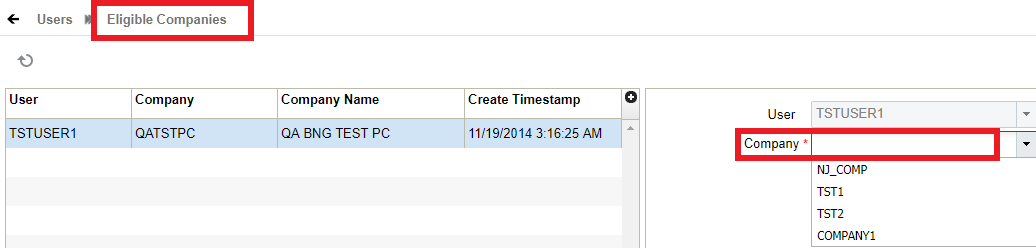
The following is an example of a User/Group set up:

Edit Message Configuration for Facilities
In the Message UI > Edit Message Facility Message Configuration
section, you can select ‘*’, option from the Facility drop-down menu to
update the settings for multiple location in One-Go. This option will automatically
update the change to all eligible facilities you manage, eliminating the need for
repetitive updates. 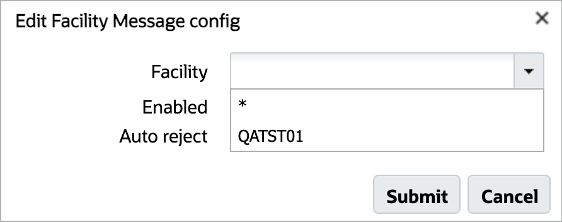
- Navigate to the Message UI.
- Select Edit Message Facility Message Config option.
- In the Facility Drop-down, select the * to apply changes across all your eligible facilities.
- Click Save.. On success, a confirmation dialog appears for you to confirm the changes applied to all eligible facilities.
- Confirm the action to proceed. Upon saving, the system will automatically update
the message configuration for every eligible facility linked to your
account.
NOTE: Enable and Auto Reject checkboxes are blank by default. You can adjust these settings accordingly to enable or disable messages, and set auto rejection rules.