Customizing an Interactive Grid with the Column Heading Menu
Use the Column Heading menu to quickly customize a column in an interactive grid.
- About the Column Heading Menu in an Interactive Grid
The Column Heading Menu contains buttons to sort, break, aggregate, freeze, and hide a column, as well as a text filter for searching within a column. - Displaying the Column Heading Menu
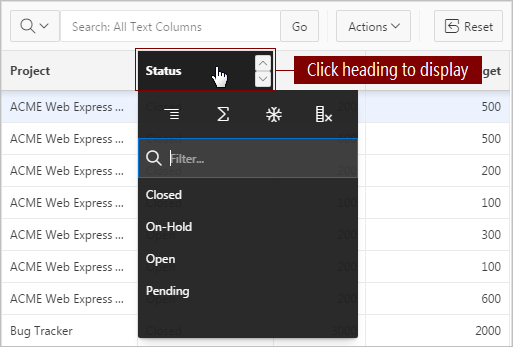
Display a column’s Column Heading menu by clicking the heading of the column. - Creating a Control Break in an Interactive Grid
Create a break group in an interactive grid by clicking the Control Break icon in the Column Heading menu. - Creating an Aggregation with the Column Heading Menu
Quickly apply an aggregation to an interactive grid by clicking the Aggregate icon in the Column Heading menu. - Freezing Columns in Place
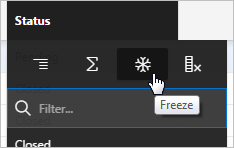
Freeze a column in place by clicking the Freeze icon in the Column Heading menu. Freezing a column excludes it from the scrollable area so that the frozen column is always visible. - Hiding Columns in an Interactive Grid
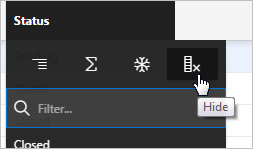
Hide a column in an interactive grid from view by clicking the Hide icon in the Column Heading menu. - Unhiding Columns in an Interactive Grid
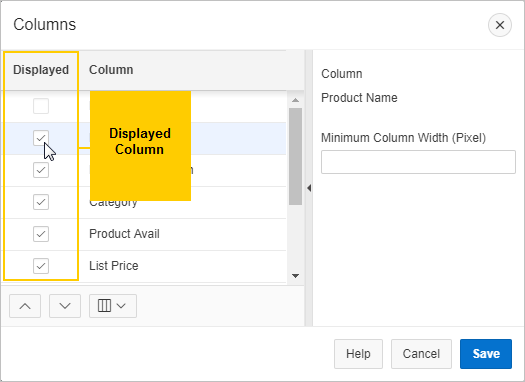
Show a hidden column in an interactive grid by opening the Columns dialog and enabling it in the Displayed column. - Filtering with the Column Heading Menu
Filter an interactive grid by the contents of a column by entering keywords in the Search field of the Column Heading menu.
Parent topic: Using Interactive Grids
About the Column Heading Menu in an Interactive Grid
The Column Heading Menu contains buttons to sort, break, aggregate, freeze, and hide a column, as well as a text filter for searching within a column.
Overview
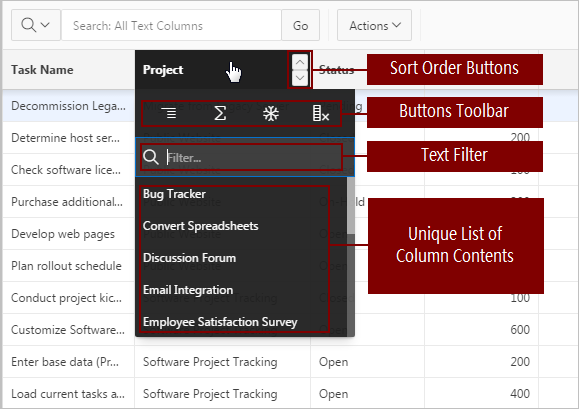
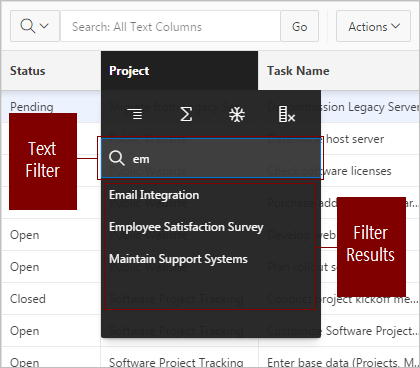
The Column Heading menu contains Sort Order buttons, a Toolbar, a Text Filter, and a unique list of the column’s contents.
Sort Order Buttons
The Sort Ascending and Sort Descending buttons appear at the right of every column heading.
Button Toolbar
The toolbar on the Column Heading menu contains the following buttons and functions.
- Control Break
-
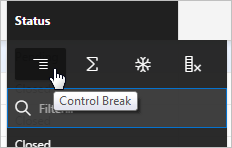
Creates a Control Break in the interactive grid based on the selected column.
- Aggregate
-
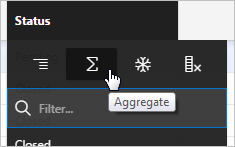
Opens the Aggregation dialog to define an aggregation against the selected column.
- Freeze
-
Freezes the selected column in place, preventing horizontal scrolling.
See "Freezing Columns in Place."
- Hide
-
Hides the selected column from view.
Text Filter
The text filter dynamically limits the list of column contents based on the text string entered into the filter field.
Displaying the Column Heading Menu
Display a column’s Column Heading menu by clicking the heading of the column.
- Click the heading of a column in an interactive grid.
Creating a Control Break in an Interactive Grid
Create a break group in an interactive grid by clicking the Control Break icon in the Column Heading menu.
Creating a break group pulls the columns out of the interactive grid and displays them as a master record.
To create a control break:
The interactive grid reloads with the control break applied for the selected column, and a control break filter appears above the grid near the toolbar.
In the following example, a control break has been applied to the interactive grid for the Project column.
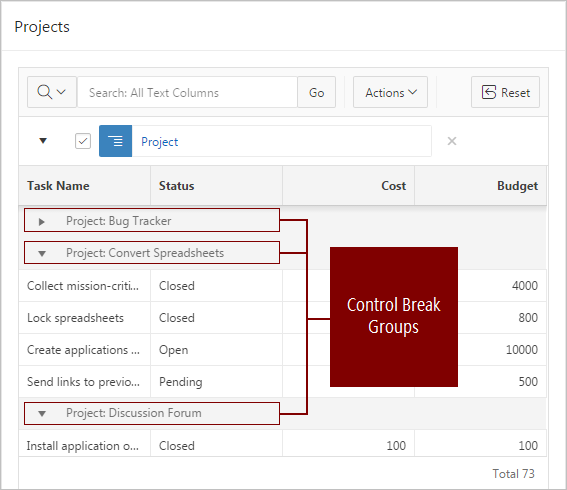
Description of the illustration ig_control_break_after.png
To remove a control break, click the Remove Control Break icon (X) on the control break filter.
Creating an Aggregation with the Column Heading Menu
Quickly apply an aggregation to an interactive grid by clicking the Aggregate icon in the Column Heading menu.
To apply an aggregation against a selected column:
The interactive grid reloads with the aggregation applied.
Freezing Columns in Place
Freeze a column in place by clicking the Freeze icon in the Column Heading menu. Freezing a column excludes it from the scrollable area so that the frozen column is always visible.
To freeze a column in place:
Hiding Columns in an Interactive Grid
Hide a column in an interactive grid from view by clicking the Hide icon in the Column Heading menu.
To hide a column in an interactive grid:
To redisplay hidden columns:
Tip:
You can also reset the grid to redisplay a hidden column. Resetting an interactive grid reverts it to a previously saved state. Any changes since that time may be lost. To reset the grid, click the Reset button.
Unhiding Columns in an Interactive Grid
Show a hidden column in an interactive grid by opening the Columns dialog and enabling it in the Displayed column.
To show a hidden column in an interactive grid:
Filtering with the Column Heading Menu
Filter an interactive grid by the contents of a column by entering keywords in the Search field of the Column Heading menu.
To filter an interactive grid by column:
See Also:
"Filtering an Interactive Grid"