Oracle Application Express 18: Mobile App (1 of 3) - Creating
Oracle Application Express 18: Mobile App (1 of 3) - Creating
Before You Begin
This 15-minute tutorial shows you how to create a responsive,
mobile application using Universal
Theme in Oracle Application Express 18. You also learn how to
add and edit a report with List View on the Projects
page.
This
is the first tutorial in the Oracle Application Express
18: Mobile App Series. Read the tutorials in sequence:
Oracle Application Express 18: Mobile App (1 of 3) -
Creating
Mobile applications developed with Oracle Application Express
are browser-based applications that run inside the browser on
the mobile device. Therefore, these applications must have a
connection in order to communicate with the Oracle Database and
cannot operate in a disconnected environment. The major
advantage of developing browser-based applications is that you
only need to develop them once for desktop and mobile devices.
Although the Universal Theme is optimized to work well on
mobile devices, not all components are mobile friendly. For
example, interactive reports and interactive grids do not work
well in mobile environments. When creating reports for mobile
devices, Oracle recommends the following report types: List
View, Column Toggle Report, and Reflow Report.
What Do You Need?
Access to Oracle Application Express 18.1 or later.
How you sign in and access Oracle Application Express depends
upon where Oracle Application Express resides. Oracle
Application Express may reside in a local on-premises Oracle
Database or in a hosted environment, such as the Oracle Cloud.
The sign in credentials you use to sign in differ depending upon
the installation type.
Free Workspace: Give Oracle Application
Express a test run by signing up for a free workspace. To
request an evaluation workspace, go to apex.oracle.com,
and click Get Started for Free.
Oracle Cloud: Develop and deploy
applications without worrying about infrastructure, repair,
and downtime. Oracle Application Express is available in
Exadata Express Cloud Service and Database Cloud Service.
However, you need to manually customize your databases to
install and enable Oracle Application Express. To learn more,
see Oracle
Database Cloud Service.
Oracle Application Express On-premises:
Install Oracle Application Express directly within any Oracle
Database and then sign in to your workspace using your sign in
credentials. For details on your sign in credentials, contact
your administrator or see Oracle
Application Express Installation Guide.
Oracle Application Express Pre-Built VM:
Install a Pre-Built Virtual Machine (VM) which includes an
Oracle Database and Oracle Application Express 18.1. To learn
more, see Hands-On
Labs.
Once the VM is installed, start the VM:
Click the big red circle labeled Start.
Click the APEX shortcut, or enter the
following URL:http://localhost:8080/ords/f?p=4550:1
When prompted to sign in, enter the sign in credentials
(unless given other credentials to use):
Workspace: obe
Username: obe
Password: oracle
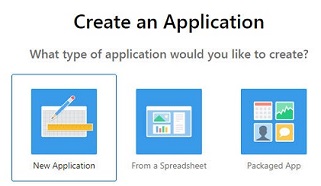
Create
a Mobile Application
In this section, you run the Create Application Wizard and
create a new application. Later, you will add pages to it.
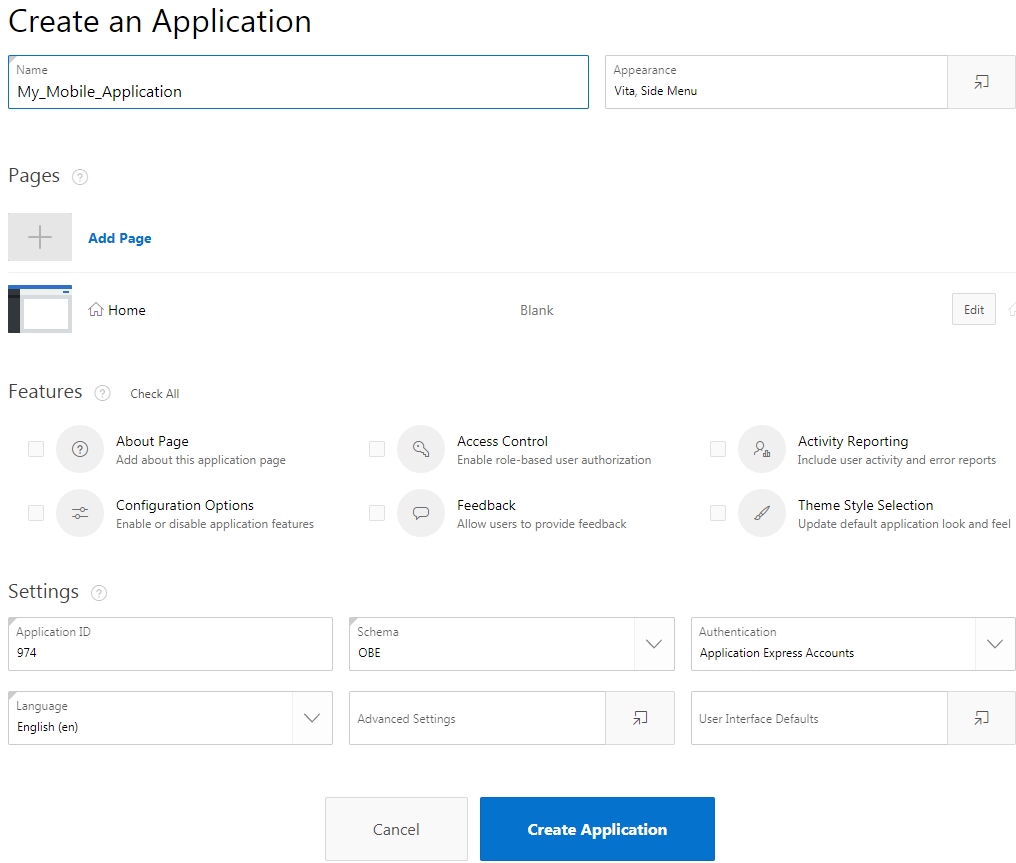
To create an application:
Sign in to Oracle Application Express by entering the
credentials (workspace, username, and password).
The Application home page appears. The application ID and name
display in the upper left corner. The Create Application Wizard
has created three pages: Global Page - Desktop, Home, and Login
Page.
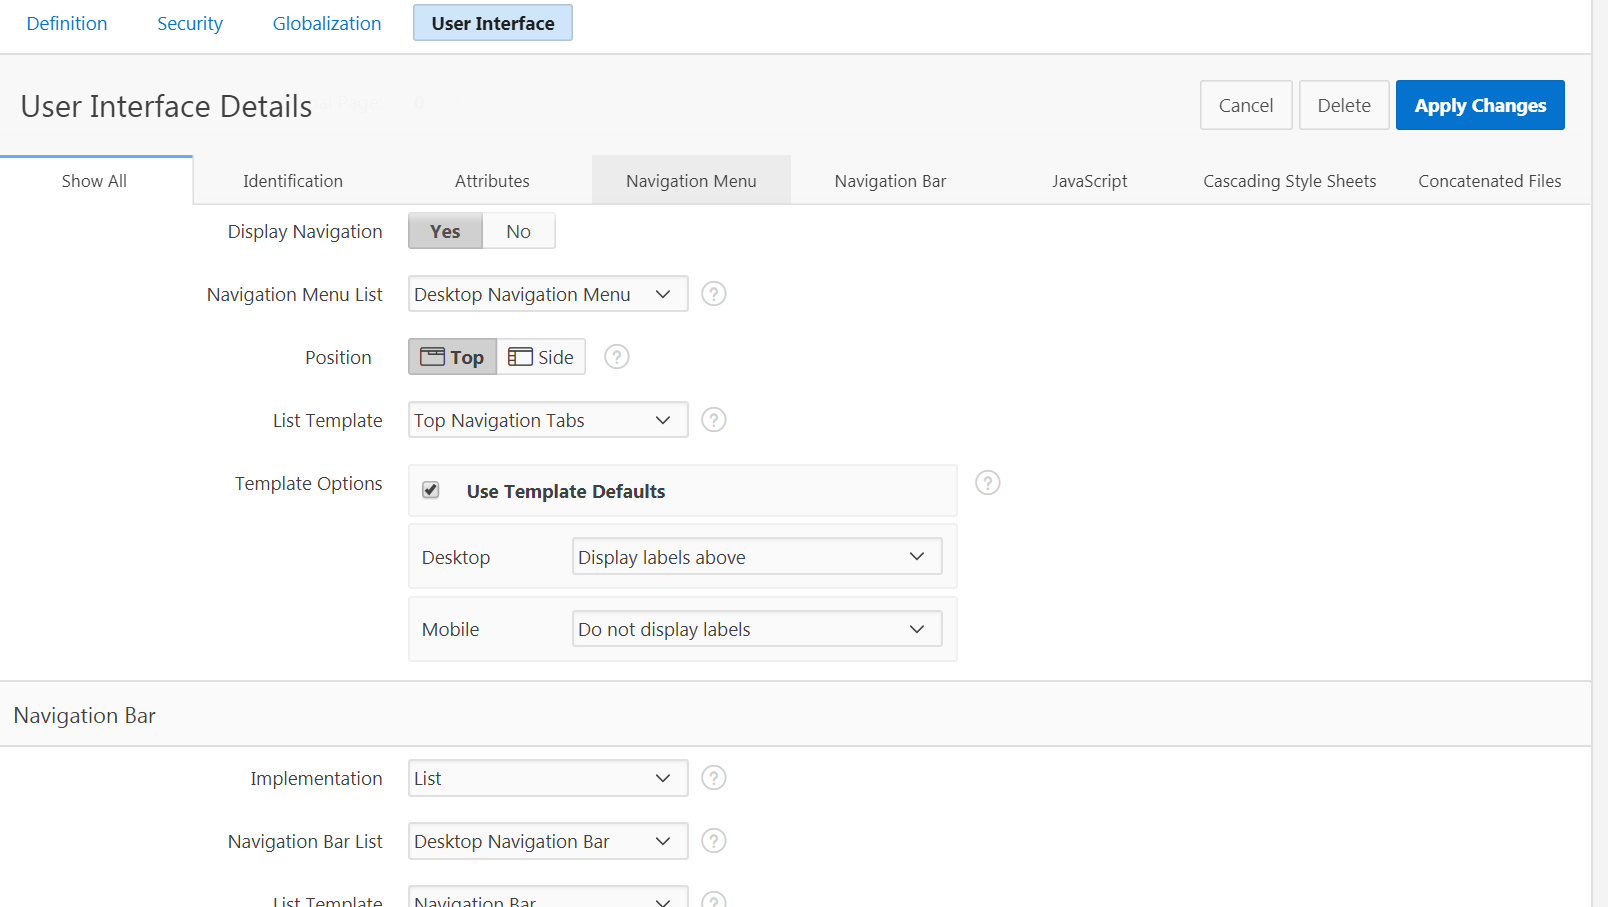
Specify
User Interface Details
In this section, you customize the Navigation Menu to optimize
it for a mobile device. You can modify the display by changing
and updating the list template and template options as per your
preference. For example, you have the option to choose a Top or
a Side navigation or choose the option if you want to display
your labels.
To specify default user interface:
Access the User Interfaces pages:
On the application home page, click Shared
Components .
Under User Interface, click User Interface
Attributes.
Defined User Interfaces display in the User Interfaces region
at the top of the page.
Click Apply Changes again to return to
the application home page.
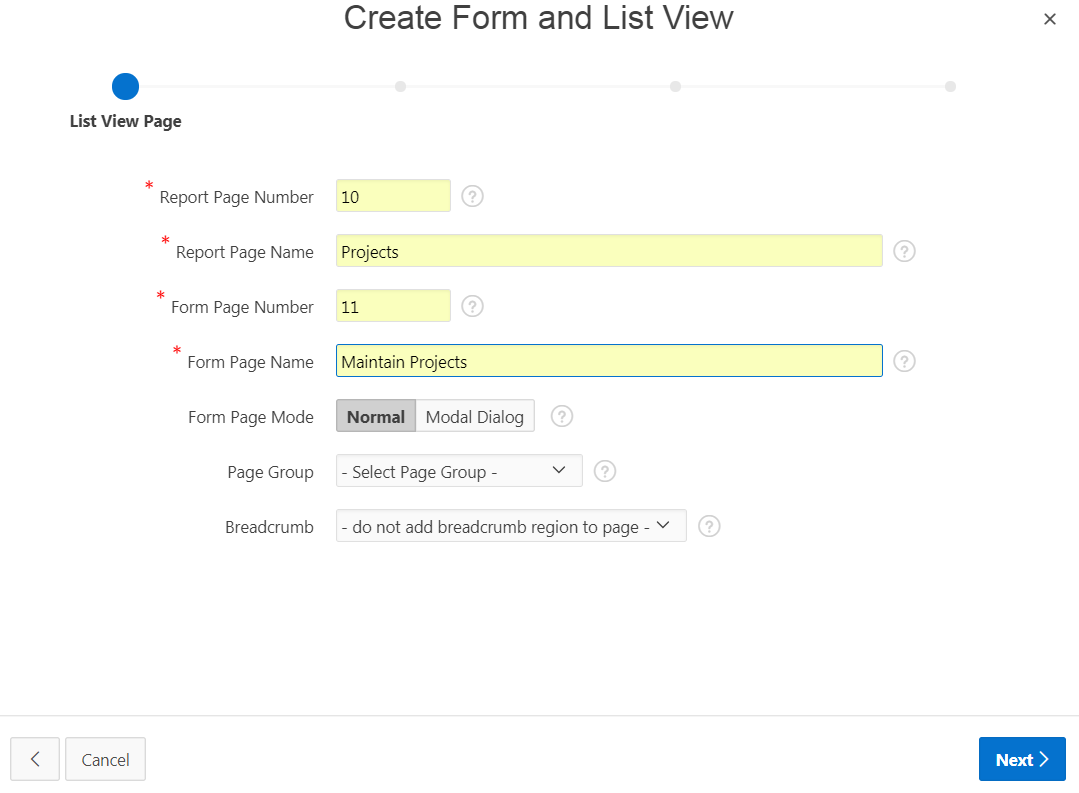
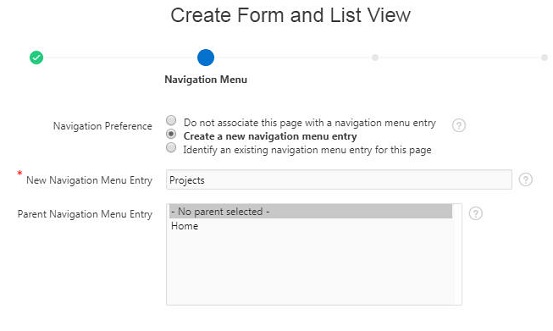
Add
Report with List View on Projects
In this section you create List View report on the Projects
table. List View reports feature a responsive design to display
data and provide easy navigation on mobile devices. To add a
report:
 Oracle Application Express 18: Mobile App (1 of 3) - Creating
 Before You Begin
 Create
a Mobile Application
Create
a Mobile Application
 Specify
User Interface Details
Specify
User Interface Details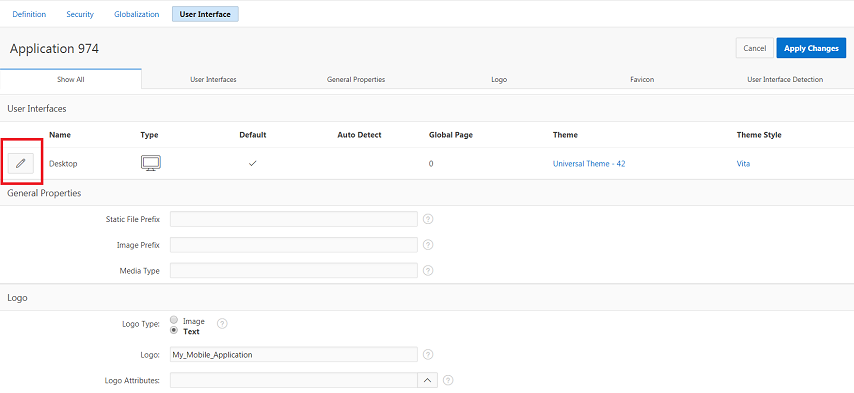
 Add
Report with List View on Projects
Add
Report with List View on Projects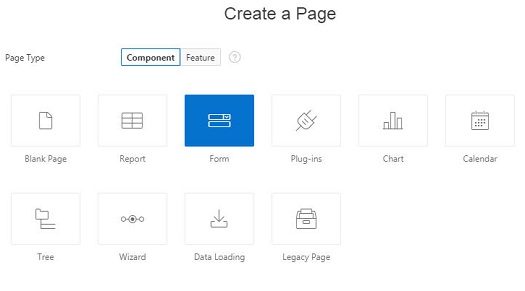


 Edit
List View Report
Edit
List View Report

 Next
Tutorial
Next
Tutorial