16.3.5 Managing the Automation Execution Log
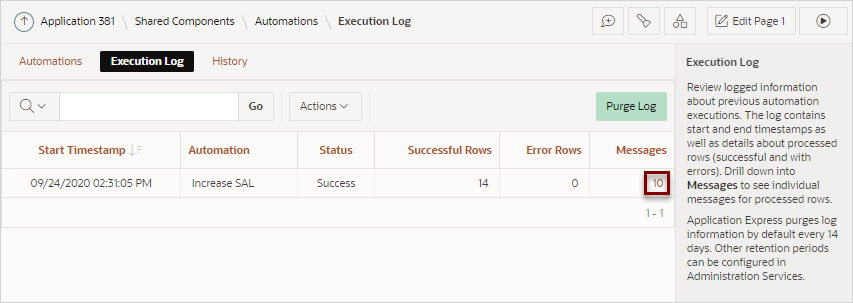
View and clear the Automation Execution Log records on the Automations, Execution Log page.
Oracle Application Express purges log information by default every 14 days. Other retention periods can be configured in Administration Services.
- Viewing the Automation Execution Log
View the Automation Execution Log details about previous automation executions such as start and end timestamps as well as details about processed rows (successful and with errors). - Purging the Automation Execution Log
Purge the Automation Execution Log records by clicking Purge Log on Execution Log page.
See Also:
"Configuring or Deleting the Automation Log" in Oracle Application Express Administration Guide
Parent topic: Managing Automations
16.3.5.1 Viewing the Automation Execution Log
View the Automation Execution Log details about previous automation executions such as start and end timestamps as well as details about processed rows (successful and with errors).
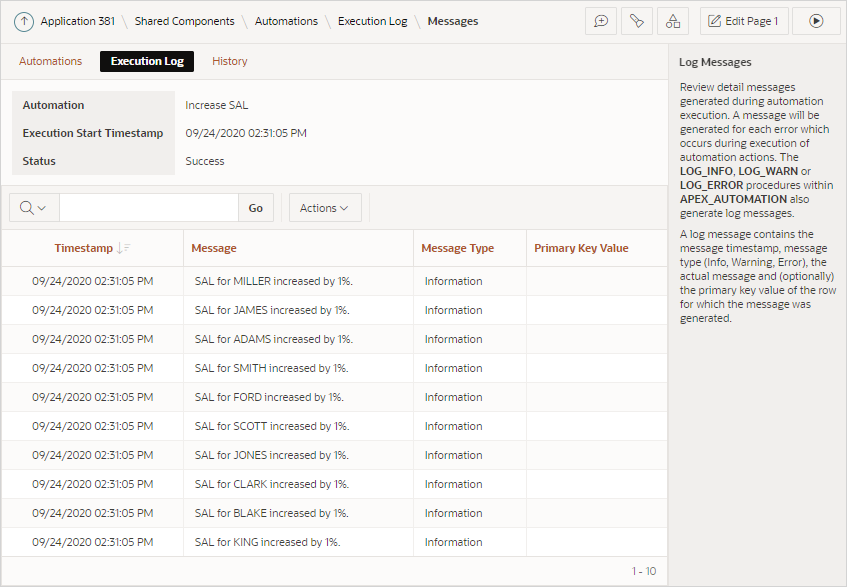
The Automation Execution Log contains start and end timestamps as well as details about processed rows (successful and with errors). Drill down into Messages to see individual messages for processed rows.
Tip:
You can view the target table in SQL Workshop, Object Browser to validate that the automation is actually changing the data. See "Browsing a Table" in Oracle Application Express SQL Workshop Guide.
Parent topic: Managing the Automation Execution Log
16.3.5.2 Purging the Automation Execution Log
Purge the Automation Execution Log records by clicking Purge Log on Execution Log page.
Parent topic: Managing the Automation Execution Log

