3.10.1 Using a Table Visualization

Spatial Studio allows you to visualize your data from the dataset in tables.

To display your data in a tabular view, you must perform the following steps.
The instructions assume that the dataset for visualization is already added to the project in the Active Project page.
  1. Click the Visualizations tab on the left pane in the Active Project page.
    This lists the various visualization options.
  2. Click and drag Table from the list to the visualization window on the right to create a table visualization.
    This opens an empty layer in the visualization window.
  3. Click the Data tab on the left pane in the Active Project page.
    This lists all the Datasets that are loaded for the project.
  4. Click and drag the desired dataset from the list to the empty layer on the right.

    Note:

    You can view only one dataset in a table view. If you want to view multiple datasets, you must create one table view for each dataset.
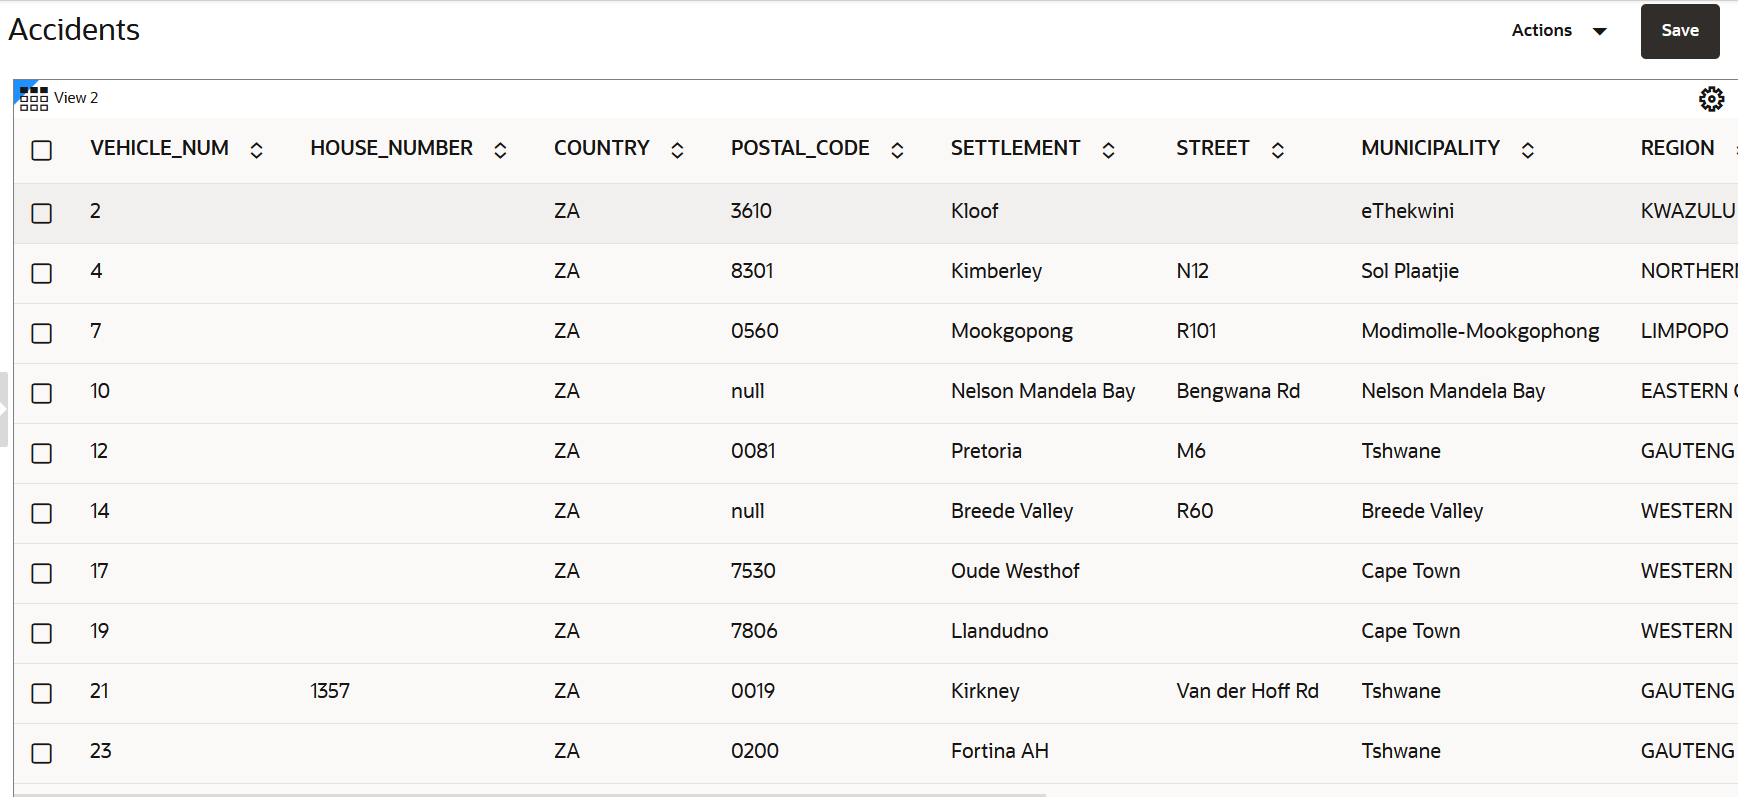
    This opens the data in tabular format for visualization as shown:

    Figure 3-44 Tabular Visualization

    Description of Figure 3-44 follows
    Description of "Figure 3-44 Tabular Visualization"

    You can easily scroll up or down the table to view the data rows as the table supports infinite scrolling.

    You can delete the table visualization by clicking the X icon on the top-right.