Live Share Feature Slow Performance
With an increase in ECPUs, does the performance of the Live share feature in the Data Share tool improve while running complex queries?
No, it does not. In such cases, you need to configure the Degree Of Parallelism (DOP) using Data Studio to improve the performance of complex running queries.
Configure the Degree Of Parallelism (DOP) using Data Studio
When the Live Share feature of the Database Actions instance runs on an increased value of ECPU, by default the performance of the complex running queries does not improve.
You can use the DOP option to improve the performance of the complex running queries. The DOP sets the number of processors employed to run a single statement, for each parallel plan execution. This section describes how to configure the degree of parallelism (DOP) configuration option in the Autonomous Database by using the Live Share feature of Data Studio.
In this example, you will use the Live share feature and share tables of an uncompressed size of 1TB.
Before you begin, here are a few things you need to consider:- The option to configure the value of DOP can only be done by an
admin.
- Log in to your Database Actions instance as an admin and under Administration, select Set Resource Management Rules.
- Note the default concurrency value and DOP.
- Create Share as a provider.
- Consume Share as a consumer and create external queries on top of your shares to record the query execution time.
- Increase the ECPUs to a value greater than the current value as provider and consumer and record the query execution time.
- Configure the
DOPvalue for theMEDIUMconsumer group. - Consume the same share and record the query execution time of the same table.
Note:
You must configure theECPU count and DOP value as a provider with ADMIN privileges.
- Create Share as a provider.
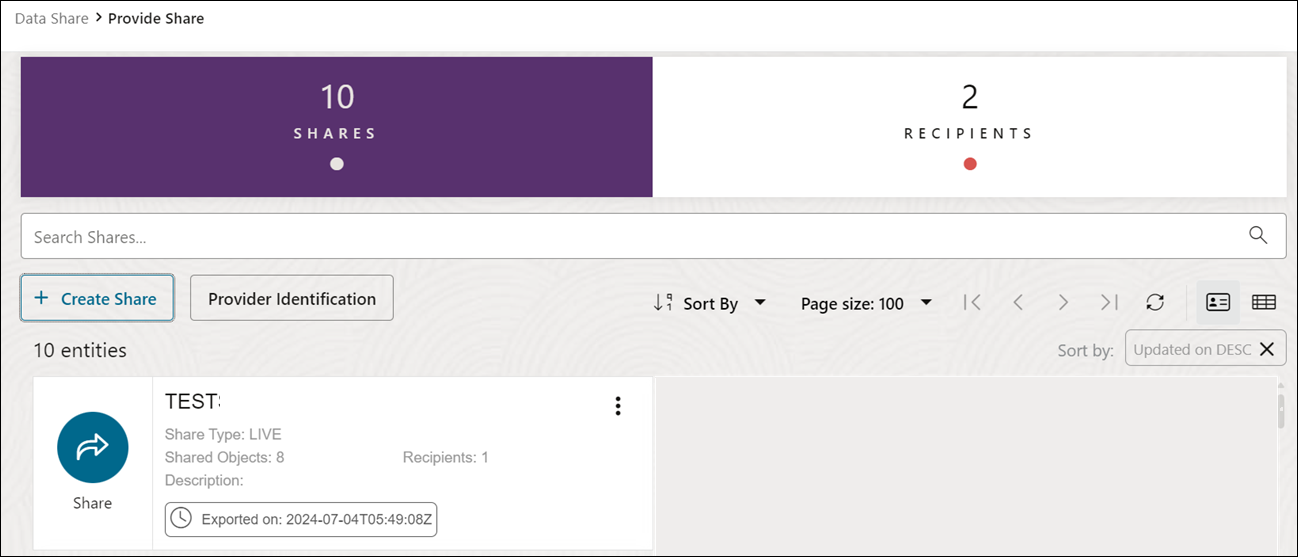
- Click Provide Shares and select +Create Share.
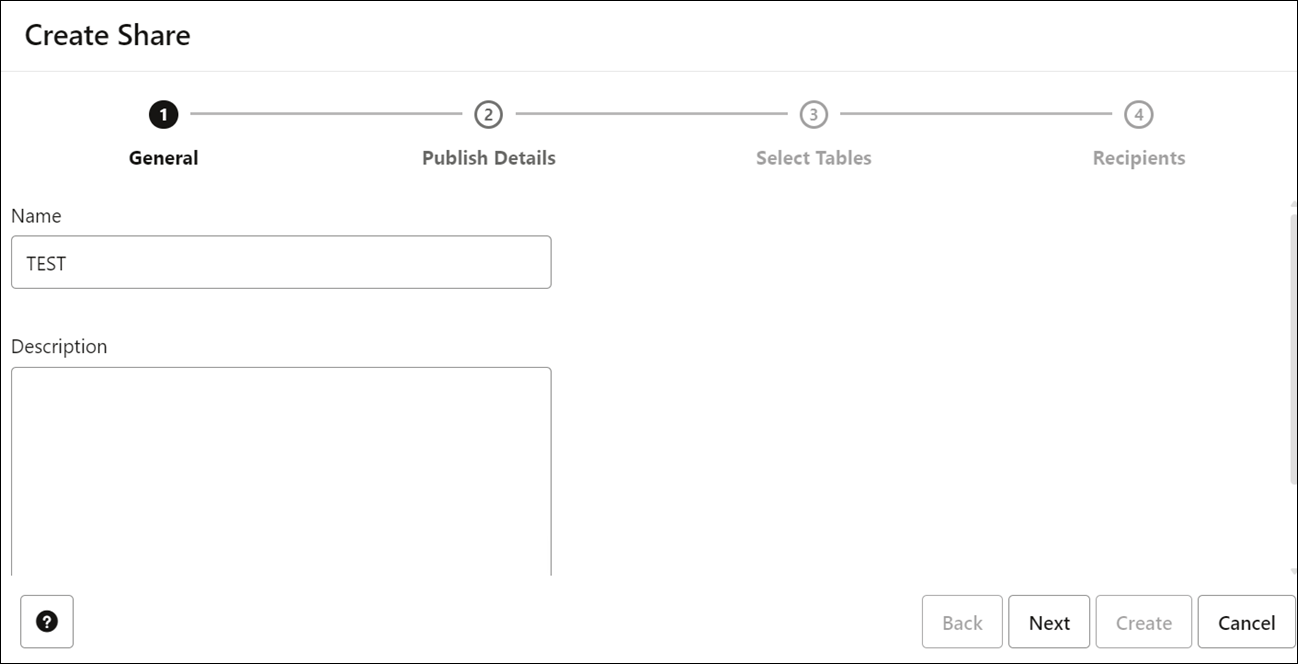
- On the Create Share wizard, in the Name field of the General tab, enter a name for the Share. For example: TEST.
In the Description field, enter a description for the data you share. This field is optional.
Select Next to progress to the Publish Details tab.
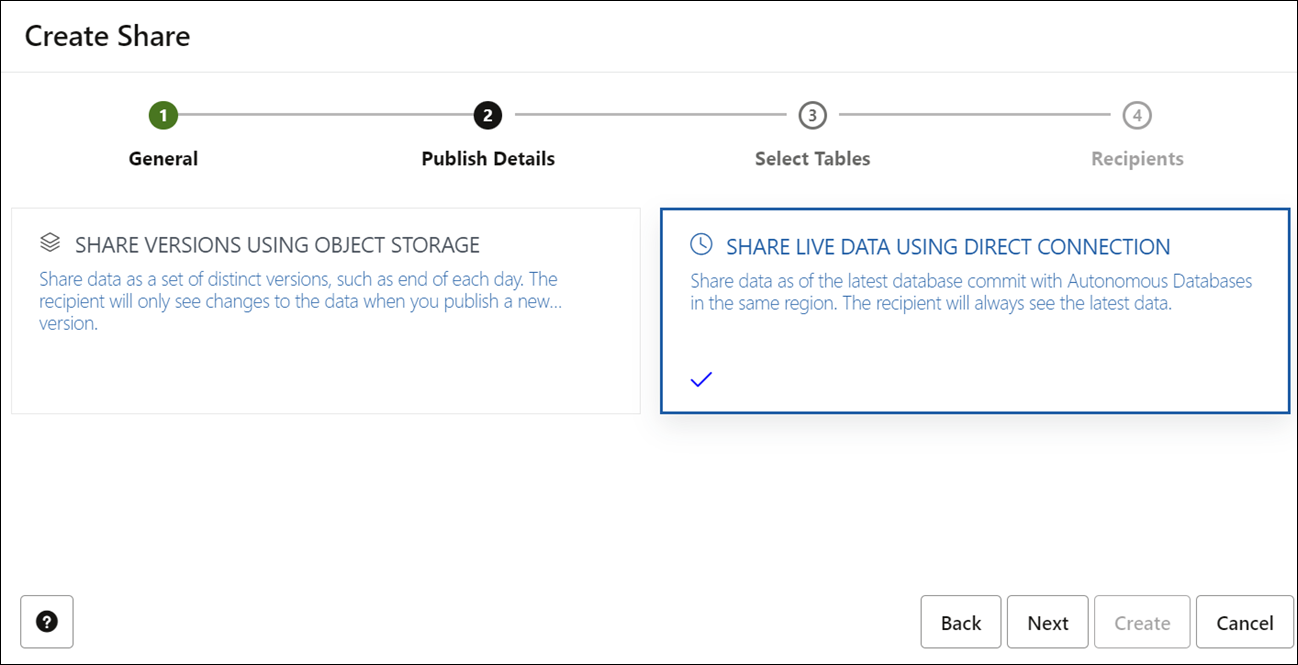
- In the Publish Details Tables tab of the wizard, select SHARE LIVE DATA USING DIRECT CONNECTION.
Click Next.
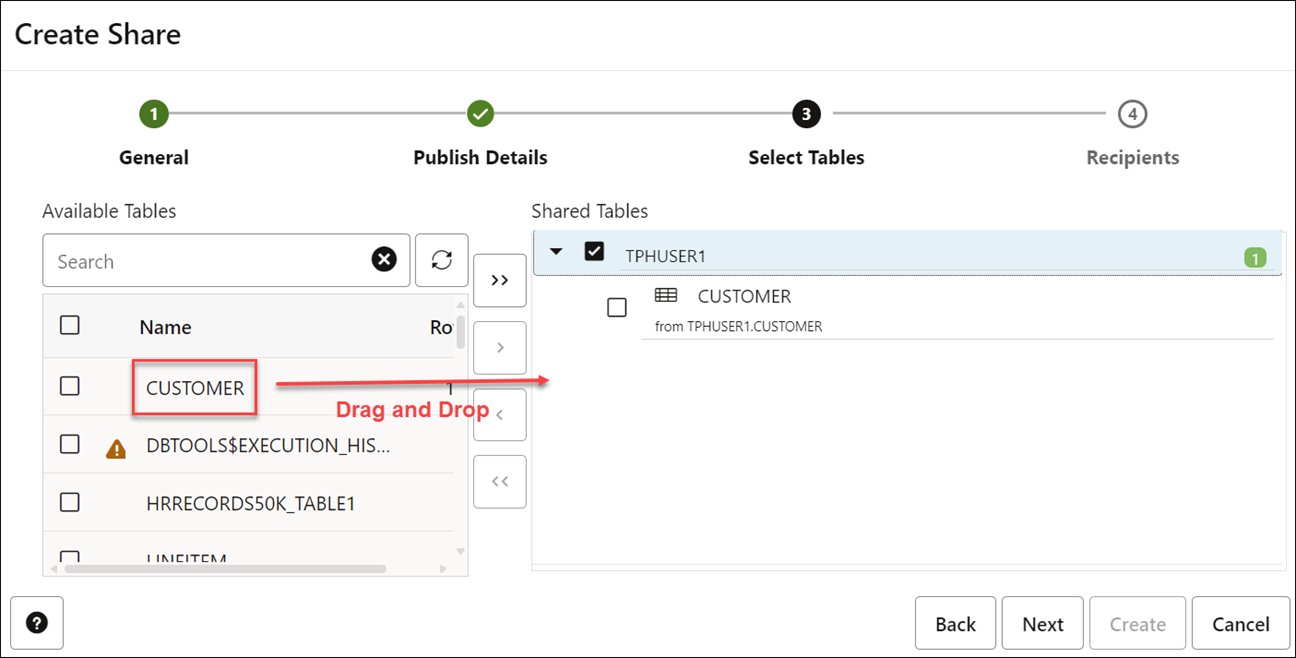
- On the Select Tables tab of the wizard, select the schema from the drop-down menu, drag and drop the
CUSTOMERtable from the Available Tables.Note:
In this example, we are sharing a single table namedCustomerof large size.Click Next to proceed to the Recipients tab of the Create Share Wizard.
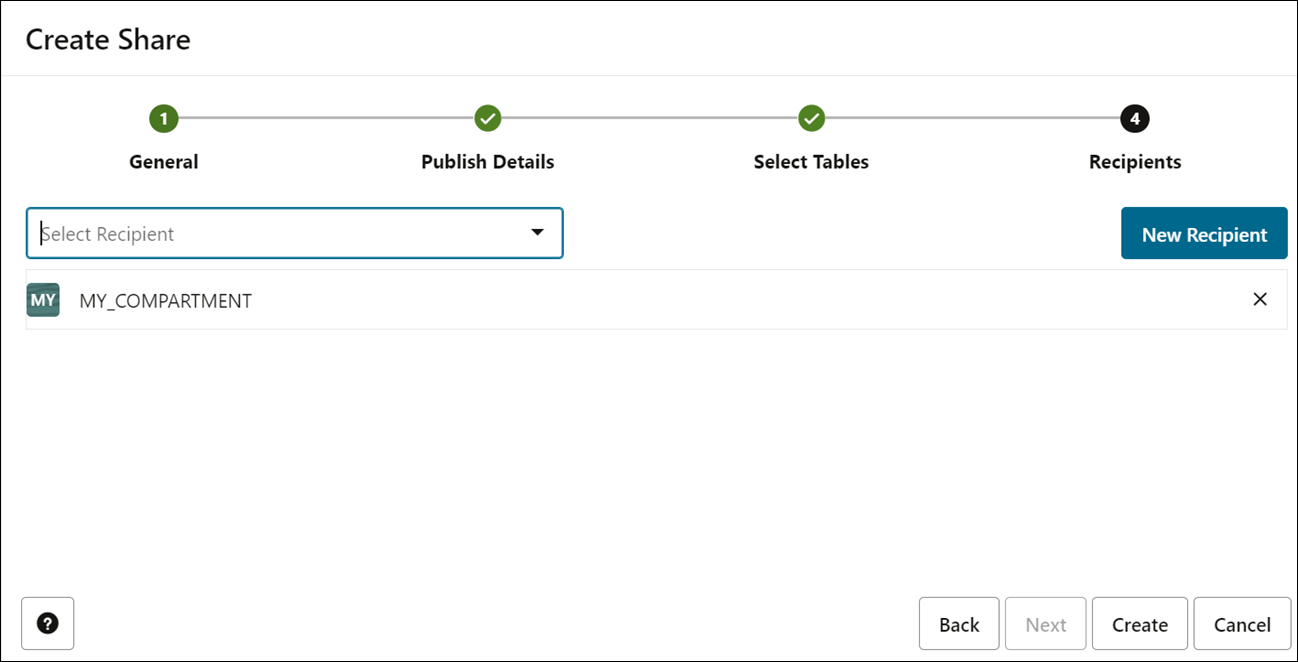
- On the Recipients tab of the Create Share wizard, select
MY_COMPARTMENTfrom the drop-down. - Select Create to create the share.
- Consume Share as a consumer and create external queries on top of your shares to record the query execution time.
- After you have created the share as a provider, you will consume the data shared by the provider.
See Consume Share for more details.
- Log in as a consumer to subscribe to the data share provider and access the data in your share.
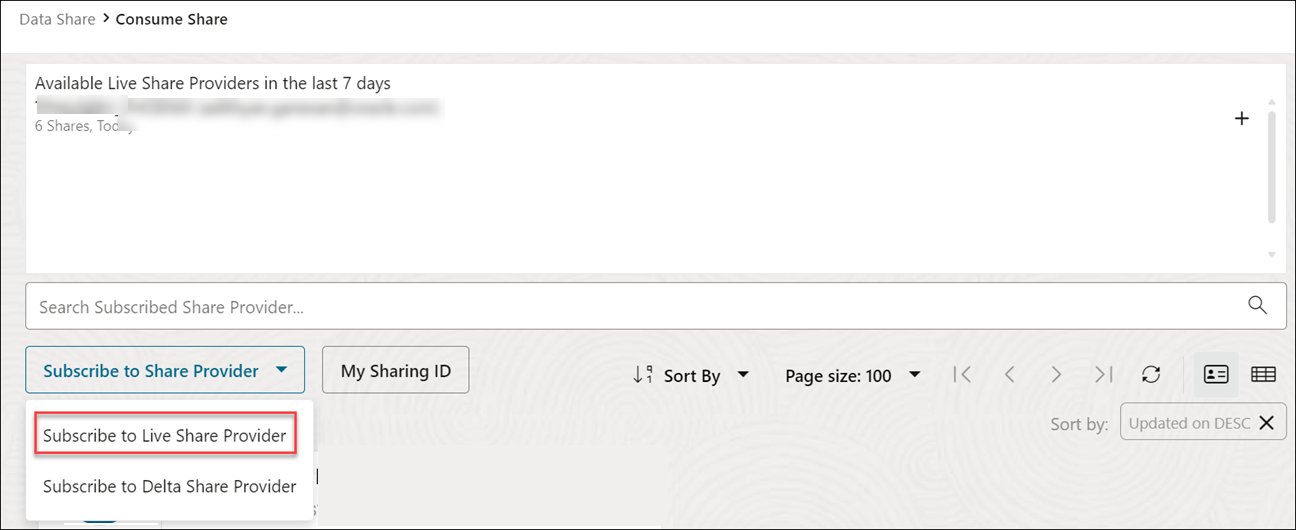
- On the Provider and Consumer page of the Data Share tool, click the CONSUME SHARE tile to display the Consume Share page.
- Click the Subscribe to Share Provider drop-down list, and then click the Subscribe to Live Share Provider option.
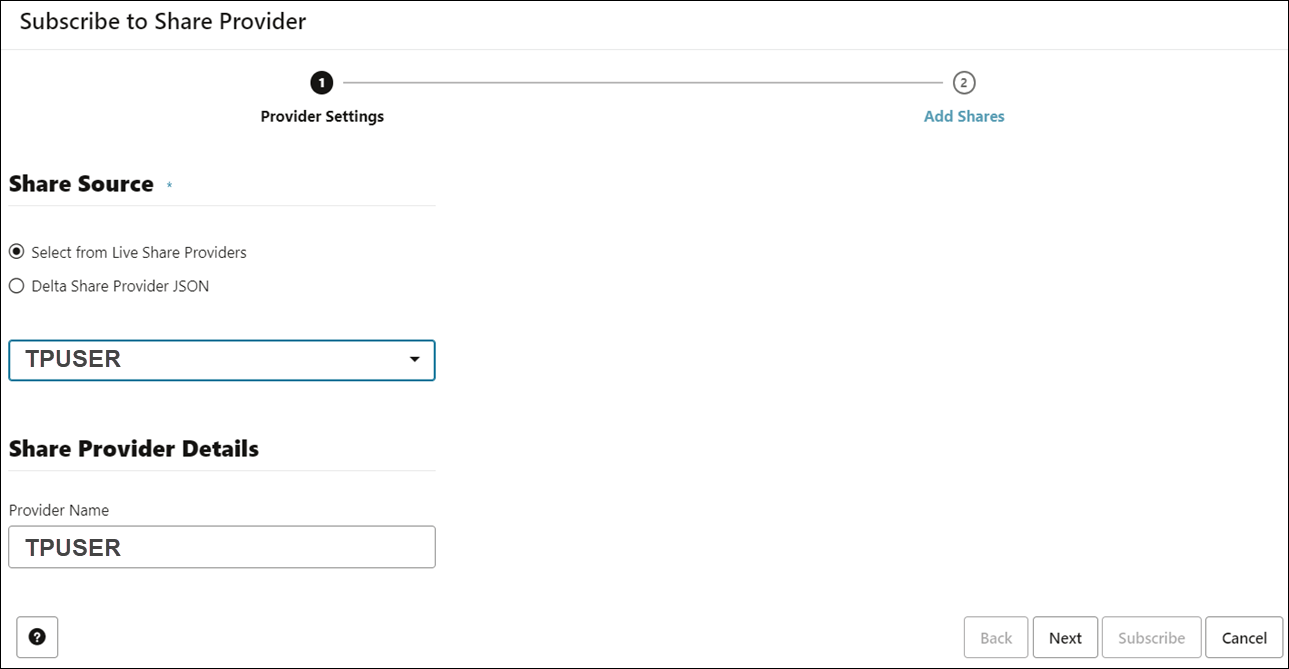
- Under Share Provider Details, select the Provider Name. In this example,
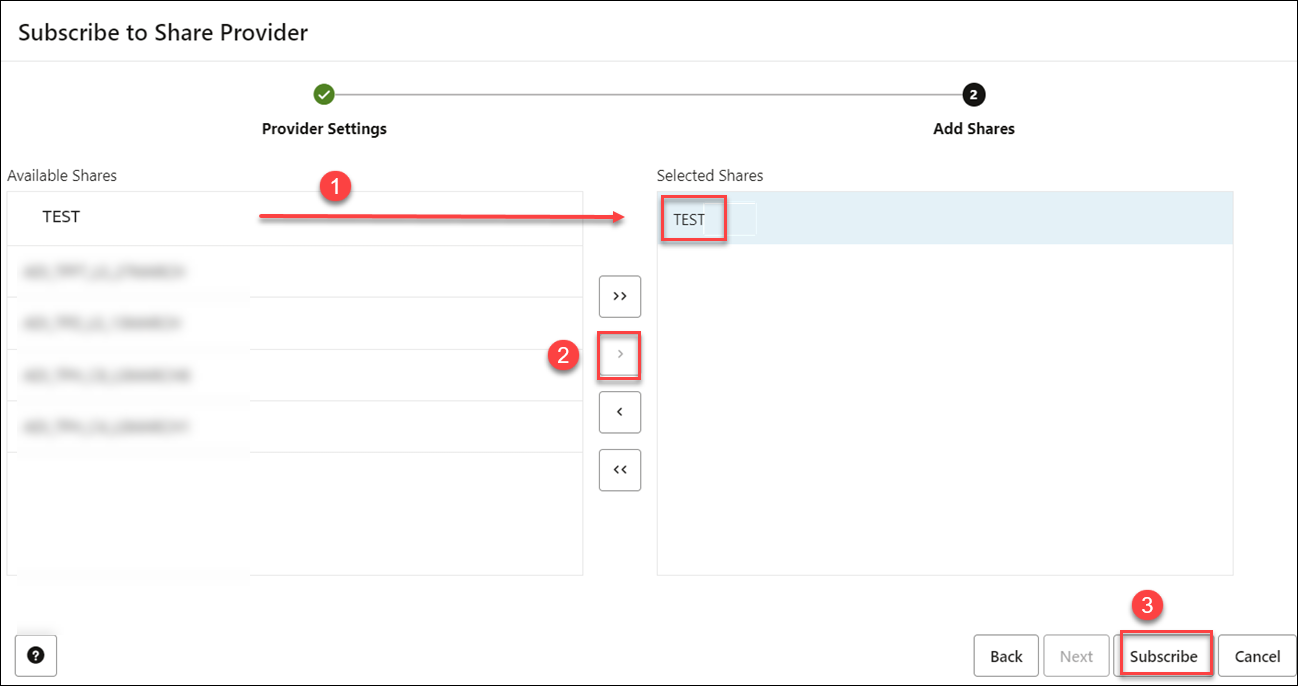
TPUSERis the name of the provider. - On the Add Shares panel of the Subscribe to Share Provider Settings wizard page, click the TEST in the Available Shares section, and then click the (>) icon.
- The tool adds the share to the Selected Shares section. Click Subscribe.
- A
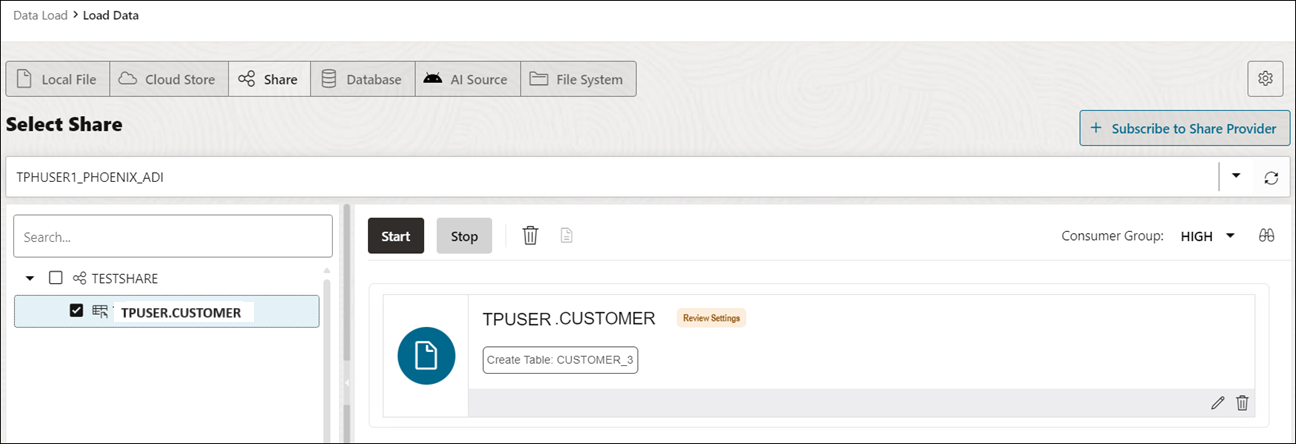
TPUSERshare provider was created successfully informational message is displayed. You are directed to the Load Data page with the Share tab selected. - Expand the
TESTSHAREdata share node to display the objects in it. Drag and drop theTPUSER.CUSTOMERshared table to add it to the data load job. - The shared table is added to the data link job. When you run this job, a new
CUSTOMERview will be created on top of theCUSTOMERtable that was shared with you. - Click Start. A Start Link from Cloud Store dialog box is displayed. Click Run. When the job completes successfully, a link icon is displayed. The
CUSTOMERview is created. - Click the Database Actions | Data Share banner. On the Database Actions | Launchpad, click the Development tab, and then click the SQL tab to display the SQL Worksheet.
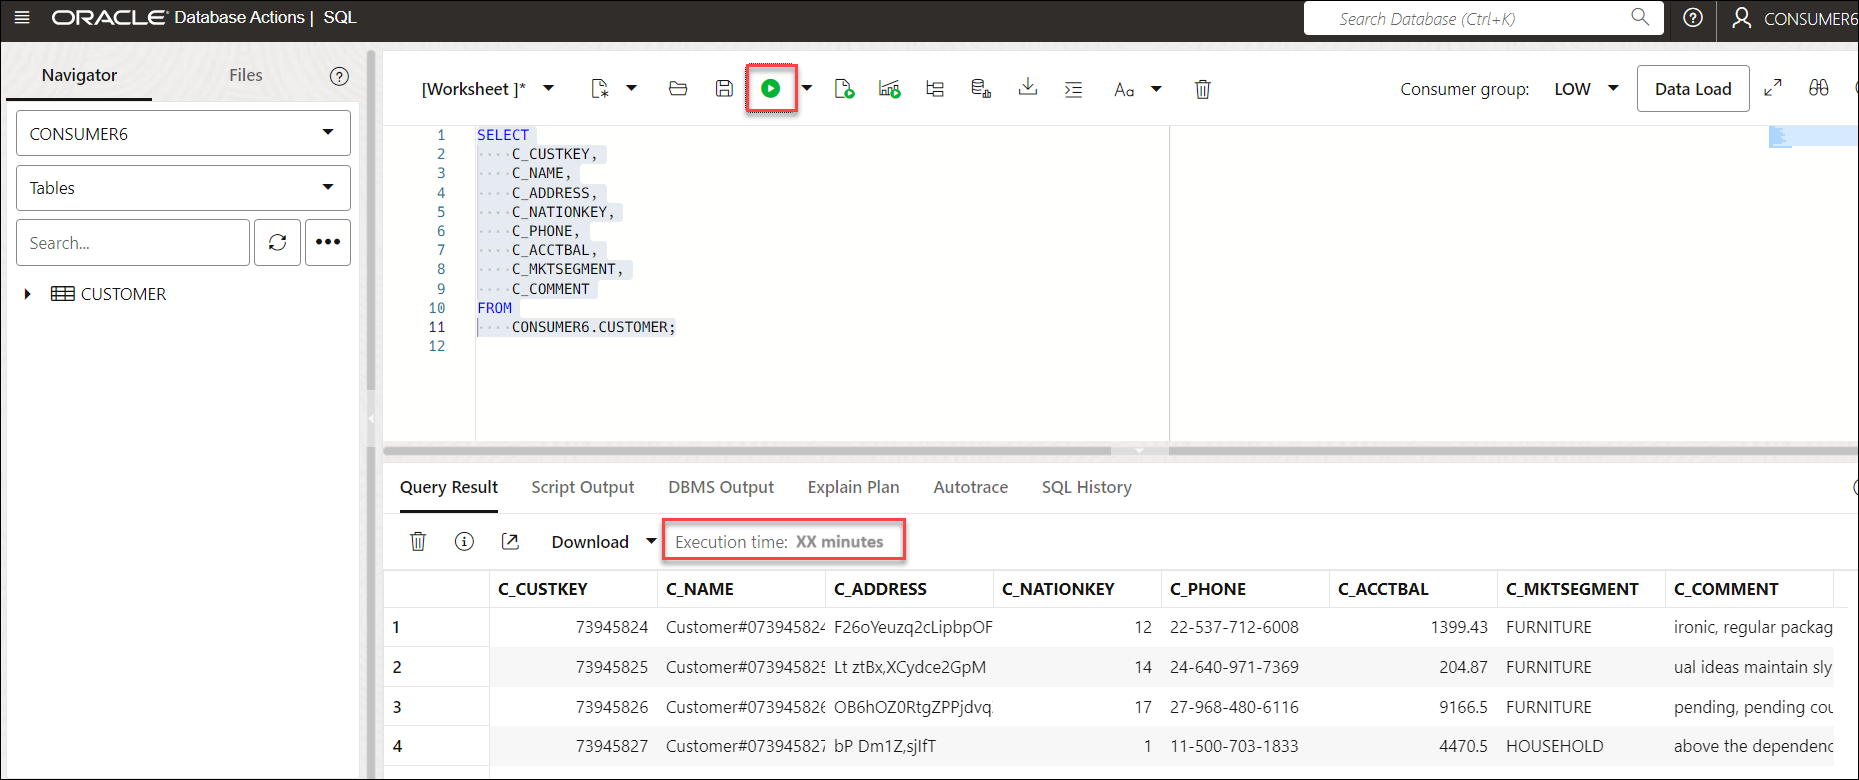
- Drag and drop the
CUSTOMERtable to the SQL worksheet area. - A dialog displays offering the types of available insertions.
- Click Select, then Apply.
- Click Run. You can view the automatically generated query displayed in the Worksheet.
- Note the query execution time in the Execution time field displayed under Query Result tab.
- After you have created the share as a provider, you will consume the data shared by the provider.
- Increase the ECPUs as provider and consumer and record the query execution time.
- Increase the ECPUs of your Autonomous Database instance as a provider and a consumer from your OCI console.
Note:
Make sure you have not enabled Auto Scaling.In this example we have increased the ECPU count to 32. You can upscale the ECPU count to any value of your choice.
- Repeat consuming the same
CUSTOMERshare and calculating the query execution time. There will be no change in the time to query the table.
- Increase the ECPUs of your Autonomous Database instance as a provider and a consumer from your OCI console.
- Configure the DOP value for the
MEDIUMconsumer group.- Log in to your database actions instance as a consumer with
ADMINprivilege. -
Click Selector and under Administration, select Set Resource Management Rules.
-
Decrease the Concurrency limit of the
MEDIUMconsumer group to 8 and click Save Changes. Decreasing the concurrency limit increases the DOP.
Note:
The concurrency limit you set in this step should be lesser than the default value you noted in the prerequisite. - Log in to your database actions instance as a consumer with
- Follow up step- After you configure the degree of parallelism option, repeat the process of consuming the share, creating external queries on top of your shares to record the query execution time.
You will see the value of query execution time has decreased.
The improvement in the performance of the same complex SQL queries happens immediately without restarting the server.
Parent topic: The Data Share Tool
