How-To Instructions for Producing Shares for Versioned Data
Use the Data Share wizard to create and publish shares for versioned data.
Follow these steps:
- Define general data share details.
- Go to the Data Share Tool. See How to Access and Enable the Data Share Tool, for instructions.
- Click Provide Share.
- Click Provider Identification.

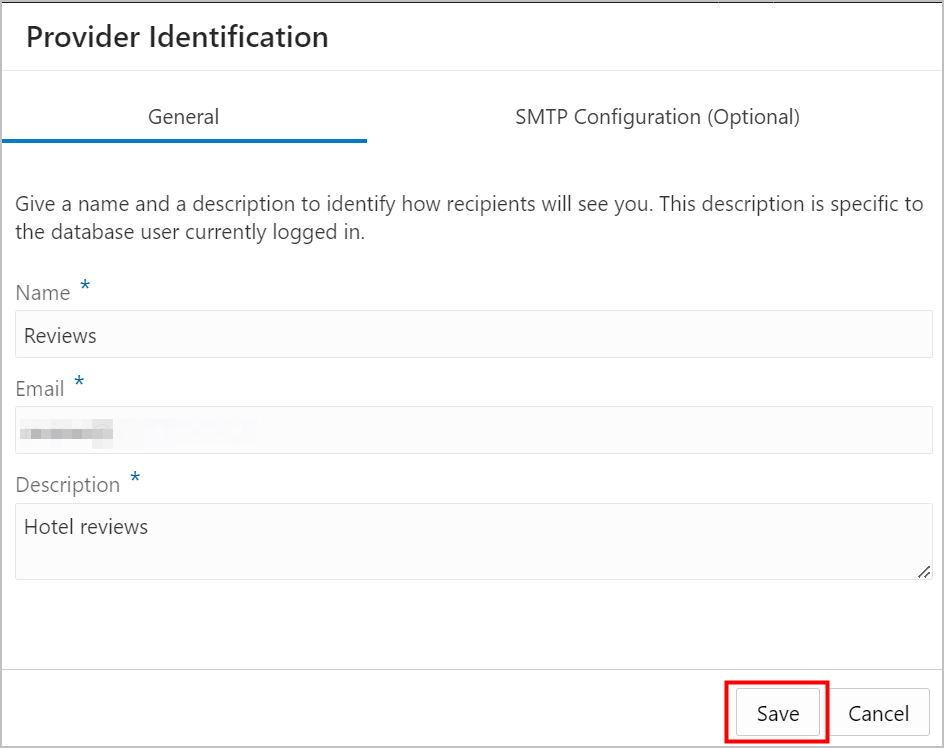
Description of the illustration provider_id.png - Enter a name for the share provider, the share provider email
address and a description, then click Save. This example has the
following entries:
- Name: Reviews
- Email: <obscured>
- Description: Hotel reviews
Description of the illustration provider_id_reviews.png - Click Create Share.
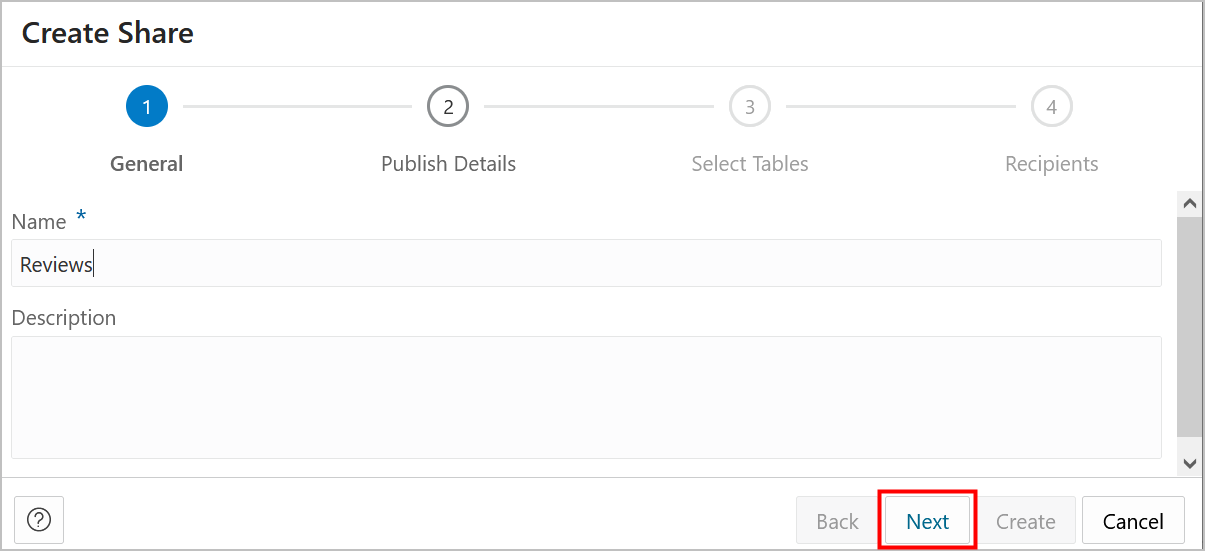
- Enter the Name for the data share on the Create Share dialog, then click Next. This example uses Reviews for the Name.
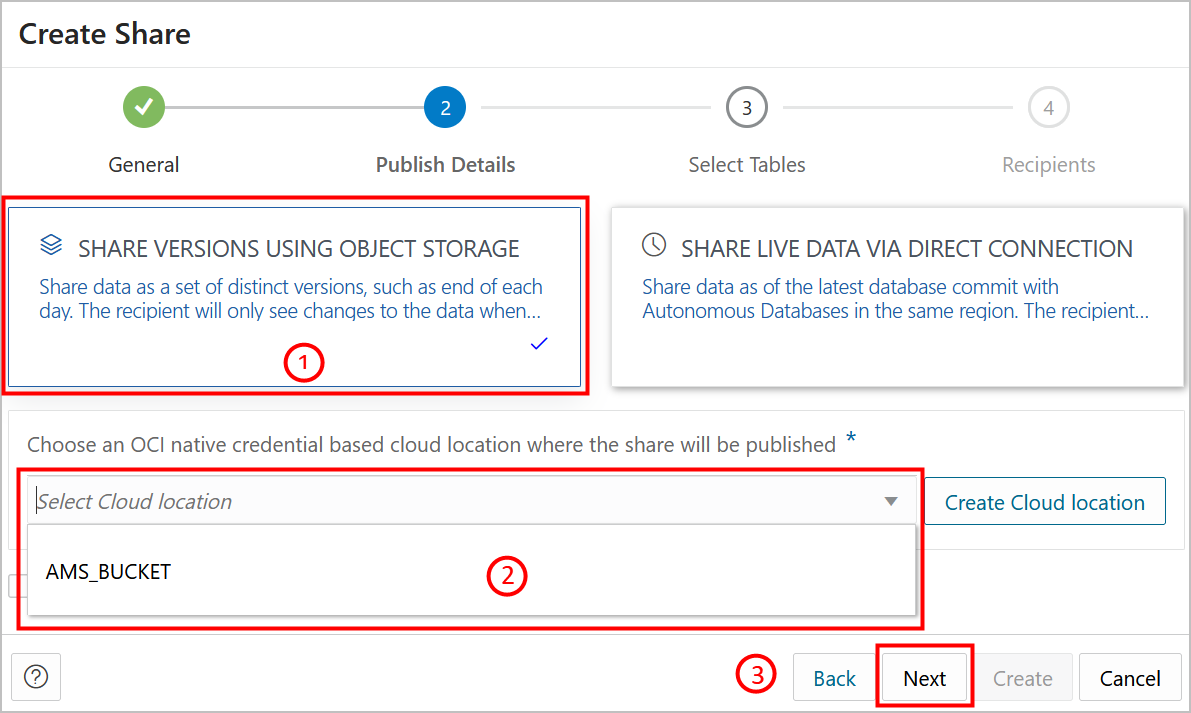
- Specify the Object Storage location.
Select SHARE VERSIONS USING OBJECT STORAGE. Use the Select Cloud Location drop down to find the bucket you want to share. Select the bucket and click Next.
Note:
Data Share only supports OCI Native Credentials for Cloud Locations. To learn more about creating an OCI Cloud Store Location and the credential object needed to access the location, see Managing Cloud Storage Connections, and Create Oracle Cloud Infrastructure Native Credentials respectively. - Select the table to include in the share.
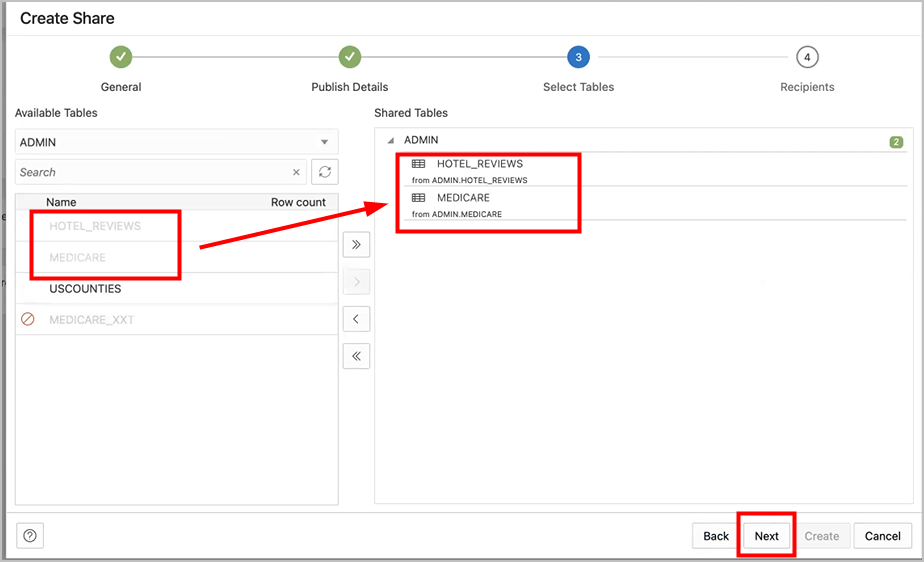
Select the table or tables you want to add to the data share and click Next. In the following screenshot the HOTEL_REVIEWS table and Medicare table is added to the data share.
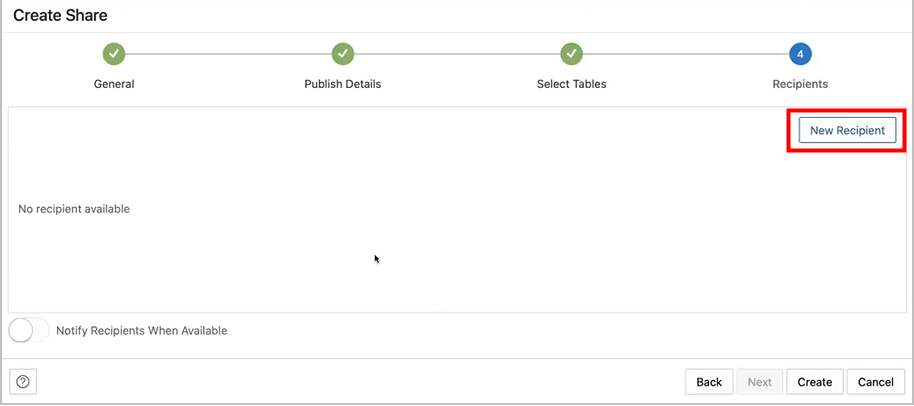
- Associate the share with recipients.
- Click New Recipient to add recipients to the data share.
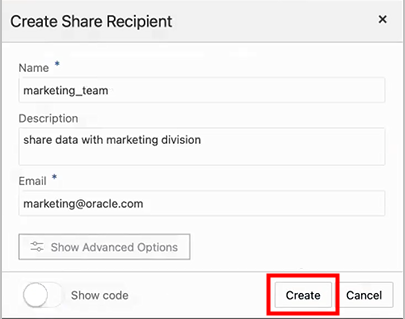
- Enter the recipient's Name, Description (optional), Email, and click Create.
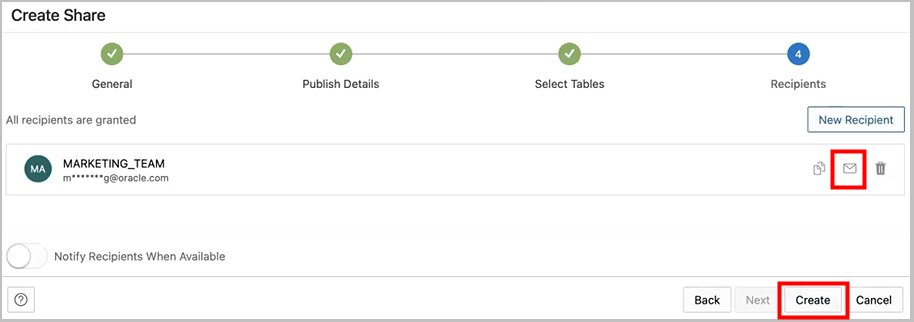
- The new recipient is displayed in the list of recipients for this data share. Click the email icon next to the new recipient to email the activation link to the recipient. Click Create to finish creating the data share.
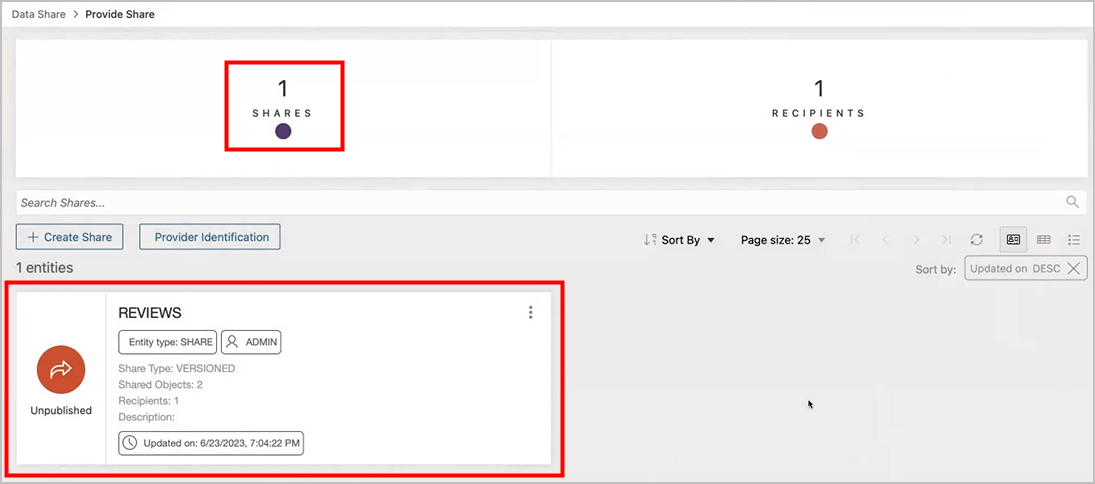
- The Provide page is displayed and shows the number of data shares created and lists the data share details. When the data share is published, an email is sent to the recipient's email. In the example REVIEWS data share, the email is sent to the marketing email.


