Install Essbase on Windows

You're ready to install Essbase on Windows, once the prerequisites are reviewed and addressed.

Prerequisites and Notes

Before you install, review the prerequisites and notes listed below, and also those listed in Prerequisites and Considerations.

  • Supported version of Windows - 2019 or above.
  • Supported version of Oracle Java SDK - latest build of JDK 1.8 must be pre-installed.
  • SET JAVA_HOME as env variable.
  • Supported version of Oracle Fusion Middleware Infrastructure must be installed. See prerequisites and instructions in: Install Fusion Middleware.
  • When Essbase is installed, you receive access to the required services based on your defined role and permissions.
  • There are optional arguments you can enter on the command line, when you launch installation. See Installer Options - Syntax and Commands.
Run Essbase Installer
  1. If you haven't already, download the installer software for Essbase 21c from https://edelivery.oracle.com/osdc/faces/Home.jspx.
  2. Run the Essbase installation jar file.

    For example:

    C:\Program Files\Java\jdk1.8.0_xxx\bin\java.exe -jar
          essbase-21.x.x.x.x-nnn-win64.jar

    The inventory location parameter -invPtrLoc <file> can be added, and the <file> value entered with the full path and name of the oraInst.loc file; this can be found in the Oracle Home folder where Fusion Middleware is installed. See Specify Inventory Location.

    When you enter the above java command, the installer software is extracted. If it doesn’t extract, ensure that you're using Oracle Java 8.
  3. The Next Generation Oracle Universal Installer opens. Review the Welcome page and click Next.
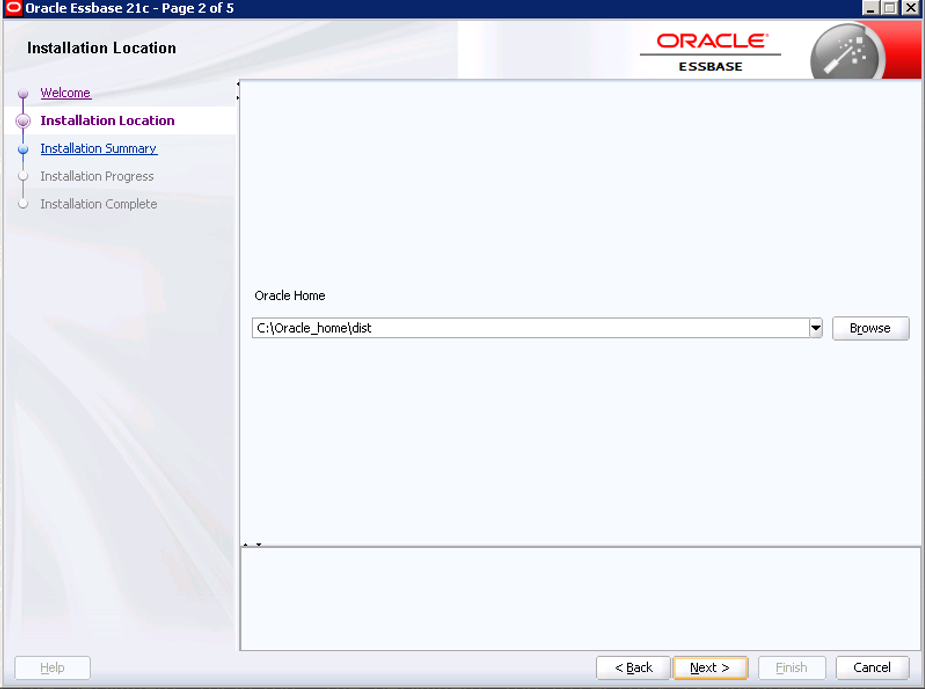
  4. For Installation Location, enter the same <Oracle Home> directory that you used for Fusion Middleware installation, for example, c:\oracle_home\dist. Click Next.
    Installation location page

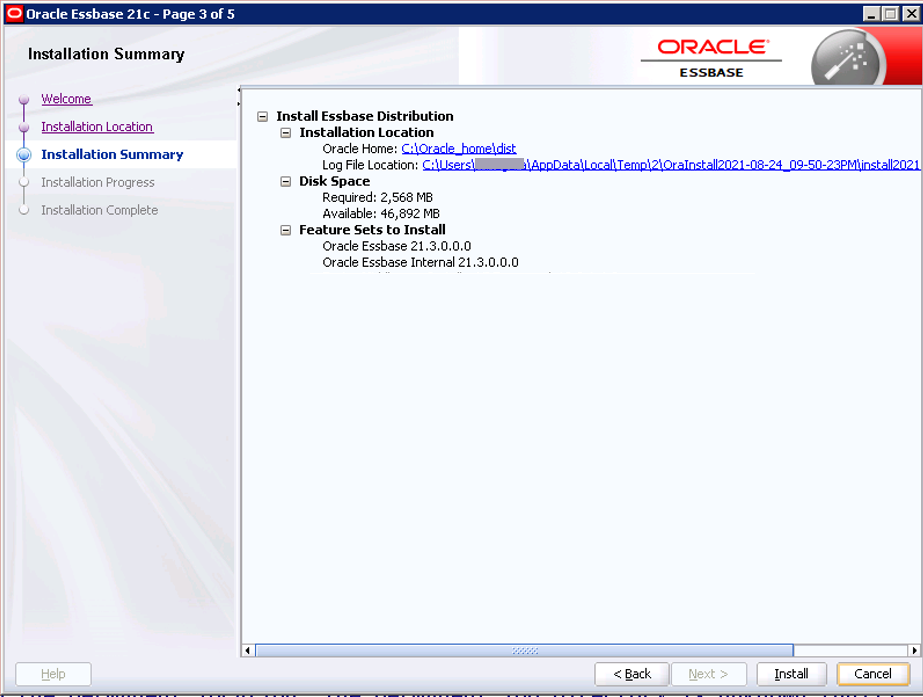
  5. Review Installation Summary (an example is shown below), and click Install.
    Installation summary page

  6. You can monitor the status on the Installation Progress page. After it reaches 100%, click Finish.
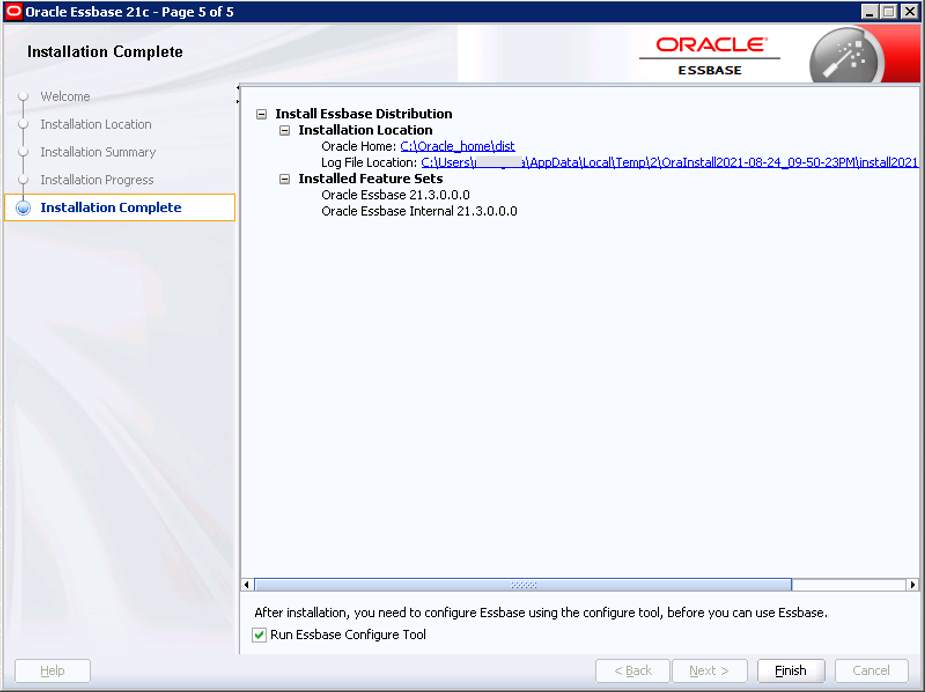
  7. The Installation Complete page is displayed.
    Installation complete page

    1. If you want to proceed now with configuration, select the Run Essbase Configure Tool check box. To complete configuration later (for example, if you choose to pre-create RCU schemas now), leave the check box unselected.
    2. Click Finish.