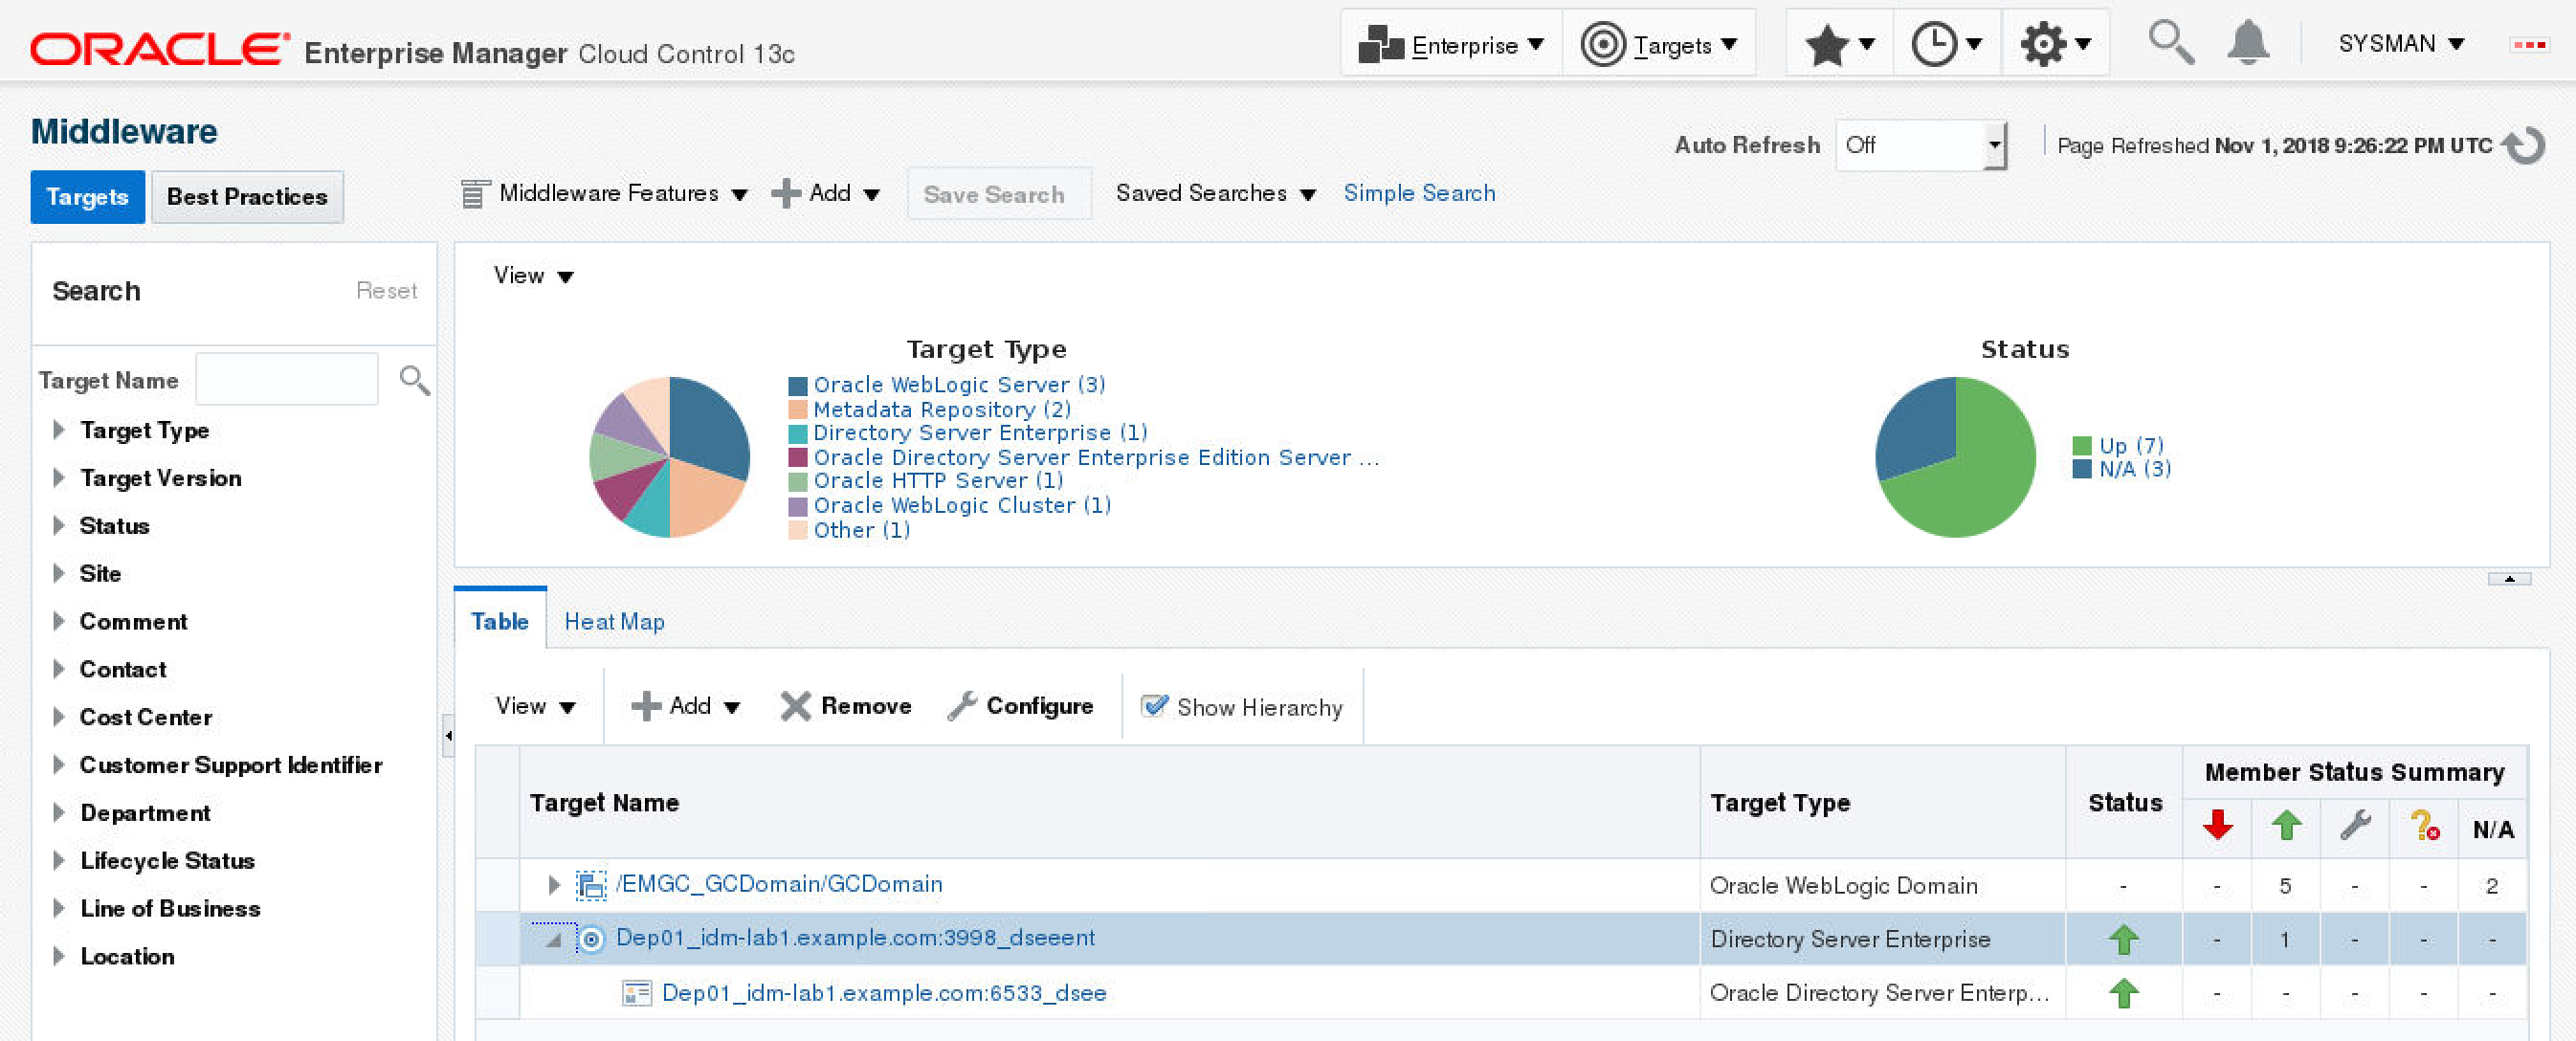
19 Installing Oracle Enterprise Manager Cloud Control (OEMCC) 13.3 and Configuring the Agent on Oracle Directory Server Enterprise Edition (ODSEE)
This chapter describes how you can install Oracle Enterprise Manager Cloud Control (OEMCC) 13c and configure the Agent on Oracle Directory Server Enterprise Edition (ODSEE) 11g for Monitoring.
Installing Oracle Enterprise Manager Cloud Control (OEMCC) 13.3
This section shows an example of installing Oracle Enterprise Manager Cloud Control (OEMCC) 13.3 to monitor Oracle Directory Server Enterprise Edition (ODSEE) 11.1.1.7.181016. Agent installation already exists for ODSEE since ODSEE is on the same host as OEMCC.
Note:
You can also follow the Advanced Configuration step as available in Installing an Enterprise Manager System for a Production Site (Advanced Configuration).-
Run
em13300_linux64.bin.-
Download the following files for OEMCC 13.3 and save in the same directory:
-
em13300_linux64-2.zip em13300_linux64-4.zip em13300_linux64-6.zip -
em13300_linux64-3.zip em13300_linux64-5.zip em13300_linux64.bin
-
-
Run the
.binfilechmod +x em13300_linux64.bin. -
Run
./em13300_linux64.bin.Note:
If the/tmpdirectory does not have enough space , thenem13300_linux64.bincan not be run to install OEMCC. Run./em13300_linux64.bin -J-Djava.io.tmpdir=/refresh/EM13.3/tmpto specify a tmp directory that has greater than 10GB of space.
-
-
Enter My Oracle Support Details..
-
Click Next.
-
Install the software updates.
-
Check the prerequisites.
-
Click Next.
-
Select the Installation Types (Simple or Advanced).
-
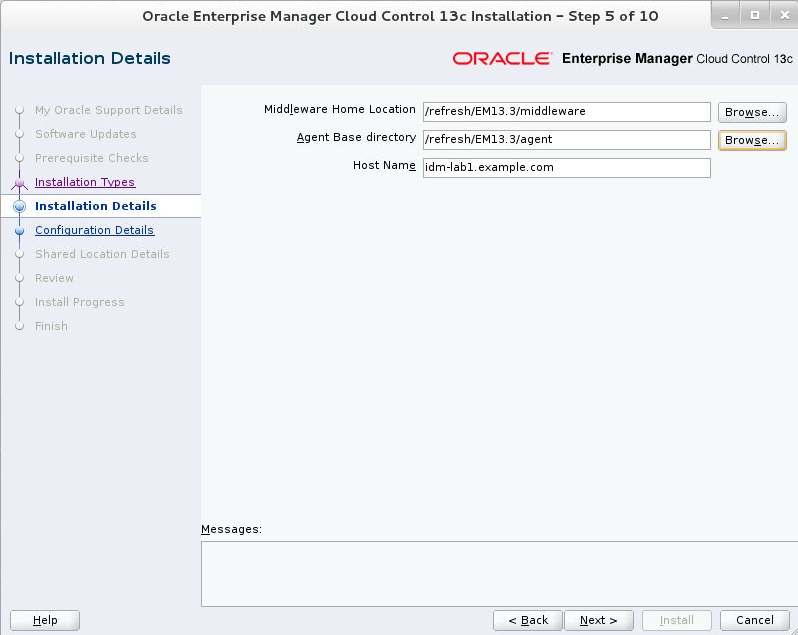
In the Installation Details dialog box, specify the Middleware Home, Agent Base directory, and Host Name.
-
Click Next.
-
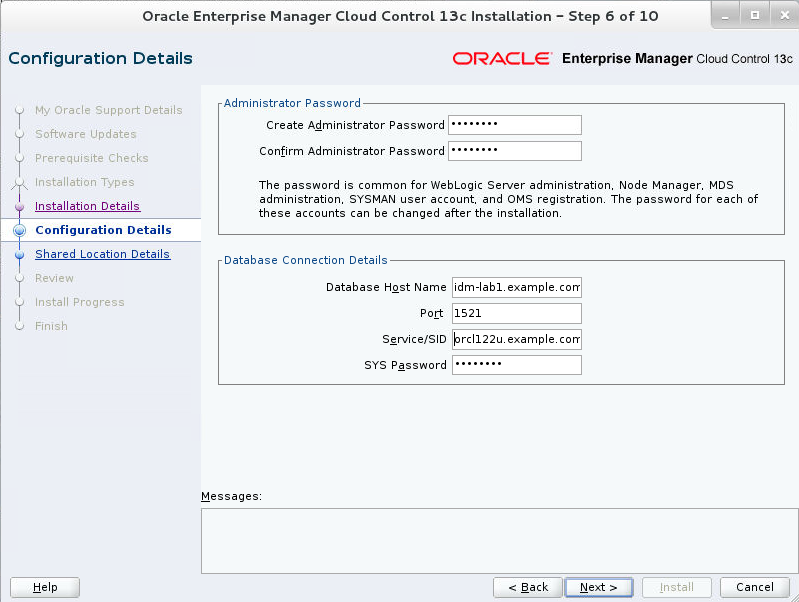
Enter the Configuration Details.
-
Click Next.
-
Configure Shared Locations.
-
Click Next.
-
Review and Install.
-
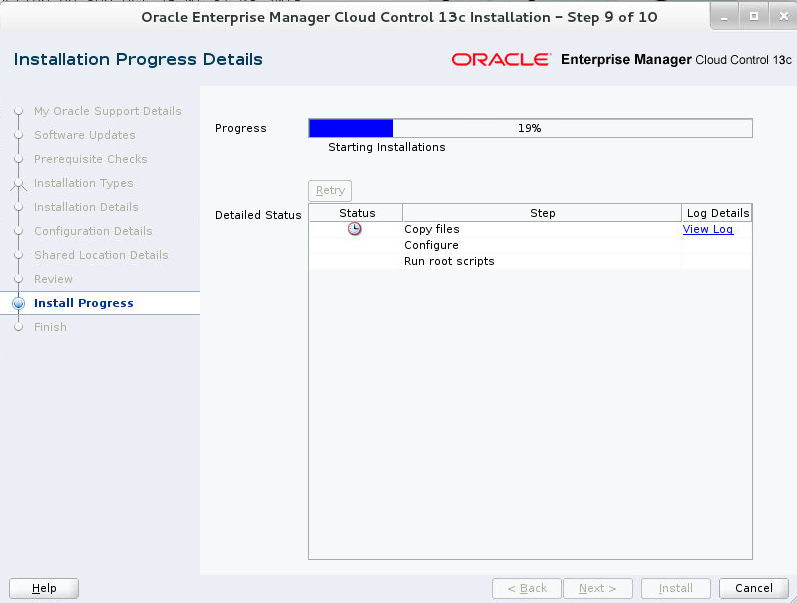
Track the Progress.
Note:
This stage of installation alerts you of any database repository prerequisite issues. -
Run the
allroot.shscript as root. -
Click Finish to end the installation.
Login to Oracle Enterprise Manager Cloud Control (OEMCC)
After you are done with OEMCC installation, you can login to the Enterprise Manager console.
-
Enter the Enterprise Manager Cloud Control url obtained at the last step of installation in your browser.
The OEMCC 13c Login page appears.
-
Login as a SYSMAN using the administrator password specified during installation.
-
Accept the License Agreement.
The OEMCC 13c home page appears.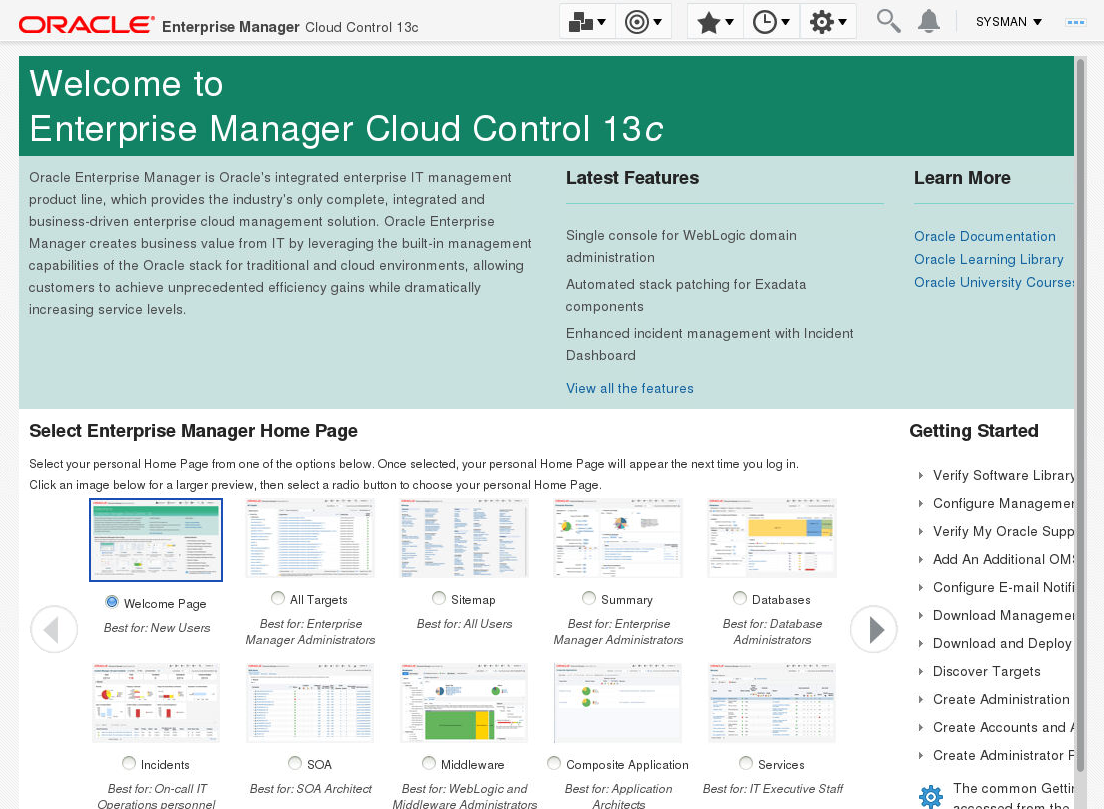
Configuring Oracle Directory Server Enterprise Edition (ODSEE) as a Middleware Target
The Middleware Target configuration uses the Directory Service Control Center (DSCC) to monitor each ODSEE instance. This means that each ODSEE instance that is intended to be monitored by OEMCC has to be registered in the DSCC.

