30 Removing Standby Oracle Management Services
This chapter describes how to remove standby Oracle Management Services (OMS) from a Level 4 High Availability (HA) configuration. The following OMS removal scenarios are covered:
Removing Additional Standby OMS Instances
To remove an additional standby OMS instance, follow these steps:
-
Deconfigure and delete an additional standby OMS instance by running the following command from the OMS home:
$<OMS_HOME>/bin/omsca delete -OMSNAME <oms_name>When prompted, enter the repository login credentials.
Note:
Run this command on each of the additional standby OMS instances.
-
From the Enterprise Manager console, refresh the Weblogic domain.
-
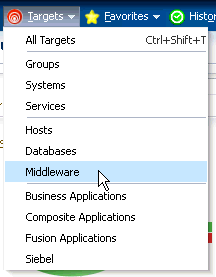
From the Targets menu, select Middleware.
Figure 30-1 Middleware Menu

-
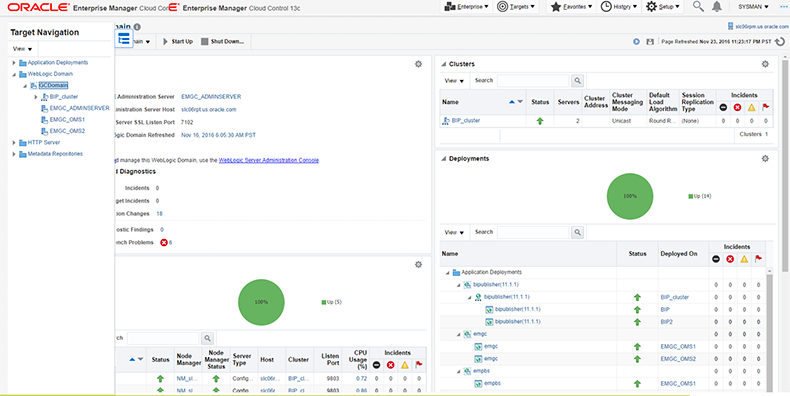
Click the WebLogic Domain you want to refresh. The domain home page displays.
Figure 30-2 Domain Home Page

-
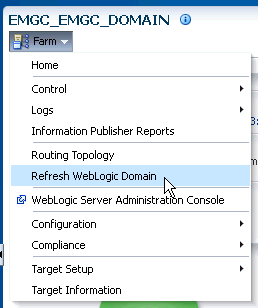
From either the Farm or WebLogic Domain menu, select Refresh WebLogic Domain.
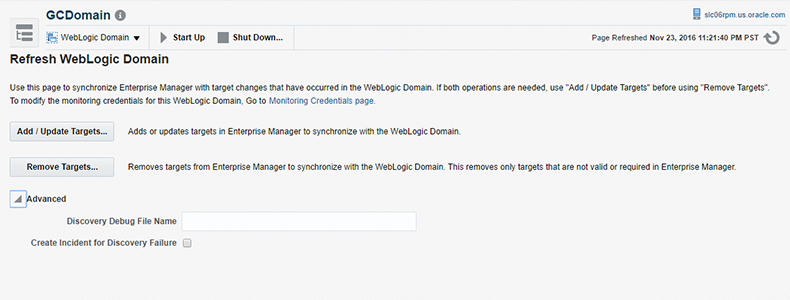
Enterprise Manager displays available Refresh WebLogic Domain options.Figure 30-3 Refresh WebLogic Domain

Figure 30-4 Refresh WebLogic Domain

-
Click Add/Update Targets on the Refresh Weblogic Domain page. The Management Agent refreshes by connecting to the Administration Server. The Administration Server must be up for the refresh to occur.
Click Close on the Confirmation page. Cloud Control will search the domain for new and modified targets.
-
-
Delete the OMS target associated with the OMS.
-
From the Target Navigation area, click the target associated with the additional standby OMS you deconfigured earlier.
-
From the WebLogic menu, select Target Setup and then Remove Target. Enterprise Manager displays a Warning dialog asking if you wish to continue. Click Yes.
-
-
Repeat this deinstallation procedure for all remaining additional standby OMSs.
Removing the First Standby OMS
To remove the first standby OMS, follow these steps:
Note:
DO NOT attempt to deinstall the first standby OMS if there are any remaining additional standby OMSs within your environment. See "Removing Additional Standby OMS Instances" for instructions on removing additional standby OMSs.
-
Deconfigure and delete the first standby OMS instance by running the following command from the OMS home:
$<OMS_HOME>/bin/omsca delete -fullNote:
You are prompted to confirm your action, and furnish the AdminServer credentials and the repository database details such as the database host name, listener port, SID, and password. Once you provide the required details, the command automatically stops the OMS, Oracle WebLogic Server, and also Oracle WebTier.
-
Delete the OMS target associated with the OMS.
-
From the Target Navigation area, click the target associated with the first standby OMS you deconfigured earlier.
-
From the WebLogic menu, select Target Setup and then Remove Target. Enterprise Manager displays a Warning dialog asking if you wish to continue. Click Yes.
-