- Cloud Control Basic Installation Guide
- Installing Cygwin and Starting the SSH Daemon
- Installing Cygwin
Installing Cygwin
- Access the following URL, then click Install Cygwin:
- Download the 32-bit version (if you are running a 32-bit version of Microsoft Windows) or the 64-bit version (if you are running a 64-bit version of Microsoft Windows) of the Cygwin setup executable.
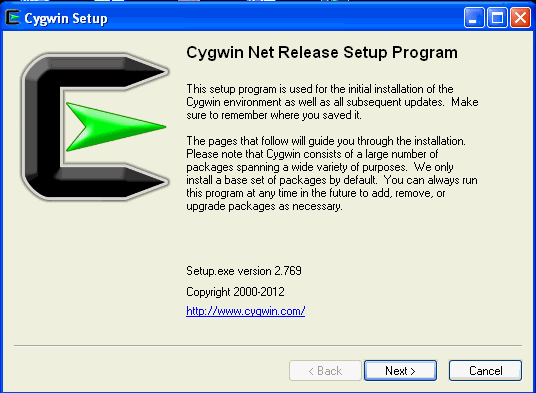
- Run the setup executable, then click Next to proceed.
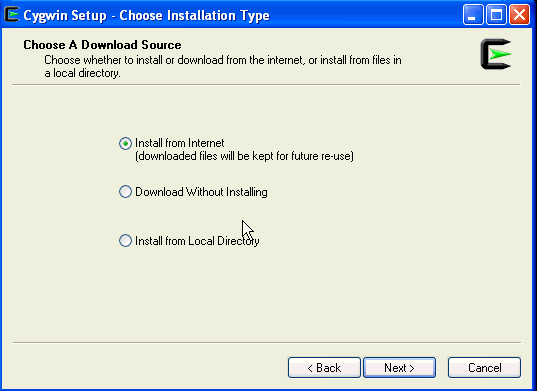
- On the Choose Installation Type screen, select Install from Internet, then click Next.
- On the Choose Installation Directory screen, enter
C:\cygwinas the Root Directory, then click Next.Note:
If you choose to install Cygwin in a different directory, then ensure that you update the
SSH_PATH, SCP_PATH, MKDIR_PATH, SH_PATH, CHMOD_PATH,andTRUEproperties present in the$<ORACLE_HOME>\oui\prov\resources\ssPaths_msplats.propertiesfile to their proper Cygwin binary values, after installing the Enterprise Manager system.For example, if you choose to install Cygwin in the
D:\software\cygwindirectory, then update the specified properties in the following manner:SCP_PATH=D:\software\cygwin\bin\scp.exe SH_PATH=D:\software\cygwin\bin\sh.exe CHMOD_PATH=D:\software\cygwin\bin\chmod.exe LS_PATH=D:\software\cygwin\bin\ls.exe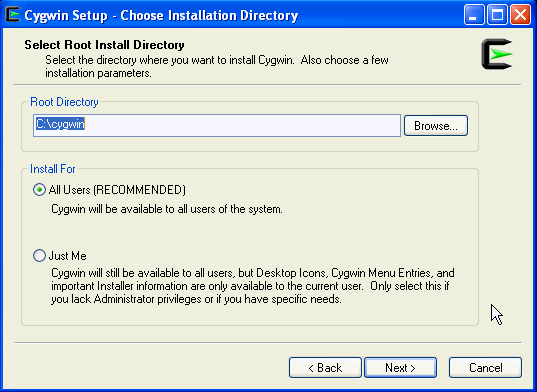
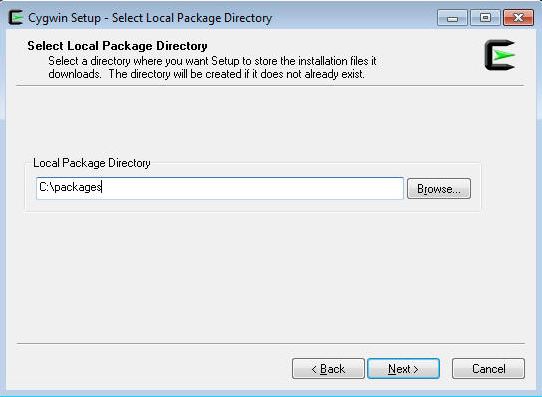
- On the Select Local Package Directory screen, select a directory on your local machine where you want to store the downloaded installation files, then click Next.
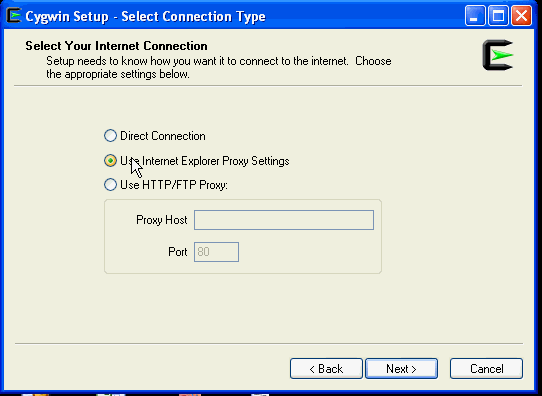
- On the Select Connection Type screen, select appropriate settings to connect to the internet, then click Next.
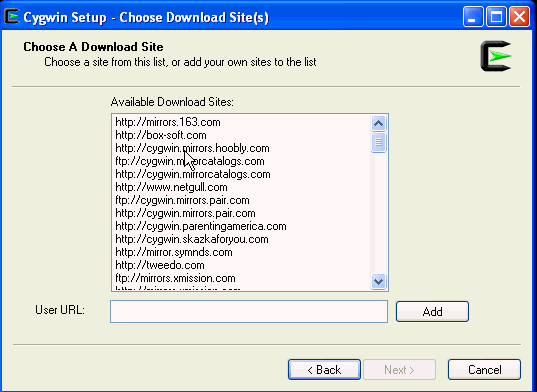
- On the Choose Download Site(s) screen, select any site from the available list, then click Next.
- On the select packages screen, ensure that you select the following packages, then click Next:
From the Archive category, select
unzipandzipas follows:
From the Net category, select
opensshandopensslas follows:
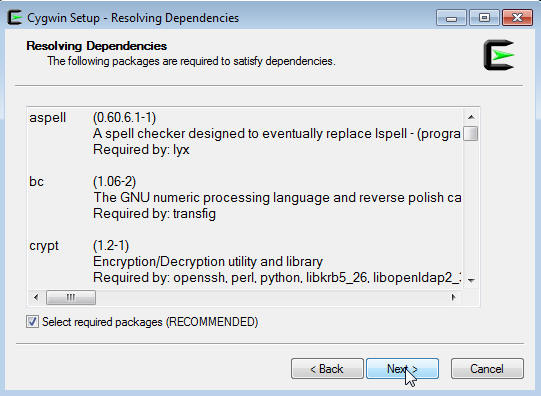
After selecting the packages and clicking Next, the Resolving Dependencies screen is displayed. Click Next to proceed.
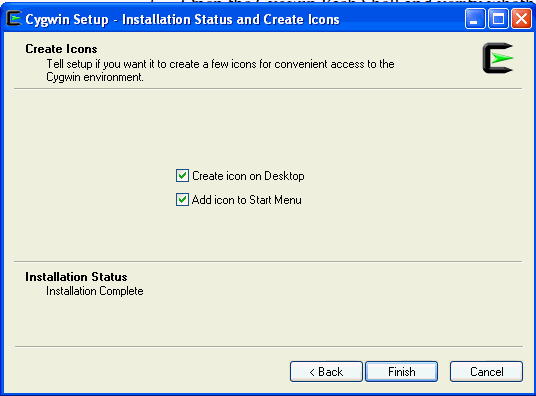
- On the Installation Status and Create Icons screen, do not make any changes. Click Finish to complete the installation process.
