3.6.6 Procedure 20 RESTORE SERVDI BACKUP
Table 3-24 Procedure 20 RESTORE SERVDI BACKUP
| STEP # | This procedure restores the SERVDI Backup to the ELAP. Note: Estimated time of completion is 30 minutes. Check off (✓) each step as it is completed. Boxes have been provided for this purpose under each step number. Should this procedure fail, Contact Oracle technical services and ask for FULL UPGRADE ASSISTANCE. | |
|---|---|---|
|
1. ☐ |
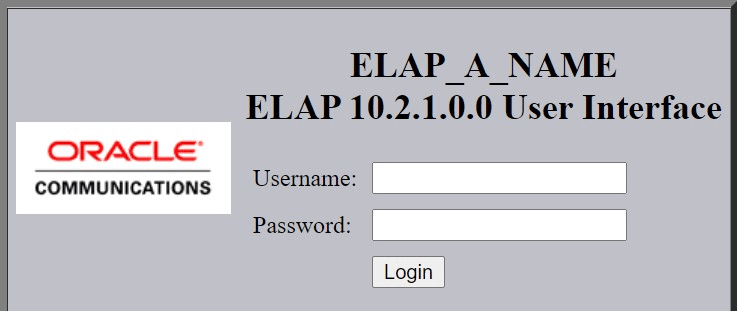
Active ELAP GUI: Using the new Virtual IP address (VIP) configured in step Procedure 12, Step 5 of Procedure 13, login to Active ELAP. |
 |
|
2. ☐ |
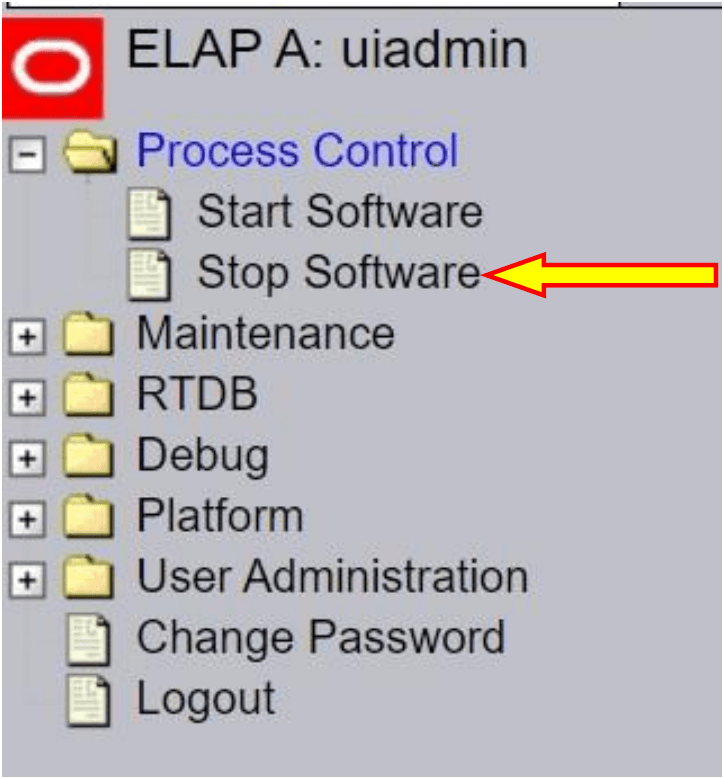
Active ELAP GUI:
|
 |
|
3. ☐ |
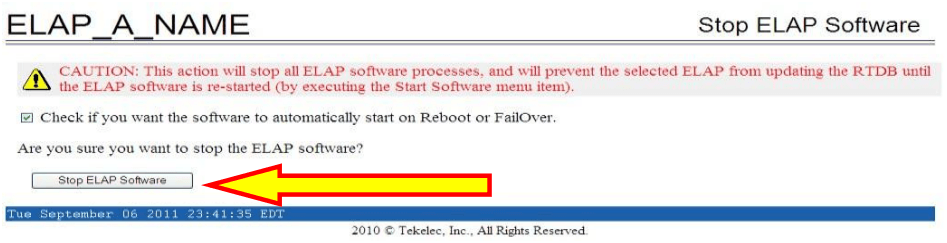
Active ELAP GUI: In the right panel, click on the “Stop ELAP Software” button. |
 |
|
4. ☐ |
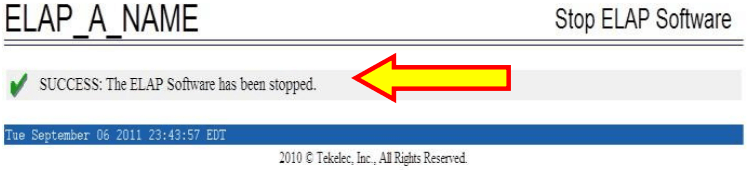
ELAP A GUI: A message indicating that the ELAP software has been successfully halted should appear in the right panel. |
 |
|
5. ☐ |
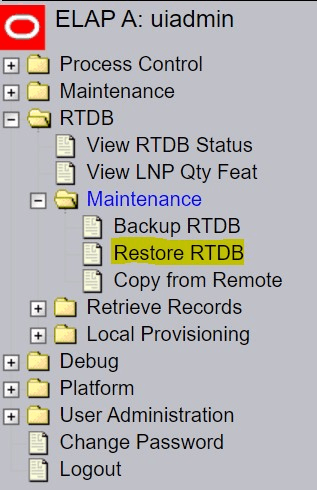
ELAP-A G 1) Expand the “RTDB” folder. 3.6.1.1 2) Expand the “Maintenance” sub-folder. 3) Select the “Restore RTDB” link. |
 |
|
6. ☐ |
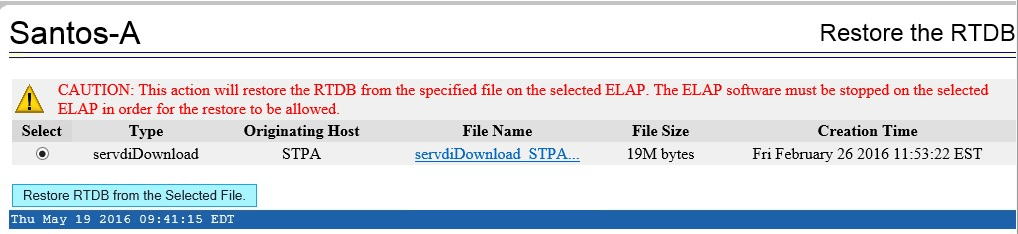
ELAP-A GUI:
|
 |
|
7. ☐ |
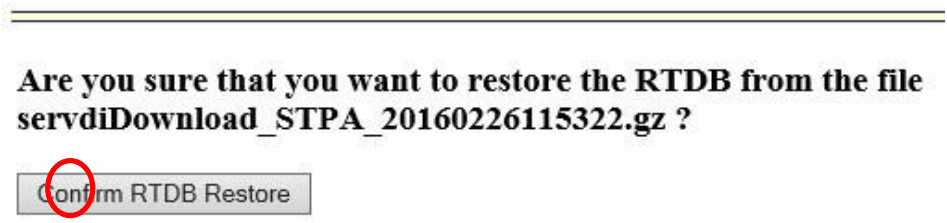
ELAP A GUI: Click on the “Confirm RTDB Restore” button. |
 |
|
8. ☐ |
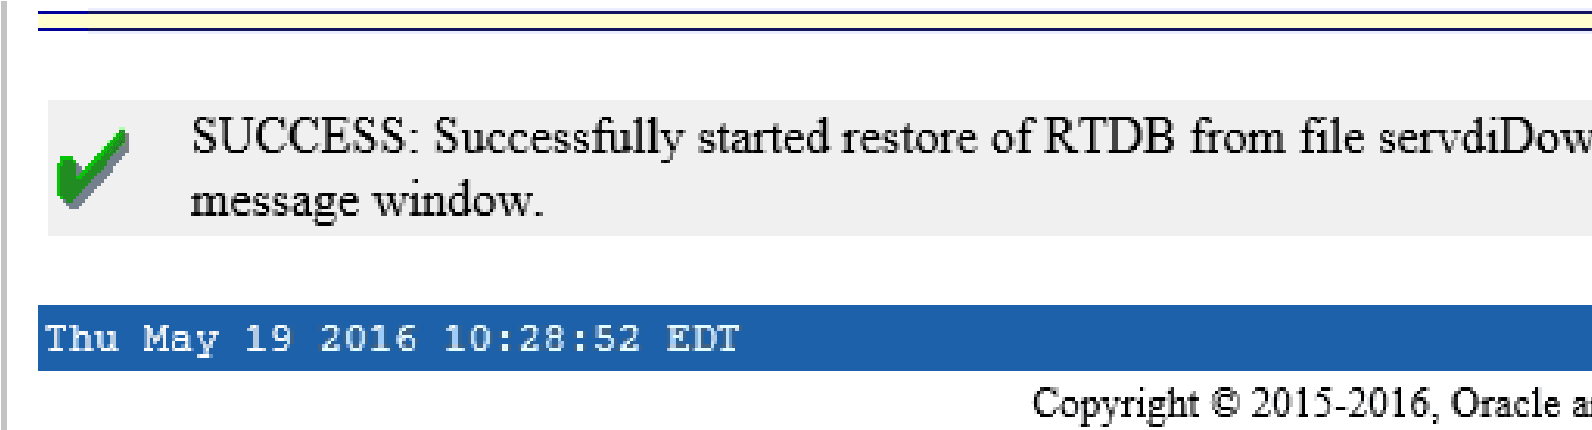
ELAP A GUI: A message showing that the RTDB Restore has been successfully started should appear in the right frame. |
 |
|
9. ☐ |
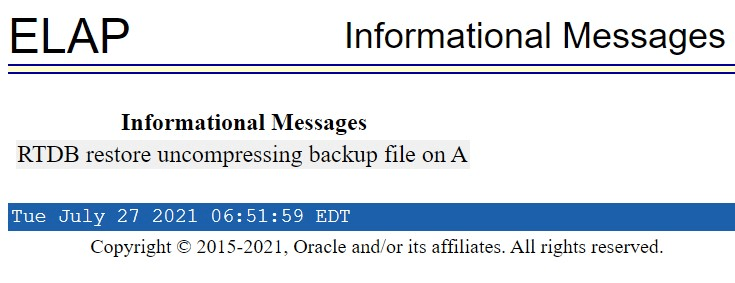
3.6.1.2 ELAP A GUI: The GUI banner should begin displaying the message shown to the right. |
 |
|
10. ☐ |
ELAP A GUI: The messages shown to the right display the stages of the RTDB Restore. Monitor these messages in the GUI banner as the process progresses. |
    |
|
11. ☐ |
ELAP A: The banner messages may alternatively be viewed from the command line using the “manageBannerInfo” command. NOTE: During this transitory state, access to the ELAP-A GUI may terminate unexpectedly. If sustained GUI access is problematic at this time, you may monitor these messages from the ELAPA command line. |
|
|
12. ☐ |
ELAP A: If monitoring from the ELAP-A command line, the messages shown to the right display the stages of the RTDB Restore. |
|
|
13. ☐ |
ELAP A GUI:
|
|
|
14. ☐ |
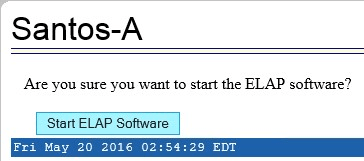
ELAP A GUI: In the right panel, click on the “Start ELAP Software” button. |
 |
|
15. ☐ |
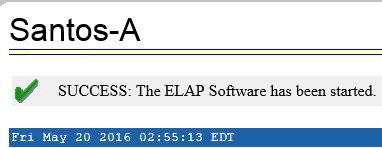
ELAP A GUI: A message indicating that the ELAP software has been successfully started should appear in the right panel. |
 |
|
16. ☐ |
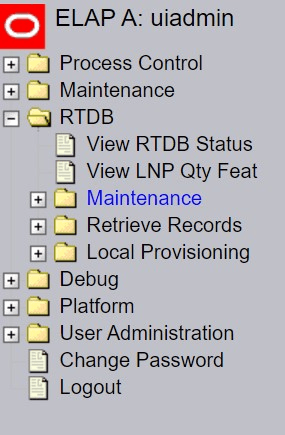
ELAP A GUI: 3.6.1.3 1) Expand the “RTDB” folder. 2) Select the “View RTDB Status” link. |
 |
|
17. ☐ |
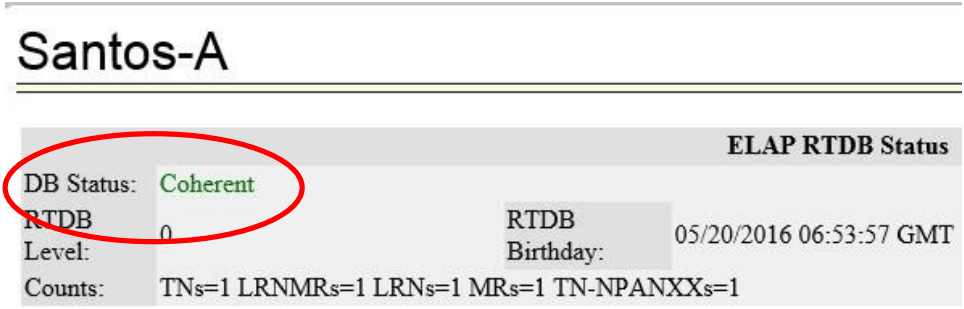
ELAP A GUI: Verify the “DB Status” and the “RTDB Level” shown in the right panel. |
 |
|
18. ☐ |
ELAP A GUI: Record the “DB Status” and the “RTDB Level” shown in the previous STEP. |
|
|
19. ☐ |
LSMS: Login to the LSMS CLI as the “lsmsadm” user. |
|
|
20. ☐ |
LSMS: Login to the LSMS CLI as the “lsmsadm” user. |
|
|
21. ☐ |
LSMS: Execute an “eagle status” command to verify the current status of the CLLI (EMS site being fully upgraded to 10.1). |
|
|
22. ☐ |
LSMS: Execute an “eagle stop” command using the CLLI of the EMS site being migrated to 11.0. |
|
|
23. ☐ |
LSMS: Execute an “eagle start” command using the CLLI of the EMS site being fully upgraded to 11.0. |
|
|
24. ☐ |
LSMS:
|
|
|
25. ☐ |
ELAP A GUI: Note down the timestamp in log. |
Run the following command:
|
This procedure is complete!