3.7.2 Procedure 13 Configure Time Zone and Clock
Table 3-18 Procedure 13 – Configure Time Zone and Clock.
| S T EP # | This procedure configures the time zone and clock.Estimated time: 5 minutesNote: Below procedure needs to be executed on both MPS A and B servers. | |
|---|---|---|
|
☐1. |
MPS X: Log in to the server as the user “root”. |
|
|
☐2. |
MPS X: Start lsmsmgr utility by logging in as lsmsmgr user. |
# su - lsmsmgr |
|
☐3. |
MPS X:: Verify time zone. |
Select Server Configuration and press [ENTER]. 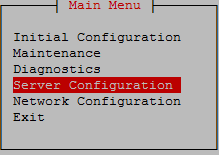 Select Time Zone and press [ENTER]. 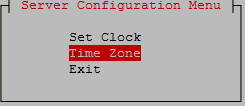 The screen shows the current time zone setting. 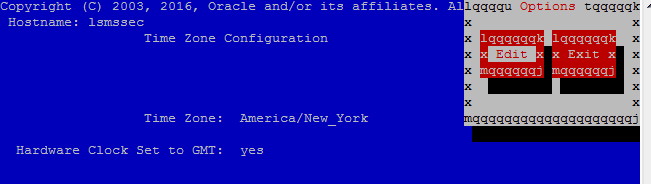 If this is not correct, select Edit and press [ENTER]. If the time zone is correct, select Exit, press [ENTER] and skip the next step |
|
☐4. |
MPS X: Change time zone. |
Select appropriate time zone and press [ENTER]. 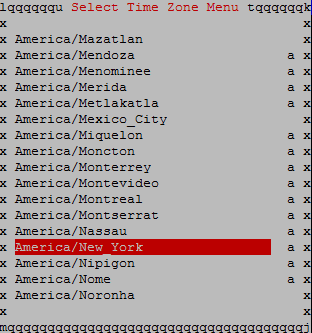 Select Yes to set the hardware clock to GMT and press [ENTER]. 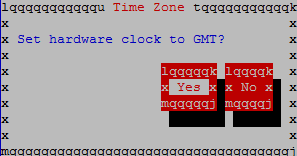 |
|
☐5. |
MPS X: Set clock. |
Select Set Clock and press [ENTER]. 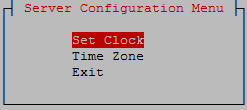 Select Edit and press [ENTER]. 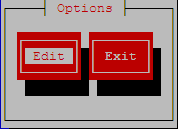 Enter correct time. 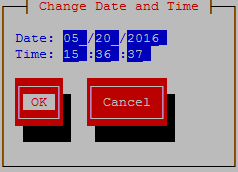 Use right arrow to get to OK and press [ENTER]. |
|
☐6. |
MPS X: Exit the lsmsmgr menu |
Select Exit and press [ENTER] to return to the Main Menu. 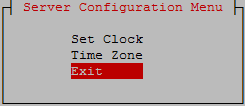 Select Exit and press [ENTER]. The “lsmsmgr” utility terminates. 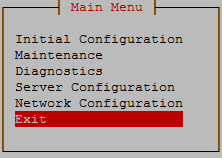 |
|
This procedure is complete! |
||