List Upload
The List Upload screen allows you to create or upload custom lists of data points for analysis. A list is a group of one or more meters that have a particular issue on a specific date. For example, you may have a spreadsheet with a list of meters that have no consumption as of a specific date. You can create or upload a custom list of those items for easy retrieval, rather than spending time searching for and identifying them in the Explorer tool.
Create a Custom List
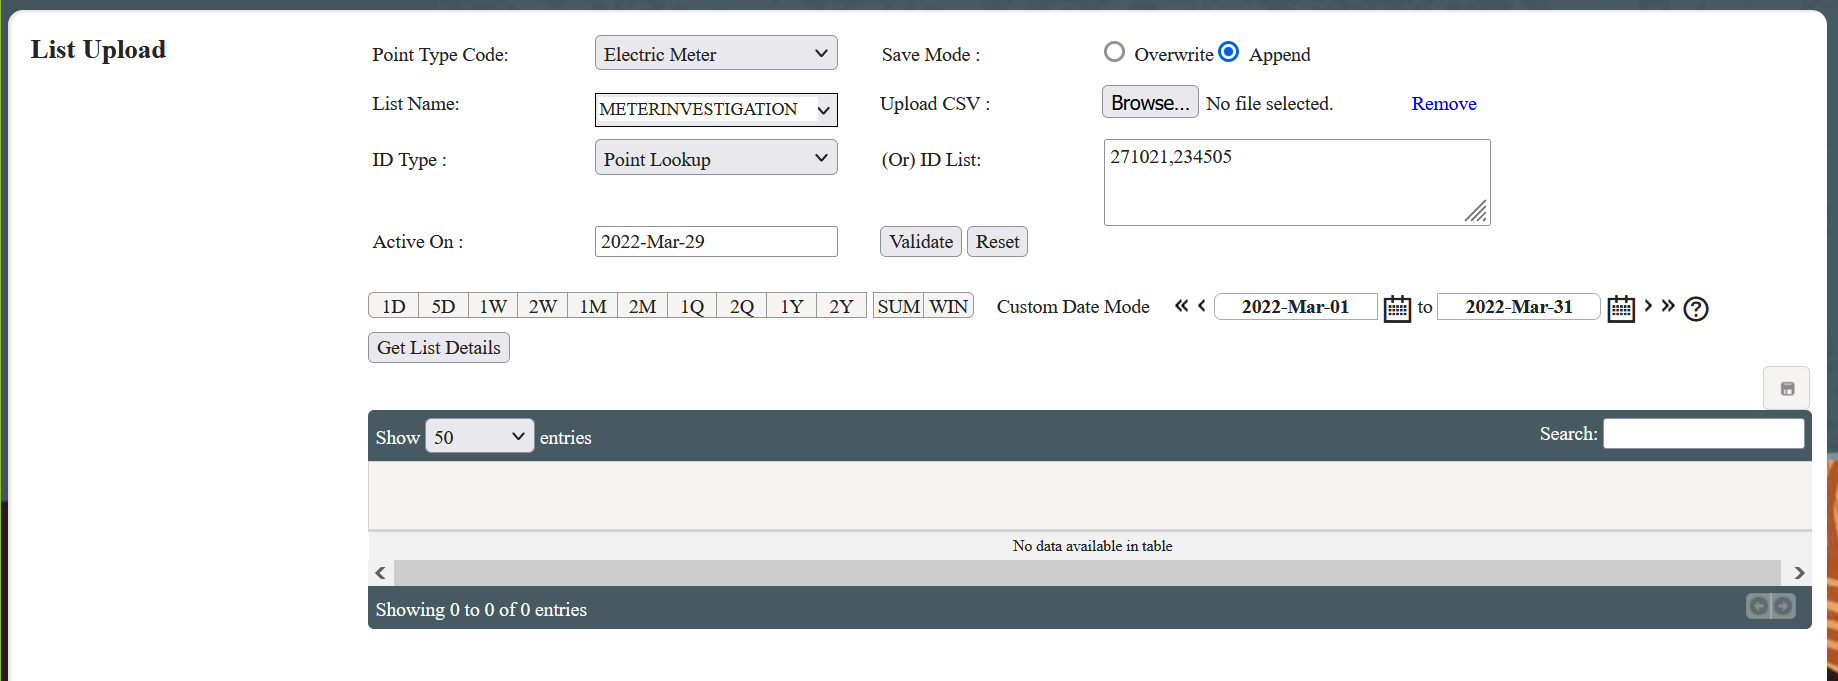
- Click Explore, point to List, and click List Upload. The List Upload screen displays.
- In the Point Type Code menu, choose the type of object for your list. For example, choose Electric Meter if your list consists of electric meters.
- In the List Name field, type a custom name for your list. The name cannot include any spaces. For example, you might type “ElectricMeterBillingAnalysis” if you are creating or uploading a list of electric meters that you want to analyze for billing issues.
- In the ID Type menu, choose the type of unique ID for the list. In most cases, choose the Point Lookup option, as this generally refers to a meter ID, account ID, or service point ID. Some other options may be available in the menu depending on your setup and configuration.
-
In the Save Mode section, choose one of the following:
- Overwrite: Choose this option if you want any future edits to the list to overwrite the existing list.
- Append: Choose this option if you want any future edits to the list to be appended to the existing list.
-
Choose one of the following options for you list:
- Upload CSV: Click Browse and upload your file if you already have one prepared. This is recommended if your list contains many items.
- ID List: Type the IDs of the items for your list in this box. Each item should be separated by a comma.
-
In the Active On field, leave the default value (the current date) or set the date to match the applicable date of your analysis. For example, if you are creating a list of points that had an issue two weeks ago that you want to analyze, then set the date to two weeks ago.
-
Click Validate. A pop-up window displays to show whether the points you have uploaded or created match existing points in the system. In general, you want to make sure that all of the points you create or upload match a point that is already in the system. If there is an unmatched point, check to see if it was entered incorrectly. You can still create the list if there is an unmatched point, but be aware that any unmatched points will not be part of the list.
-
Click Confirm to create the list, or click Cancel to stop creating the list and make any necessary changes.
After your list is created, you can analyze the data associated with it by going to the Explorer and creating a custom filter that is based on the list. See Creating Custom Filters for more information.