Initial Replication Load
- Export and Import
- Export and Import Using Shared Network Storage
- Database Link
Export and Import
- Log in to the Oracle Utilities Analytics Warehouse Administration Tool.
- Click Global Configuration in the left panel under ETL Configuration.
- Click Edit.
-
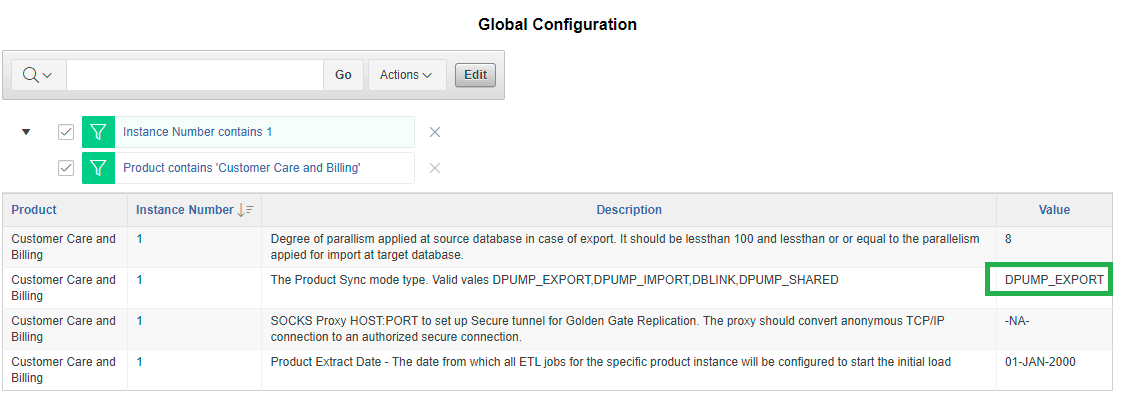
Replace DBLINK with DPUMP_EXPORT for the appropriate Product and Instance (that is, the source product and instance for which you want to perform initial replication load) and click Save.

- Open Oracle Data Integrator.
- Navigate to the Load Plans and Scenario folder in the Designer tab.
- Expand the Framework > Scheduler folder.
- Right click B1_SYNC_CONTEXT Version 001 and click Run to start exporting data from the source. A popup windows opens to enter the Context and Logical Agent. In the example provided, choose the appropriate context code and Logical agent as WLS Agent.
- Make sure that B1_SYNC_CONTEXT job is completed without any error.
- Move the dump files from source B1_DATA_DUMP_DIR to target B1_DATA_DUMP_DIR location manually.
-
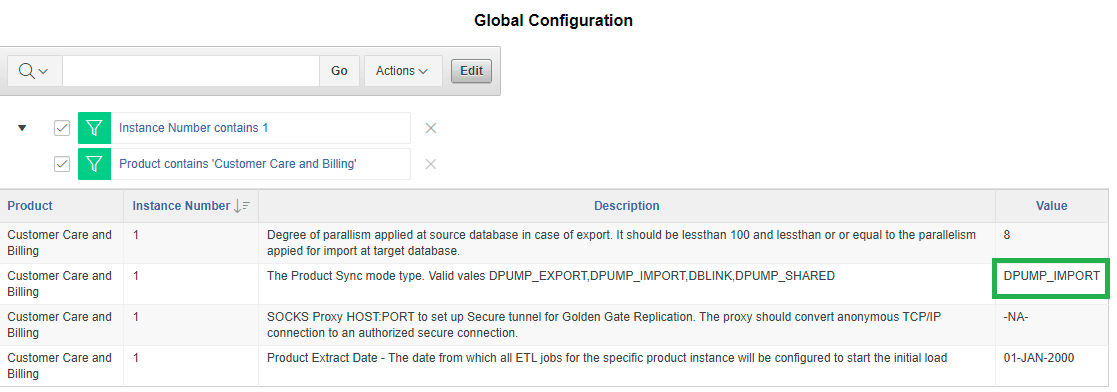
Follow above step 1 - 4 to modify the global configuration from DPUMP_EXPORT to DPUMP_IMPORT.

- Run B1_SYNC_CONTEXT Version 001 again to import data into the replication schema.
- Make sure that the job is completed successfully. This can be verified in the Oracle Data Integrator operator log.
Export and Import Using Shared Network Storage
-
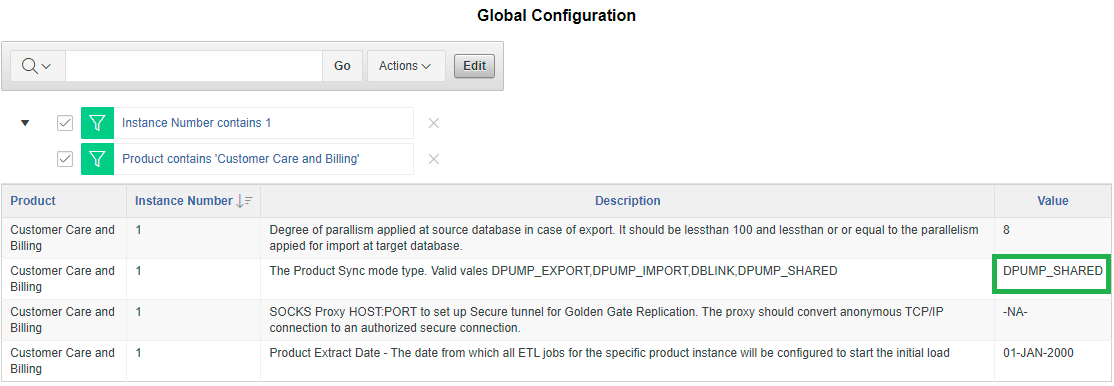
Follow step 1-4 mentioned under the Export and Import method above, and set the value to DPUMP_SHARED in the Global Configuration section for the appropriate product and instance.

- Follow step 6-12 mentioned under Export and Import method above to run B1_SYNC_CONTEXT job.
- Make sure that the job is completed successfully. This can be verified in the Oracle Data Integrator operator log.
Database Link
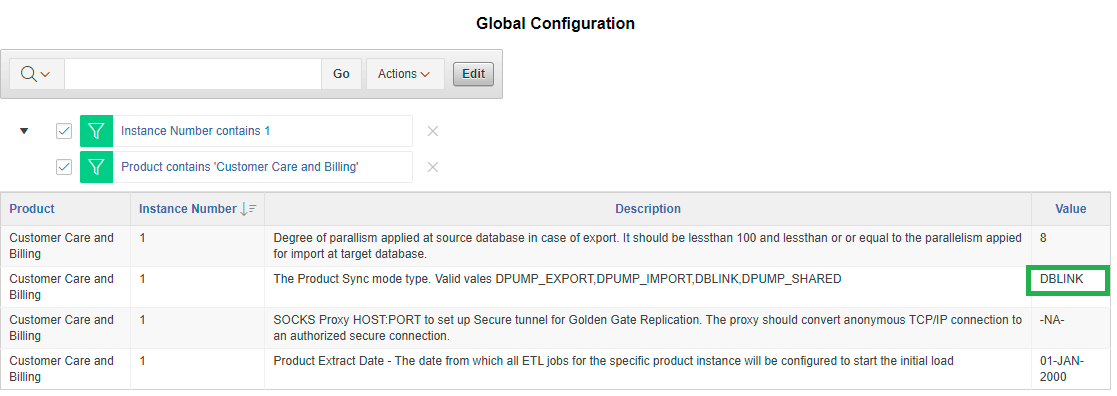
This is the default method to replicate initial data from source into their respective replication schema. Make sure that for your respective source product and instance, the value is set to DBLINK. If the global configuration is not set as DBLINK, then set to DBLINK as mentioned below. Follow step 6-12 mentioned under the Export and Import method above to run B1_SYNC_CONTEXT job. Make sure that this job executes successfully without any error.
