Installing API Create Vendor
This section focuses on the API Create Vendor installation, including:
Creating PL/SQL Package in the Oracle E-Business Suite Database
The Oracle E-Business Suite sysadmin or the Database Administrator are the indicated roles to create the PL/SQL package in the Oracle E-Business Suite database.
To create the PL/SQL package in the Oracle E-Business Suite database:
1. Download the PL/SQL package source file. It is located inside the ccs_ebs_fin.01_23_3000_sql.zip file. Read the ReadMe.txt file for more information about the configuration tasks.
2. Connect to the Oracle E-Business Suite database with the DB user you used to create custom objects.
3. Execute the PL/SQL package source file.
4. Create a synonym for the DB application user.
5. Grant the execute privilege to the DB application user.
Annotation
The package already has the annotation in the header section:
/* $Header: $ */
/*#
* This custom PL/SQL package can be used to insert vendors & sites
* @rep:scope public
* @rep:product AP
* @rep:displayname CCS_EBS_VENDOR_IMPORT_PKG
* @rep:category BUSINESS_ENTITY AP_PAYABLES
*/
/*#
* Create Vendor Data
* @param P_VENDOR_NAME varchar2
* @param P_SEGMENT1 varchar2
* @param P_VENDOR_SITE_CODE varchar2
* @param P_BUSINESS_UNIT varchar2
* @param P_PAYMENT_CURRENCY_CODE varchar2
* @param P_ADDRESS_LINE1 varchar2
* @param P_ADDRESS_LINE2 varchar2
* @param P_ADDRESS_LINE3 varchar2
* @param P_ADDRESS_LINE4 varchar2
* @param P_CITY varchar2
* @param P_STATE varchar2
* @param P_ZIP varchar2
* @param P_COUNTRY varchar2
* @param P_VENDOR_ID varchar2
* @param P_VENDOR_SITE_ID varchar2
* @param P_JOB_STATUS varchar2
* @param P_JOB_MESSAGE varchar2
* @rep:scope public
* @rep:lifecycle active
* @rep:displayname CREATE_VENDOR_DATA
*/
Validating the Annotation
To validate the annotation:
1. Copy the package header definition with the annotation to the corresponding path in the file.
$FND_TOP/patch/115/sql in the server where the Oracle E-Business Suite instance is running.
2. Generate the iLDT file.
$IAS_ORACLE_HOME/perl/bin/perl $FND_TOP/bin/irep_parser.pl -g -v -username=sysadmin per:patch/115/sql:ccs_ebs_vendor_import_pkg.pls:23.3000=ccs_ebs_vendor_import_pkg.pls
Note: Make sure to source the environment variables.
The command uses ccs_ebs_vendor_import_pkg.pls as the one including the annotation and the user sysadmin, the filename and the user can be different depending on the file name you are using and your Oracle E-Business Suite admin account.
The command will generate an iLDT file.
Example: ccs_ebs_vendor_import_pkg_pls.ildt
Uploading Validated Annotation
Run the following command to upload the iLDT file to the integration repository. You can replace the iLDT file name with the file generated in the Validating the Annotation section.
$FND_TOP/bin/FNDLOAD apps/apps 0 Y UPLOAD $FND_TOP/patch/115/import/wfirep.lct ccs_ebs_vendor_import_pkg_pls.ildt
Note: Make sure to source the environment variables.
Publishing as a Web Service
To publish the PL/SQL package:
1. Login to the Oracle E-Business Suite instance with the user that has Integration Repository Admin role.
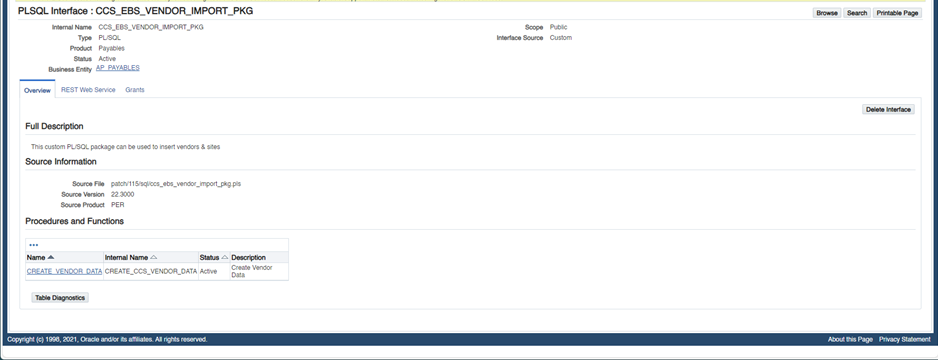
2. Search for the PL/SQL Interface Type and Internal Name. Example: %CCS%

3. Click the “CCS_EBS_VENDOR_IMPORT_PKG” package.
If the “CCS_EBS_VENDOR_IMPORT_PKG” package is not listed on the Integration Repository tab, check for any warning or error message while creating the package. Refer to the Creating PL/SQL Package in the Oracle E-Business Suite Database section for more details.

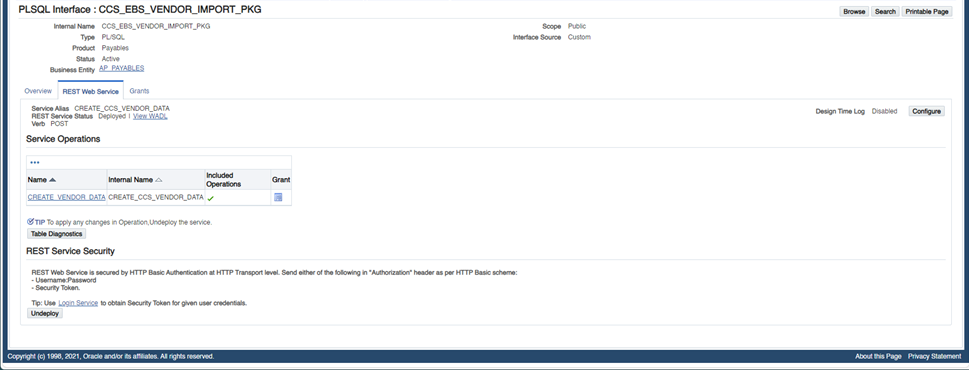
4. Navigate to the REST Web Service tab, enter “CREATE_VENDOR_DATA” as the alias, and click Deploy. If the deployment is successful, you will see the REST Service Status as “Deployed”.

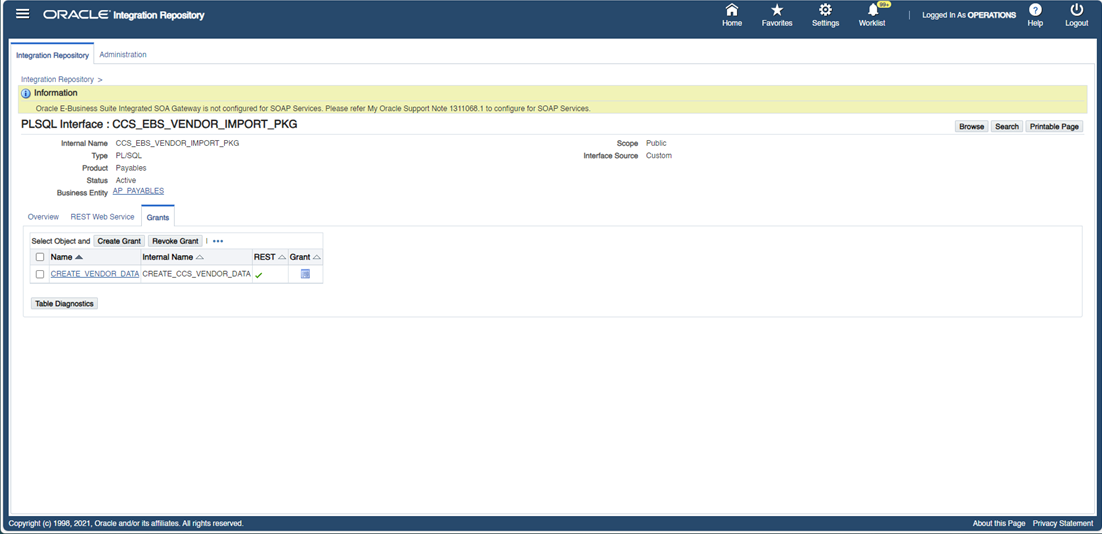
5. Navigate to the Grants tab and create grant at least for the user you will use to configure the “OU EBSFIN for CCS-EBSFIN” Oracle Integration Cloud connection.
