Capturing Additional Oracle Utilities Work and Asset Cloud Service Attributes
A new DFF field was introduced in Sub Inventory. Only if this field is set to “yes”, the sub inventory will be synchronized to Oracle Utilities Work and Asset Cloud Service. This section includes the following:
Setting up the Subinventories DFF attribute “WACS Storeroom”
1. Navigate to Setup and Maintenance. Search for the “Manage Inventory Descriptive Flexfields” task.
2. On Manage Inventory Descriptive Flexifleds, search for “Subinventories”.
3. Select the Subinventories row and click the edit icon. Click the + icon in the Global Segments section to create a new segment.
4. To validate the “Yes” and “No” values, create a custom value set. On the Create Segment page, click Create Value Set.
5. Use your implementation standards to create (or reuse) a custom value set for “Yes” and “No” validation. Below is a sample value set for reference.
6. Click Save, and then click Manage Values.
7. Click the + icon to add two new rows, and then click Save and Close.
8. On the Create Value Set page, click Save and Close. On the Create Segment page, add a new DFF segment with following values:
Field Name | Value |
|---|---|
Name | WACS Storeroom |
Code | WACS Storeroom |
API Name | wacsStoreroom |
Description | Field to identify if the subinventory is WACS storeroom. |
Data Type | Character |
Table Column | ATTRIBUTE15 |
Value Set | WACS_Yes_No_VS |
Prompt | WACS Storeroom |
Display Type | List of Values |
Display Size | 5 |

9. Click Save and Close. On the Edit Descriptive Flexfield: Subinventories page, click Save and Close to navigate back to the Manage Inventory Descriptive Flexfields page.
10. Select the Subinventories row and click Deploy Flexfield. Make sure the deployment is successful.
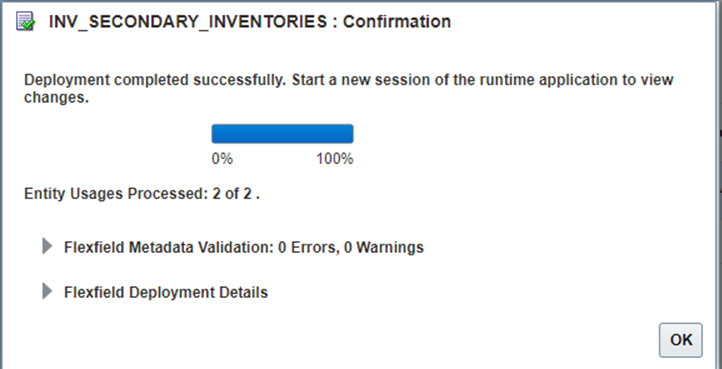
11. Click OK to complete the configuration.
Setting up the Transfer Order Line DFF Attributes (WACS ARR ID and WACS GL Account)
1. Navigate to the Setup and Maintenance page. Search for the Manage Inventory Descriptive Flexfields task.
2. On the Manage Inventory Descriptive Flexfields page, search for Internal Material Transfer Order Lines.
3. Select Internal Material Transfer Order Lines and then click the edit icon.
4. Click the + icon to add two new rows for global segments. Enter the data for each segment, and then click Save and Close.
Field Name | Value |
|---|---|
Name | WACS ARR Id |
Code | WACS ARR Id |
API Name | wacsArrId |
Description | WACS Activity Resource Requirement Id for the material |
Data Type | Character |
Table Column | ATTRIBUTE_CHAR19 |
Value Set | 150 Characters |
Prompt | WACS ARR Id |
Display Type | Text Box |
Display Size | 20 |
Field Name | Value |
|---|---|
Name | WACS GL Account |
Code | WACS GL Account |
API Name | wacsGlAccount |
Description | First GL Account for the material line |
Data Type | Character |
Table Column | ATTRIBUTE_CHAR20 |
Value Set | 150 Characters |
Prompt | WACS GL Account |
Display Type | Text Box |
Display Size | 20 |
Save the data for both the segments. The following figure shows the saved data.
5. Click Save and Close.
6. On the Manage Inventory Descriptive Flexfields page, click the Internal Material Transfer Order Lines row, and then click Deploy Flexfield.
7. Make sure there are no errors and warnings. Click OK.