
Creating Customer Contacts Using Call Summary and Call Tagging
Customer Service Representatives (CSRs) can use Call Summary and Call Tagging to create Customer Contacts that include an automatically generated summary of the call as well as tags (based on Characteristic Types) to categorize the call. Call Summary and Call Tagging uses Generative Artificial Intelligence and integration with a third-party Computer Telephony Integration (CTI) vendor to automatically summarize and categorize call transcripts, providing customer service agents or customer service representatives (CSR) a summary of the call. Agents can review and edit the summary and tags before saving them directly to the customer contact.
Customer Service Representatives access Call Summary and Call Tagging via the Service Guide zone in the Assistant area, located above the Sidebar. After accepting a call the agent can enter call notes, and then create a customer contact record to store information about the call when the call is completed.
To make themselves available to receive customer calls, the CSR should select "Ready" from the Agent Status dropdown list.
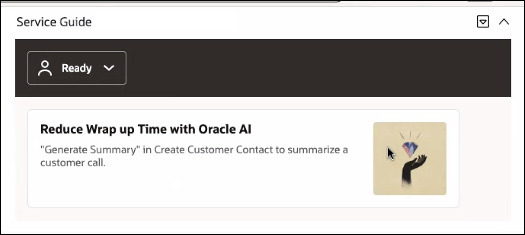
When a customer service representative receives a call from a customer, the call appears in the Service Guide zone.
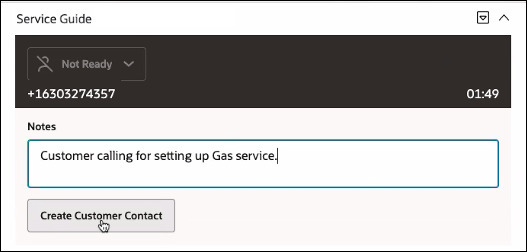
When a CSR answers a call displayed in the Service Guide zone, the Agent Status is set to "Not Ready" and the phone number and call duration appear in the zone. During the call the CSR can enter a brief description of the call in the Notes field in the zone.

Other call options include:
-
Hold (
 ): Puts the call on hold. Click the icon again
to return to the call
): Puts the call on hold. Click the icon again
to return to the call -
Mute (
 ): Mutes the CSR. Click the icon again to
unmute.
): Mutes the CSR. Click the icon again to
unmute. -
End Call (
 ): Ends the call.
When the call is ended, the CSR should click the End Call icon (the call is also ended when the customer hangs up). The phone number and call duration remain displayed in the Service Guide zone, and the CSR will create a customer contact where they can enter specifics about the customer contact.
To create a customer contact:
- Click Create Customer Contact in the Service Guide zone. The Select Type page opens.
- Select the Contact Class from the dropdown list.
- Select the Customer Contact Type from the dropdown list.
- Click OK. The Customer Contact page opens.
- Other details, including the Person, Account, and Premise associated with the customer are populated automatically if the customer is in context (based on the Customer Contact Type). Notes previously entered in the Service Guide zone are populated in the Comments field.
- Click Generate Summary to generate a summary and list of tags
for the call. A summary of the call appears in the Summary
field, and tags appear in the Tags field (tags are based on
Characteristic Types defined on the Customer Contact Type). Both can be reviewed and
edited as appropriate.
- Edit the text in the Summary field as appropriate. To revert to the original summary text, click Generate Summary again. Note that you can only revert to the original summary and tags list before saving the customer contact.
- Use the Tags dropdown list to edit the tags associated with the customer contact.
-
Add additional Characteristics to the call as appropriate, selecting a Characteristic Type and enter a Value for each.
- Click Save to save the contact, including the Summary and Tags.
Enabling Calll Summary and Call Tagging
Enabling Call Summary and Call Tagging involves the following:
- Create an integration with a CTI application
- Configure Characteristic Types and Customer Contact Types with Characteristic Tags
- Enable the Service Guide Zone
See Call Summary and Call Tagging Integration in the Administrative User Guide for more information about these steps.