Email 1: Welcome to Solar
The first email solar customers receive is the Welcome to Solar email, which is sent shortly after a customer connects to the solar program. This email provides positive messaging, congratulating the customer on making the move to a solar energy program.
The message also educates the customer by providing them with information about common myths associated with solar energy programs, and identifying solar-specific items they will see when they receive their first solar bill. Providing this information early in the customer's solar journey helps to set realistic expectations about how solar panels can impact their utility bill, and clarifies what their solar billing experience will look like.
The Welcome to Solar email contains these modules:
- Solar Email Header
- Solar 1 - Welcome
- Solar 1 - Myths
- Solar 1 - Get Ready for First Bill
- Solar Email Footer
Email 1 - Design and Configuration
This section discusses the design of each module included in the email, and provides details on any available configuration options.
Solar Email Header
This section discusses the design and configuration options for the Solar Email Header module.
Design
The email header introduces the reader to the email and displays the utility's logo and the customer's account number in the appropriate format.
Figure 2-19 Solar Email Header

Configuration Options
For each element listed in the table, indicate the desired configuration in the Input Value column. If you do not provide an input for optional configurations, the default will be used.
Table 2-5 Configuration Options
| Configuration Option | Input Value |
|---|---|
|
Company Logo The RGB and CMYK versions of the utility logo as .ai files. Example: UtilityCo_Logo_RGB.ai |
Required Provide the utility logo in the Oracle Utilities Opower Platform Configuration Guide. |
|
Account Number An example of how the customer account number is formatted on the bill. In your example, indicate how many digits should be displayed (in the example below, four digits are displayed). Example: 12-34XX-XXX |
Required Provide the utility logo in the Oracle Utilities Opower Platform Configuration Guide. |
Solar 1 Welcome Module
This section discusses the design and configuration options for the Solar 1 - Welcome module.
Design
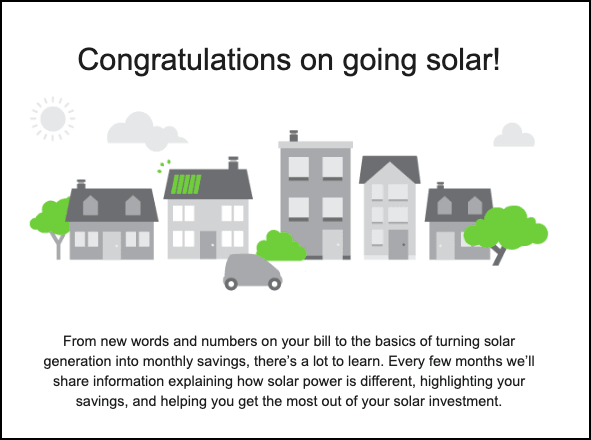
This module congratulates customers on going solar and welcomes them to the Solar Update Notification program.
Figure 2-20 Welcome

Configuration Options
For each element listed in the table, indicate the desired configuration in the Input Value column. If you do not provide an input for optional configurations, the default will be used.
| Configuration Option | Input Value |
|---|---|
|
Welcome Image The welcome image can be configured to use the utility’s branding and colors. |
Optional Choose one of the following:
|
Solar 1 Myths Module
This section discusses the design and configuration options for the Solar Email Header module.
Design
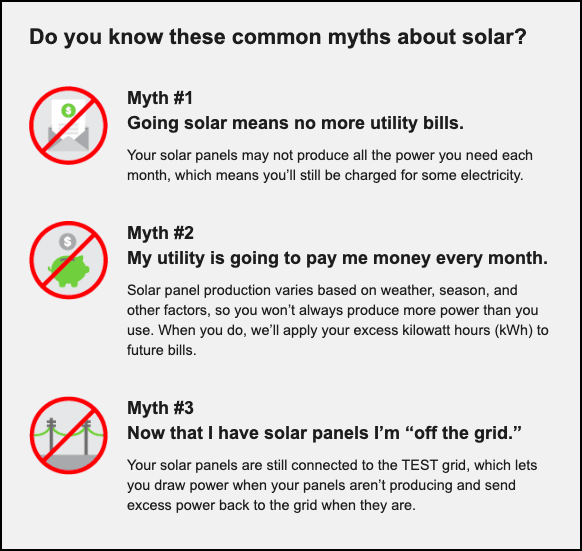
This module discusses common myths about solar programs, and explains them so that the customer has a better understanding of how solar programs work. Dispelling common myths early in a solar customer's journey can help to improve understanding and customer satisfaction. The section can include up to five myths.
Figure 2-21 Myths

Configuration Options
For each element listed in the table, indicate the desired configuration in the Input Value column. If you do not provide an input for optional configurations, the default will be used.
Table 2-6 Configuration Options
| Configuration Option | Input Value |
|---|---|
|
Number of Myths You can include up to five myths in the email. However, three is the recommended number of myths, to avoid information overload. |
Required Specify the number of myths to include. |
|
Myth Images The images associated with each myth can be configured to use the utility’s branding and colors. |
Optional Choose one of the following:
|
Solar 1 Get Ready for First Bill Module
This section discusses the design and configuration options for the Solar Email Header module.
Design
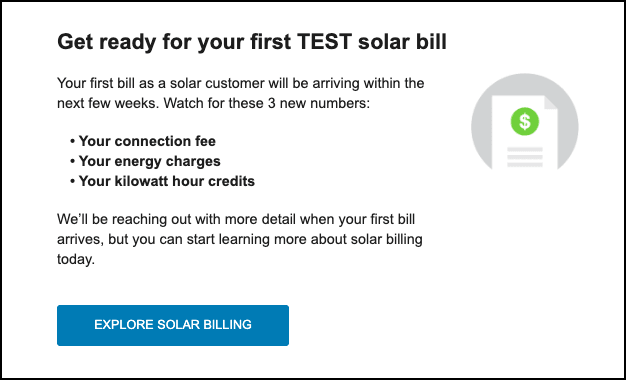
This module prepares customers for the new information they will see when they receive their first solar bill. This section also provides customers with access to the utility's solar billing page.
Figure 2-22 Get Ready for First Bill

Configuration Options
For each element listed in the table, indicate the desired configuration in the Input Value column. If you do not provide an input for optional configurations, the default will be used.
Table 2-7 Configuration Options
| Configuration Option | Input Value |
|---|---|
|
Solar Billing Image The image can be configured to use the utility's branding and colors. |
Optional Choose one of the following:
|
|
Bullet Points You can include up to five bullet points. The maximum length for each bullet point is 45 characters, and the text should not break across multiple lines. |
Required Specify the text used for the bullet points. |
|
Explore Solar Billing Button Text Use this button to direct customers to additional solar billing information. Default: Explore Solar Billing |
Optional Choose one of the following:
|
|
Explore Solar Billing Button URL Use this button to direct customers to additional solar billing information. |
Required Specify the URL of the page you want to direct customers to. |
Solar Email Footer
This section discusses the design and configuration options for the Solar Email Header module.
Design
The email footer includes required information, such as the utility's address, and links to unsubscribe from emails and manage customer preferences. The footer also provides utilities with a space to include additional legal information, as needed.
Figure 2-23 Solar Email Footer

Configuration Options
For each element listed in the table, indicate the desired configuration in the Input Value column. If you do not provide an input for optional configurations, the default will be used.
Table 2-8 Configuration Options
| Configuration Option | Input Value |
|---|---|
|
Utility Address The address must appear in the email due to CAN-SPAM regulations in the US and similar regulations abroad. |
Required Provide the utility's address. |
|
Legal Language This statement can contain legal information, including copyright information, and any additional information the utility wants to include in the email message. |
Optional Provide any legal language that must appear in the email. |
Email 1 - User Experience Variations
This section discusses how the email can vary.
Newcomer Experience
For customers with less than 12 months of pre-solar billing data, the statement in the Solar 1 - Welcome module reads, "From new words and numbers on your bill to the basics of turning solar generation into monthly savings, there’s a lot to learn. Every few months we’ll share information explaining how solar power is different, tracking your costs, and helping you get the most out of your solar investment."
Note that the words "highlighting your savings" are replaced with "tracking your costs".