- Account Configurations User Guide
- Operations
- Operations - Application Properties
18.1 Operations - Application Properties
This topic describes the systematic instructions to specify the Application Properties.
- Click Operations, and under Operations, click Application Properties.The Application Properties page displays.The application properties page allows the specification of the following properties:
- Post Processing
- Transaction
- L2 Cache
- OBRH
- ONPREM
Note:
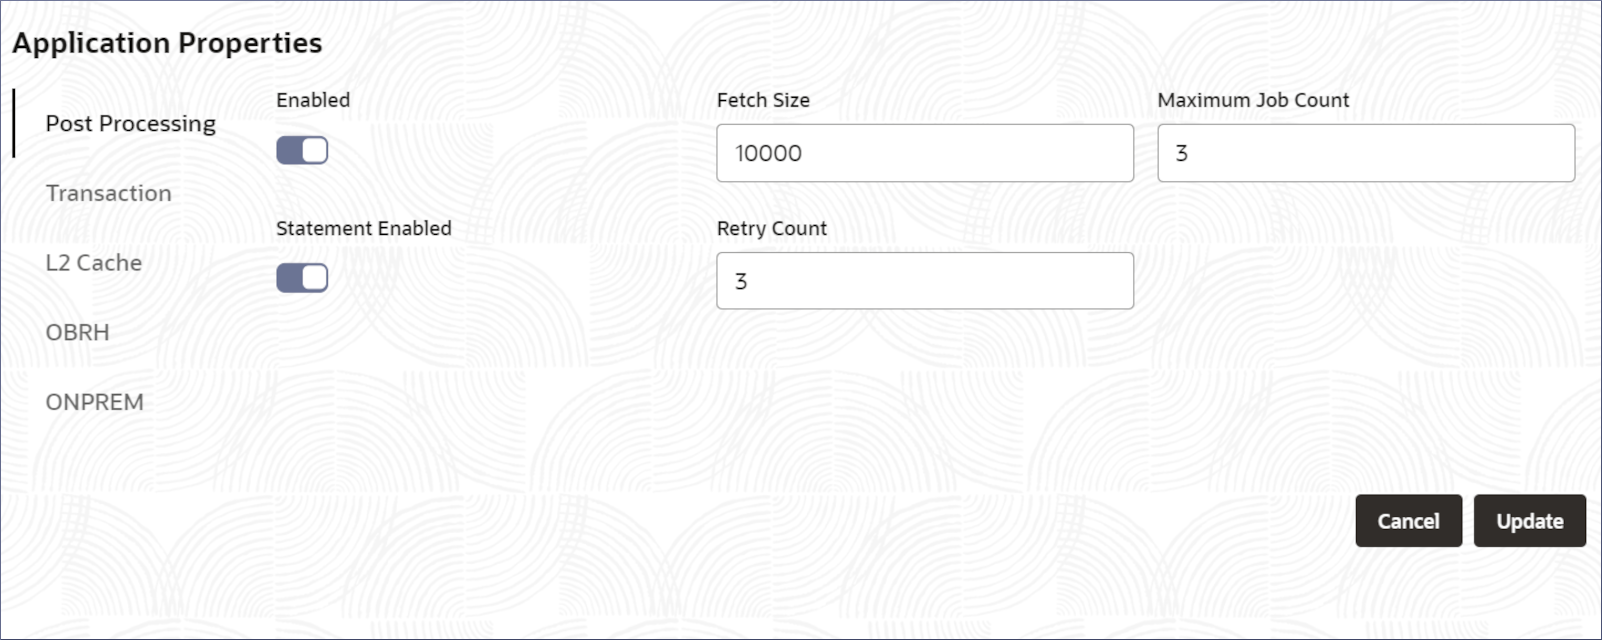
Clicking the vertical tabs on the left of the page display the related properties. - Specify the Application Post Processing properties.
- Click Post Processing.The Post Processing properties display.
Figure 18-1 Application Post Processing Properties
- Specify the properties described in the following table.
Table 18-1 Post Processing Properties - Field Description
Field Name Description Enabled Toggle this option On to enable post processing. Statement Enabled Toggle this option On to enable statement generation. Fetch Size The size of each post processing data chunk on each fetch cycle. Maximum Job Count The maximum number of jobs allowed in each post processing call. Retry Count The number of retries allowed when a fetch fails.
- Click Post Processing.
- Specify the Application Transaction properties.
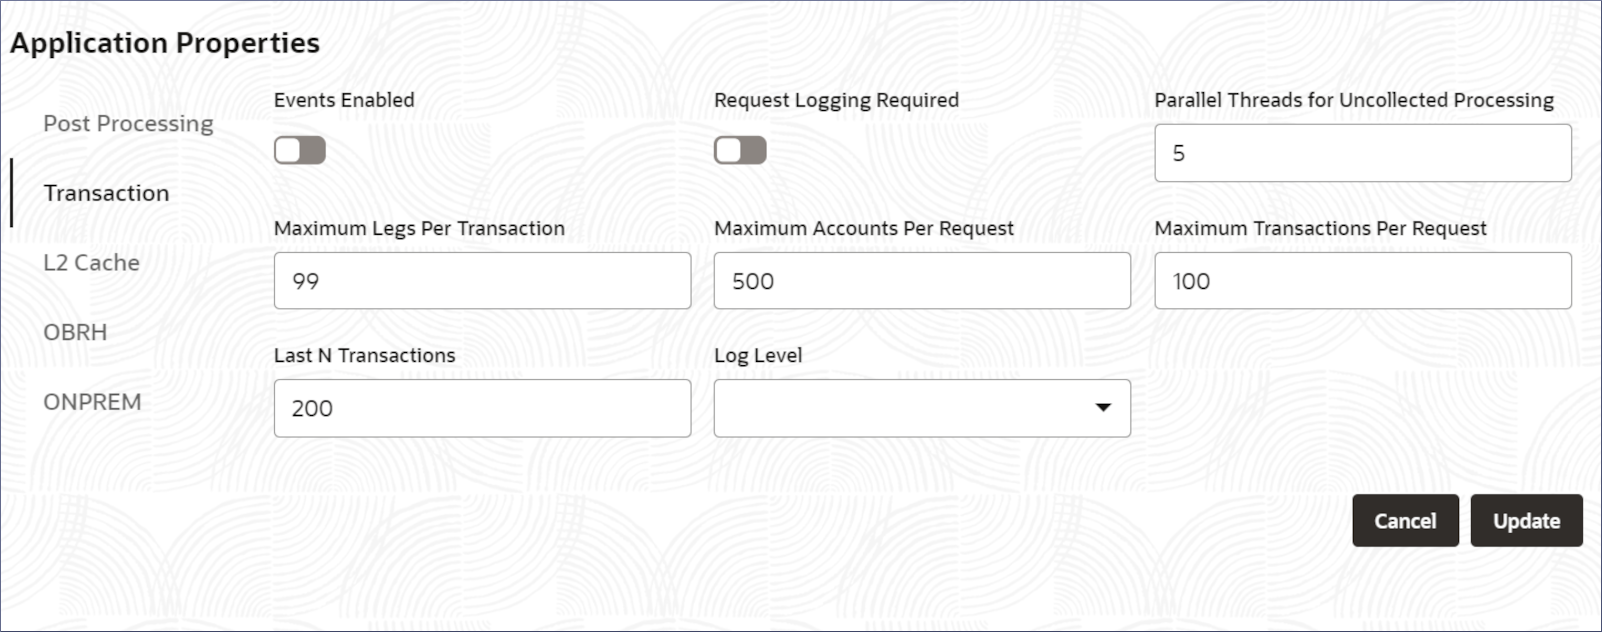
- Click Transaction.The Transaction properties display.
Figure 18-2 Application Transaction Properties
- Specify the properties described in the following table.
Table 18-2 Transaction Properties - Field Description
Field Name Description Events Enabled Toggle this option On to enable transaction events. Request Logging Required Toggle this option On to enable transaction logs. Maximum Legs Per Transaction Specify the maximum number of legs per transaction. Maximum Accounts Per Request Specify the maximum number of accounts handled in each request. Maximum Transaction Per Request Maximum number of transactions allowed per request. Last N Transactions Specify the number of previous transactions to be considered for logging. Log Level Specify the log level to capture the appropriate details in the information logs.
- Click Transaction.
- Specify the Application L2 Cache details.
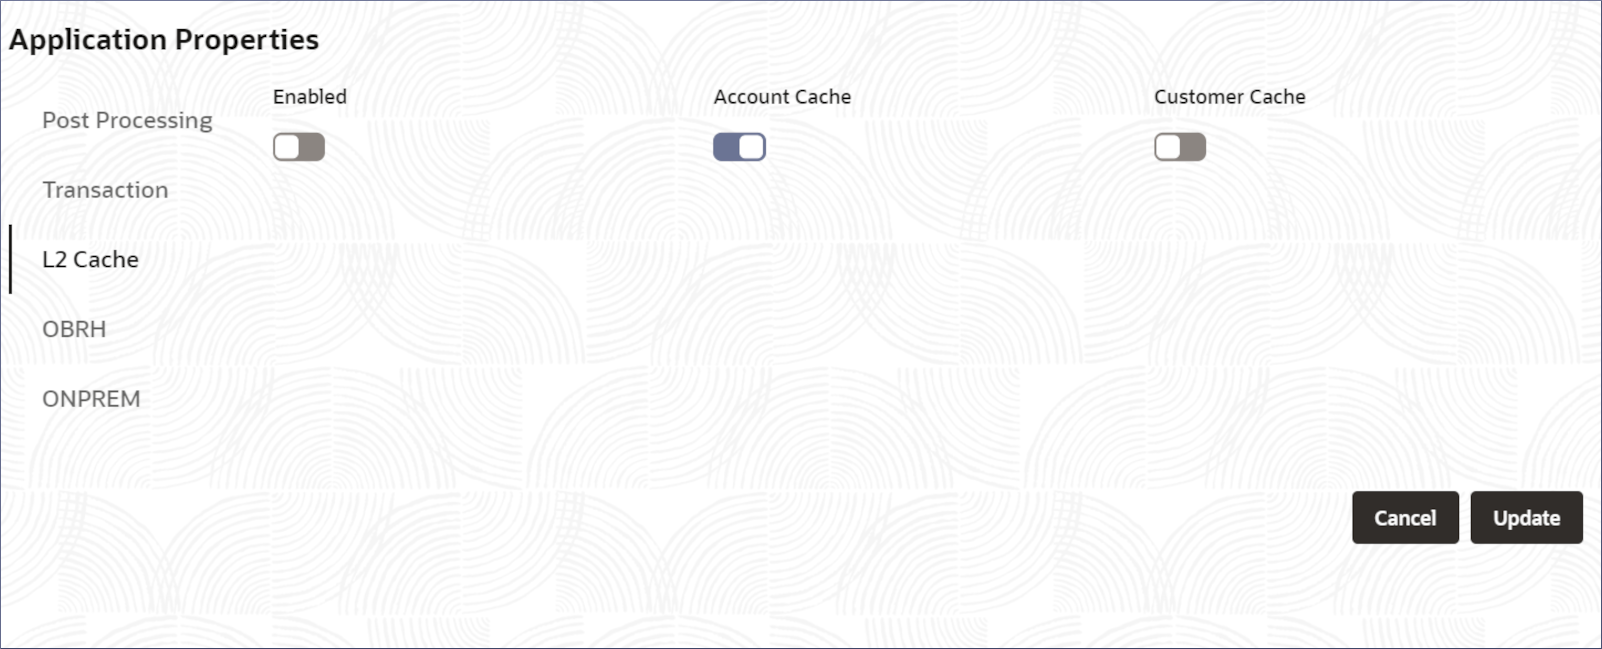
- Click the L2 Cache tab.The related properties display.
Figure 18-3 Application L2 Cache properties
- Specify the properties described in the following table.
Table 18-3 L2 Cache Properties - Field Description
Field Name Description Enabled Toggle this option On to enable L2 caching. Account Cache Toggle this option On to enable Account caching. Customer Cache Toggle this option On to enable Customer caching.
- Click the L2 Cache tab.
- Specify the Application OBRH (Oracle Banking Routing Hub) details.
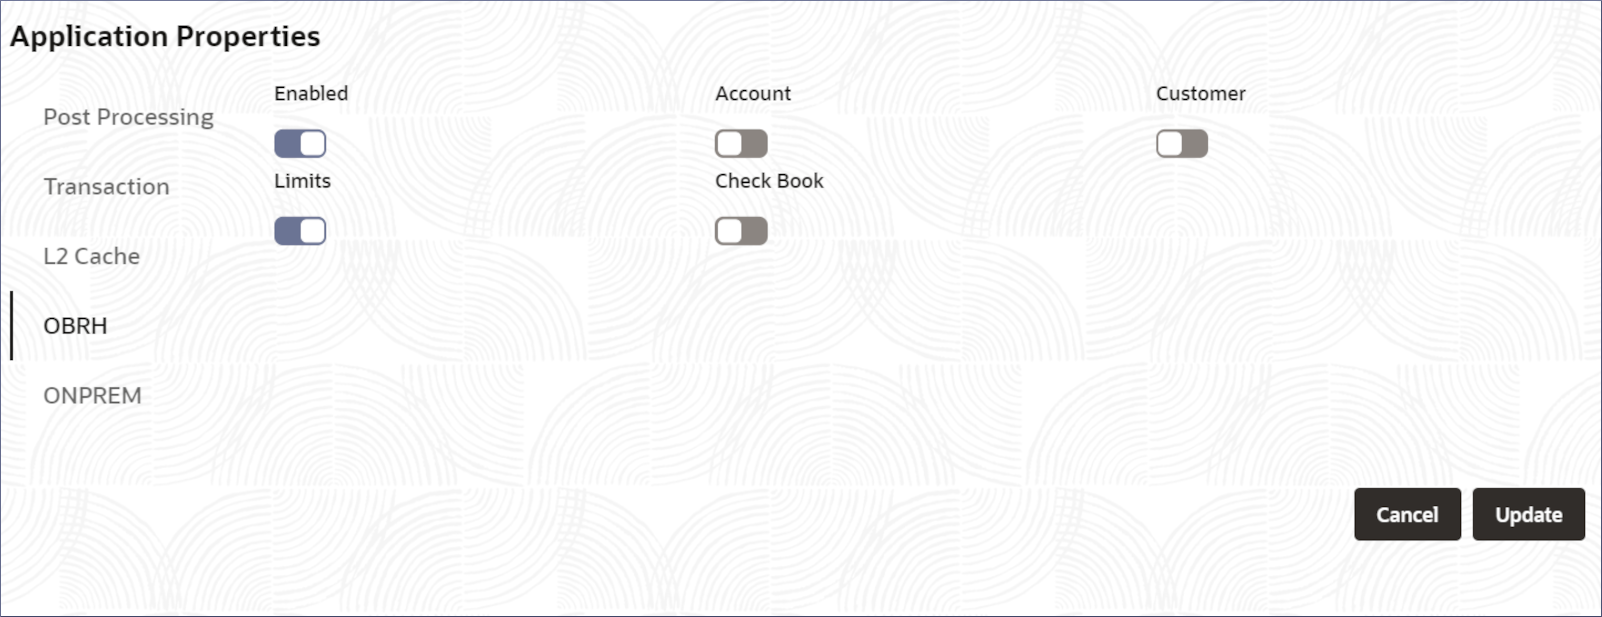
- Click the OBRH tab.The related properties display.
- Specify the properties described in the following table.
Table 18-4 OBRH Properties - Field Description
Field Name Description Enabled Toggle this option On to enable the use of the Oracle Banking Routing Hub (OBRH). Account Toggle this option On to enable Corporate Accounts to use the Oracle Banking Routing Hub. Customer Toggle this option On to enable Corporate Customers to use the Oracle Banking Routing Hub. Limits Toggle this option On to enable limits to be routed through the hub. Cheque Book Toggle this option On to enable Cheque details to be routed through the hub.
- Click the OBRH tab.
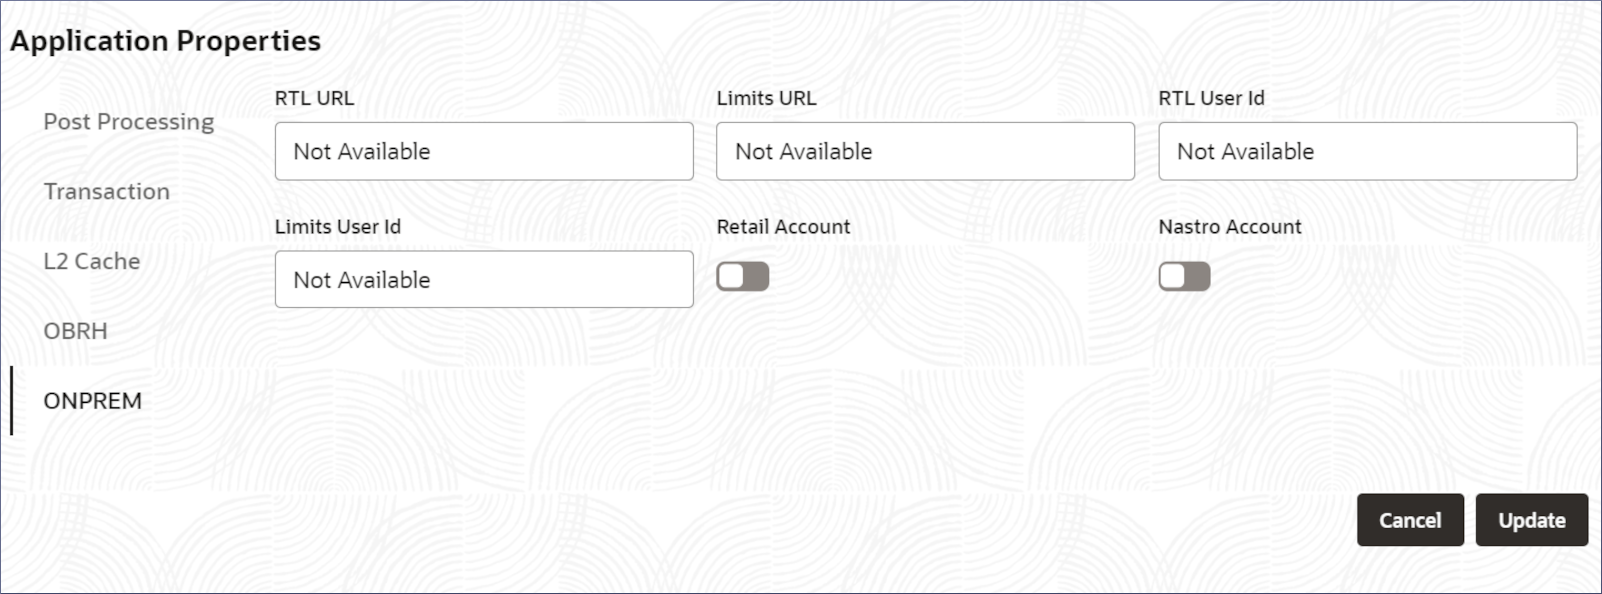
- Specify the Application ONPREM details.
- Click the ONPREM tab.The related properties display.
- Specify the properties described in the following table.
Table 18-5 OBRH Properties - Field Description
Field Name Description RTL URL Specify the URL to query real time limits. Limits URL Specify the URL to query limits.. RTL User Id Specify the User Id to be used when querying real time limits. Limits User Id Specify the User Id to be used when querying limits. Retail Account Toggle this option On to enable the use of on premises deployment of Retail accounts.. Nostro Account Toggle this option On to enable the use of on premises deployment of Nostro accounts.
- Click the ONPREM tab.
- Click Update.The application properties specified are updated in the system.
Parent topic: Operations
