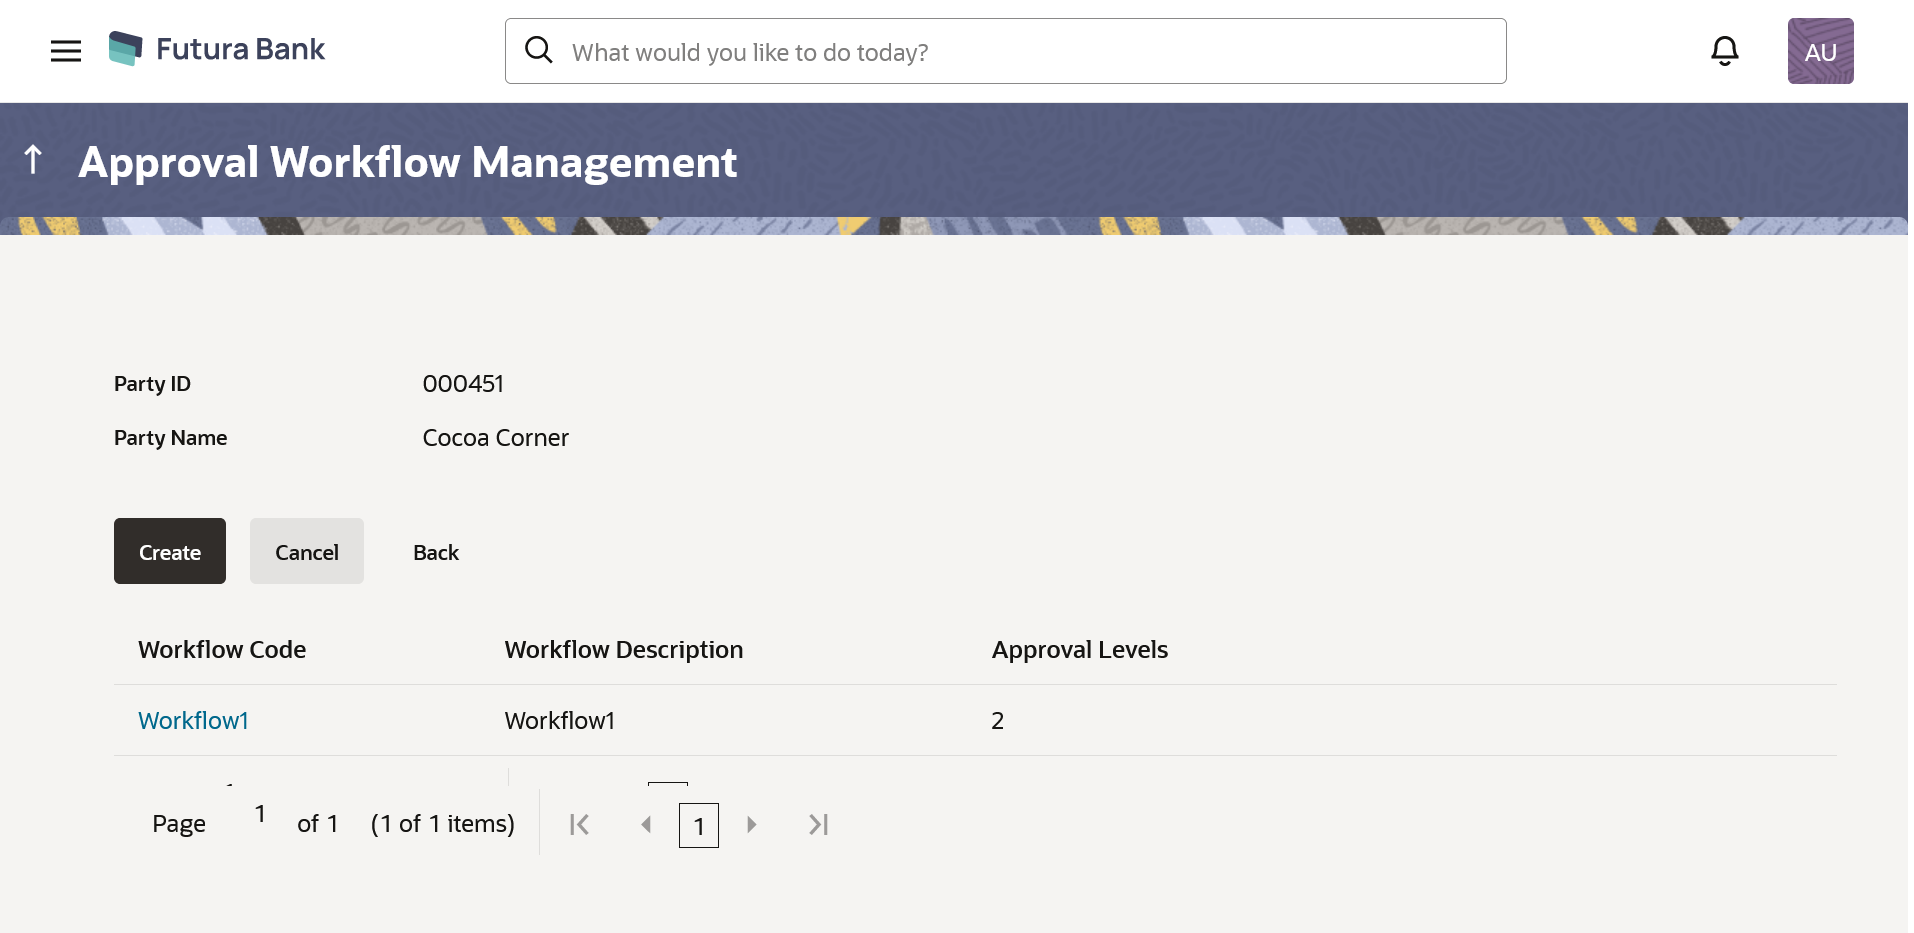
15.1.2.3 Admin Workflow Management – Create

Bank Administrator can create approval workflows for the Admin users. By default, user can specify minimum one and maximum five levels of approvals as a part of workflow.

Administrator can set either an individual user or user group of a corporate as a part of each level of approval. Approval type (sequential/non-sequential/no authorization) is defined at the party preference.

To create an approval workflow:

  1. In the Admin Workflow Management screen, click Create.
    The Admin Workflow Management - Create screen appears.

    Figure 15-7 Admin Workflow Management – Create


    Table 15-4 Field Description

    Field Name Description
    Create
    Workflow Code To specify approval workflow code.
    Workflow Description To specify approval workflow description.
    Approval Details

    Approval levels for a user / user group. You can click Add for multi level approval process.

    Approval Level Approval levels for a user / user group. User can click Add for multi level approval process.
    User / User Group To select specific user or a user group at each level of approval.
  2. In the Workflow Code field, enter the workflow code.
  3. In the Workflow Description field, enter the name of the workflow.
  4. In the Approval Details section, from the Level 1 field, click appropriate user / user group.
  5. From the User Name / User Groups list, select the approver user name.
  6. Click Add to add the selected user/ user group at specific level of approval.
    OR

    Click deletedelete icon to remove specific approval level.

  7. Enter the party id in the In the Party Id field.
    In the Party Name field, enter the party name.
  8. Click Save to save Approval Workflow.
    OR

    Click Cancel to cancel the transaction.

    OR

    Click Back to navigate to the previous screen.

  9. The Workflow Management - Create - Review screen appears post necessary validations.
    Verify the details and click Confirm to confirm the details.

    OR

    Click Cancel to cancel the transaction.

    OR

    Click Back to navigate to the previous screen.

  10. The success message of saving the created approval workflow appears along with the transaction reference number and status.
    Click OK to complete the transaction.