67.1 Set Security Question

Security Questions are the second layer of authentication mode set by the Bank to complete various transactions.

This feature allows the administrator user to set up the answers of the security questions, which will then be used as another layer of security (Over and above the Login credentials).

User will be asked to answer these security questions to complete the transactions for which bank would have set Security Question as the second factor authentication.

Navigation Path:

From Administrator Dashboard, click Toggle Menu, then click Menu and then click Security & Login. Under Security & Login , click Set Security Question.

Figure 67-2 Set Security Question


Note:

Since security questions have not been set-up by the user, message will be displayed "Security Questions are not set up yet".

To set up security questions:

  1. Navigate to the above path.
    The Set Security Question screen appears.
  2. Click Set up now to set-up security questions.
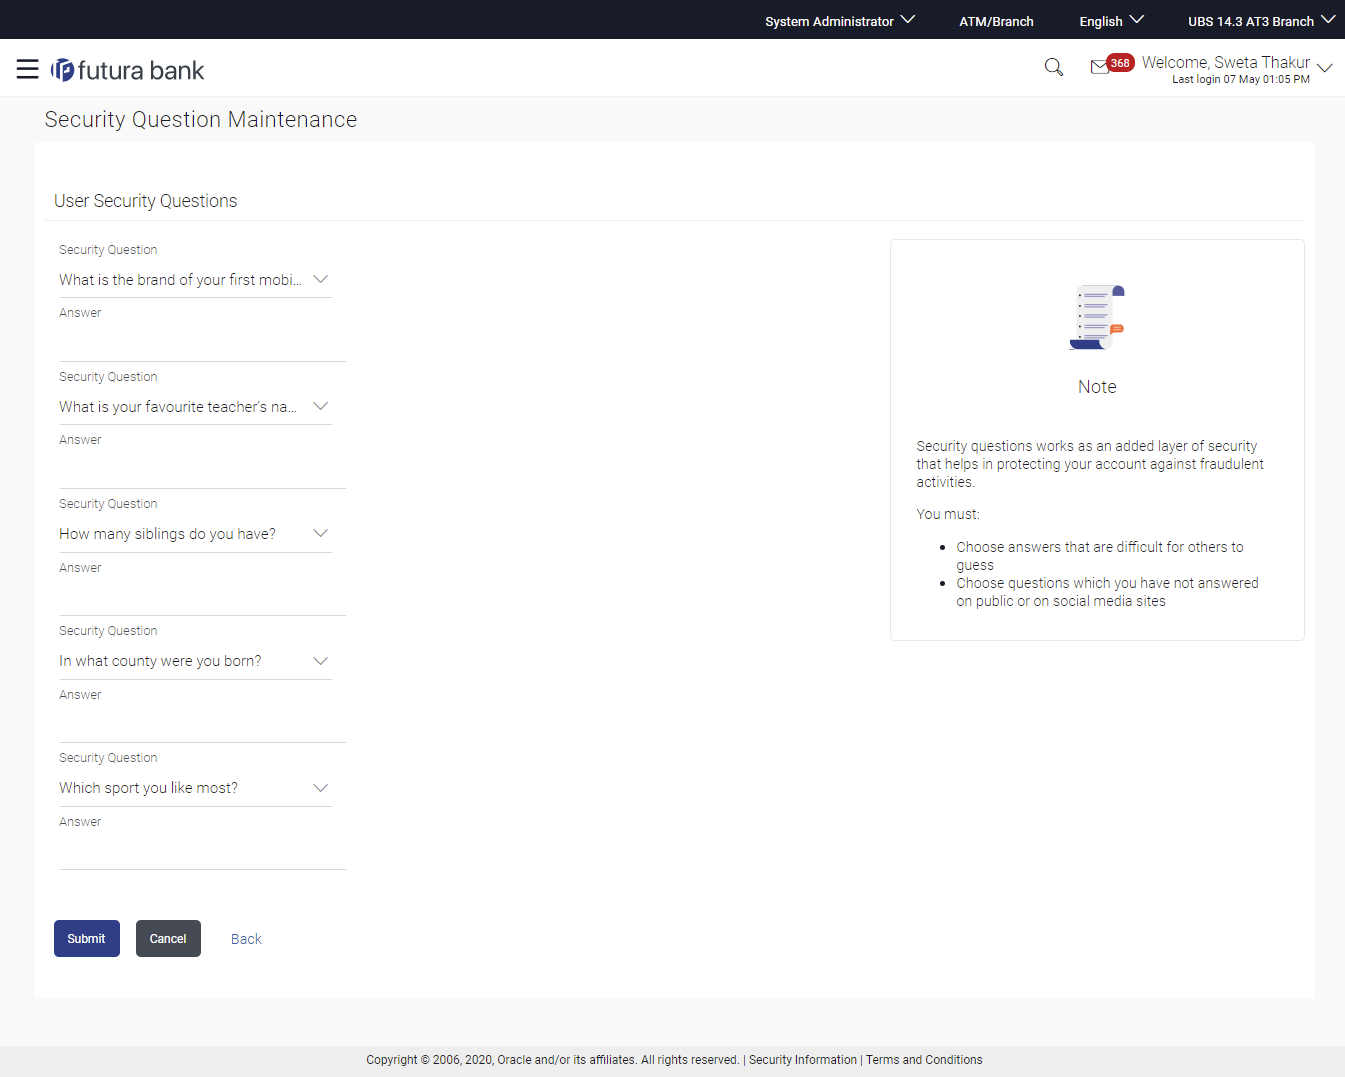
    The User Security Question screen appears.

    OR

    Click Cancel to cancel the operation and navigate back to ‘Dashboard’.

    OR

    Click Back to go back to the previous screen.

    Figure 67-3 User Security Question


    Table 67-1 Field Description

    Field Name Description
    User Security Questions
    Security Question Questions available for selection for setup.
    Answer Enter the answers corresponding to the security question.
  3. From the Security Questions list, select the appropriate security question to be added in set.
  4. In the Answers field, enter the answers corresponding to the security question.
  5. Click Save to save the changes made.
    OR

    Click Cancel to cancel the transaction.

    OR

    Click Back to navigate to the previous screen.

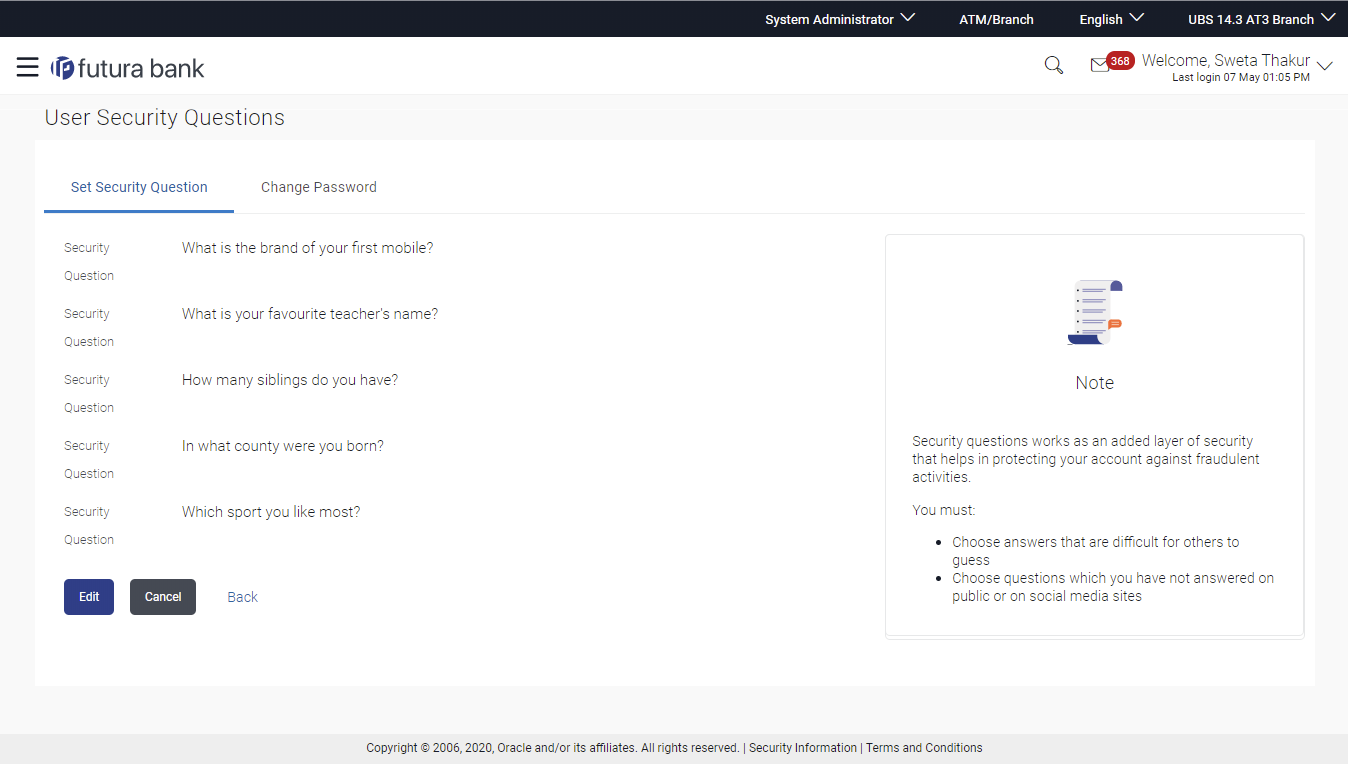
  6. The User Security Question – Review screen appears.
    Verify the details, and click Confirm.

    OR

    Click Cancel to cancel the transaction.

    OR

    Click Back to navigate to the previous screen.

  7. The User Security Question – Edit screen with values in editable form screen. appears
    OR

    Click Cancel to cancel the transaction.

  8. The success message appears along with the status of transaction.
    Click OK to complete the transaction.