34.3 Authentication - Create
This topic describes the information about Authentication - Create screen.
To create the authentication setup for user segment:
- Navigate to one of the above paths.The Authentication screen appears.
- From the Enterprise Role list, select the appropriate role.
- From the User Segment list, select the appropriate user
segment (if applicable).
Note:
The fields which are marked as Required are mandatory.For more information on fields, refer to the field description table.
Table 34-4 Authentication Setup - Field Description
Field Name Description Enterprise Role The enterprise role for which the 2 Factor Authentication is set-up. User Segment The user segments maintained by the Bank. The options are:- Retail User
- Corporate User
- Perform anyone of the following actions:
- Click Cancel to cancel the transaction.
- Click View to view the 2 Factor Authentications maintained for the user segment. The Authentication - View screen appears.
Note:
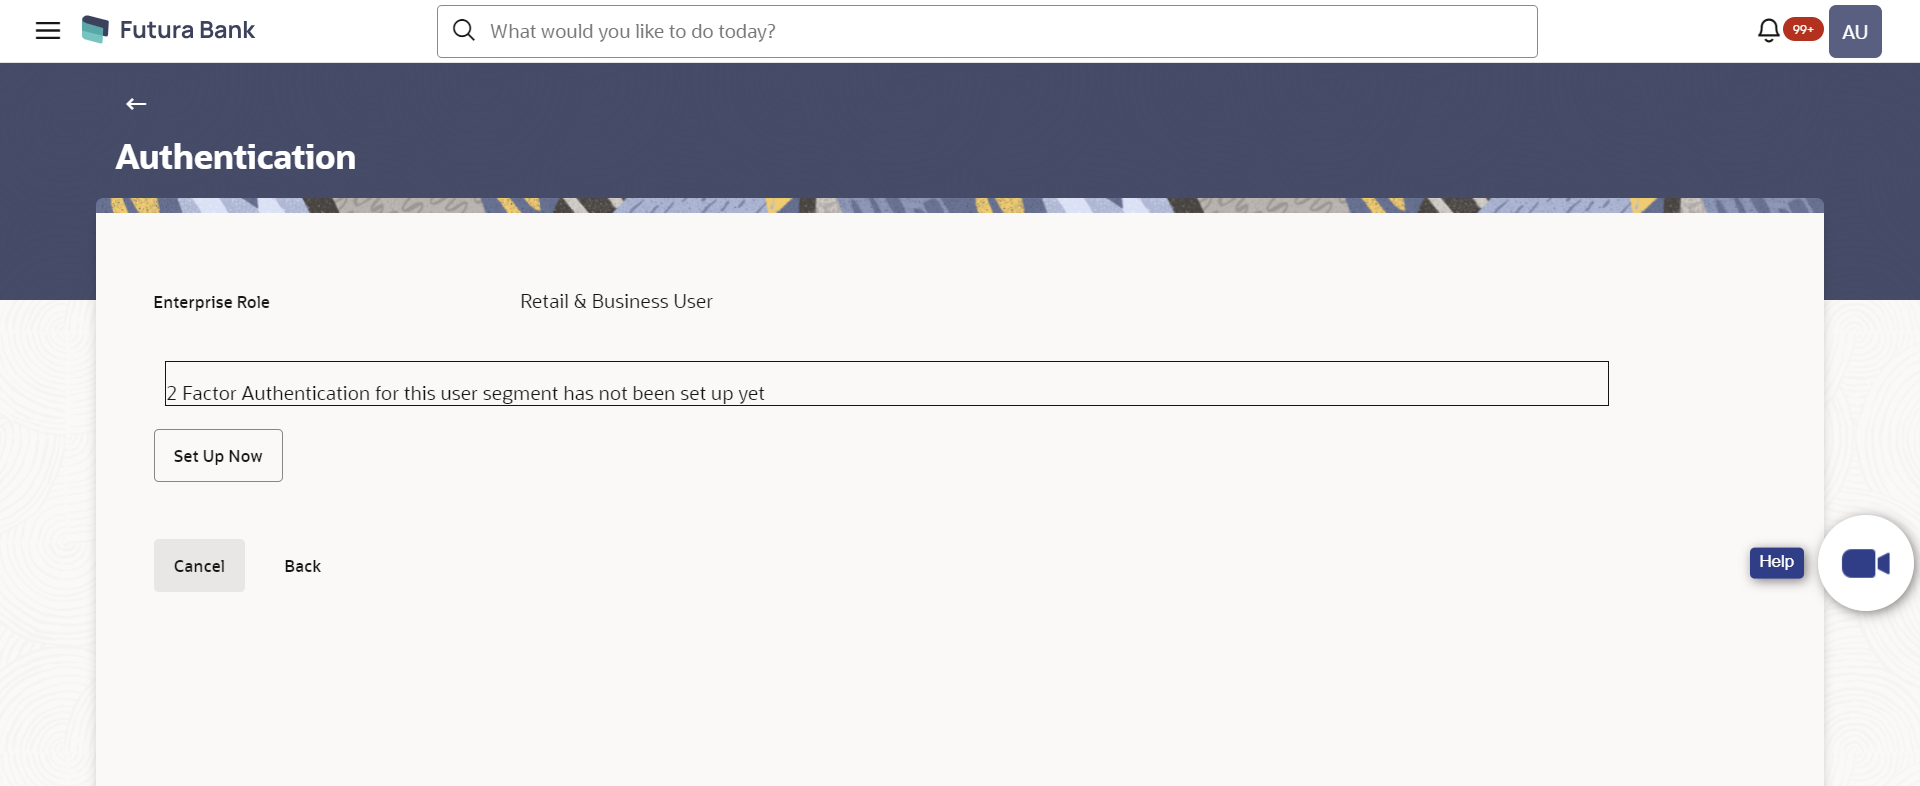
If the existing maintenance is not available for selected user segment, message will be displayed "Authentication for this user segment has not been set up yet" with a setup now button. - Click Set up now to create new 2Factor
Authentication.The Authentication - Create screen appears.
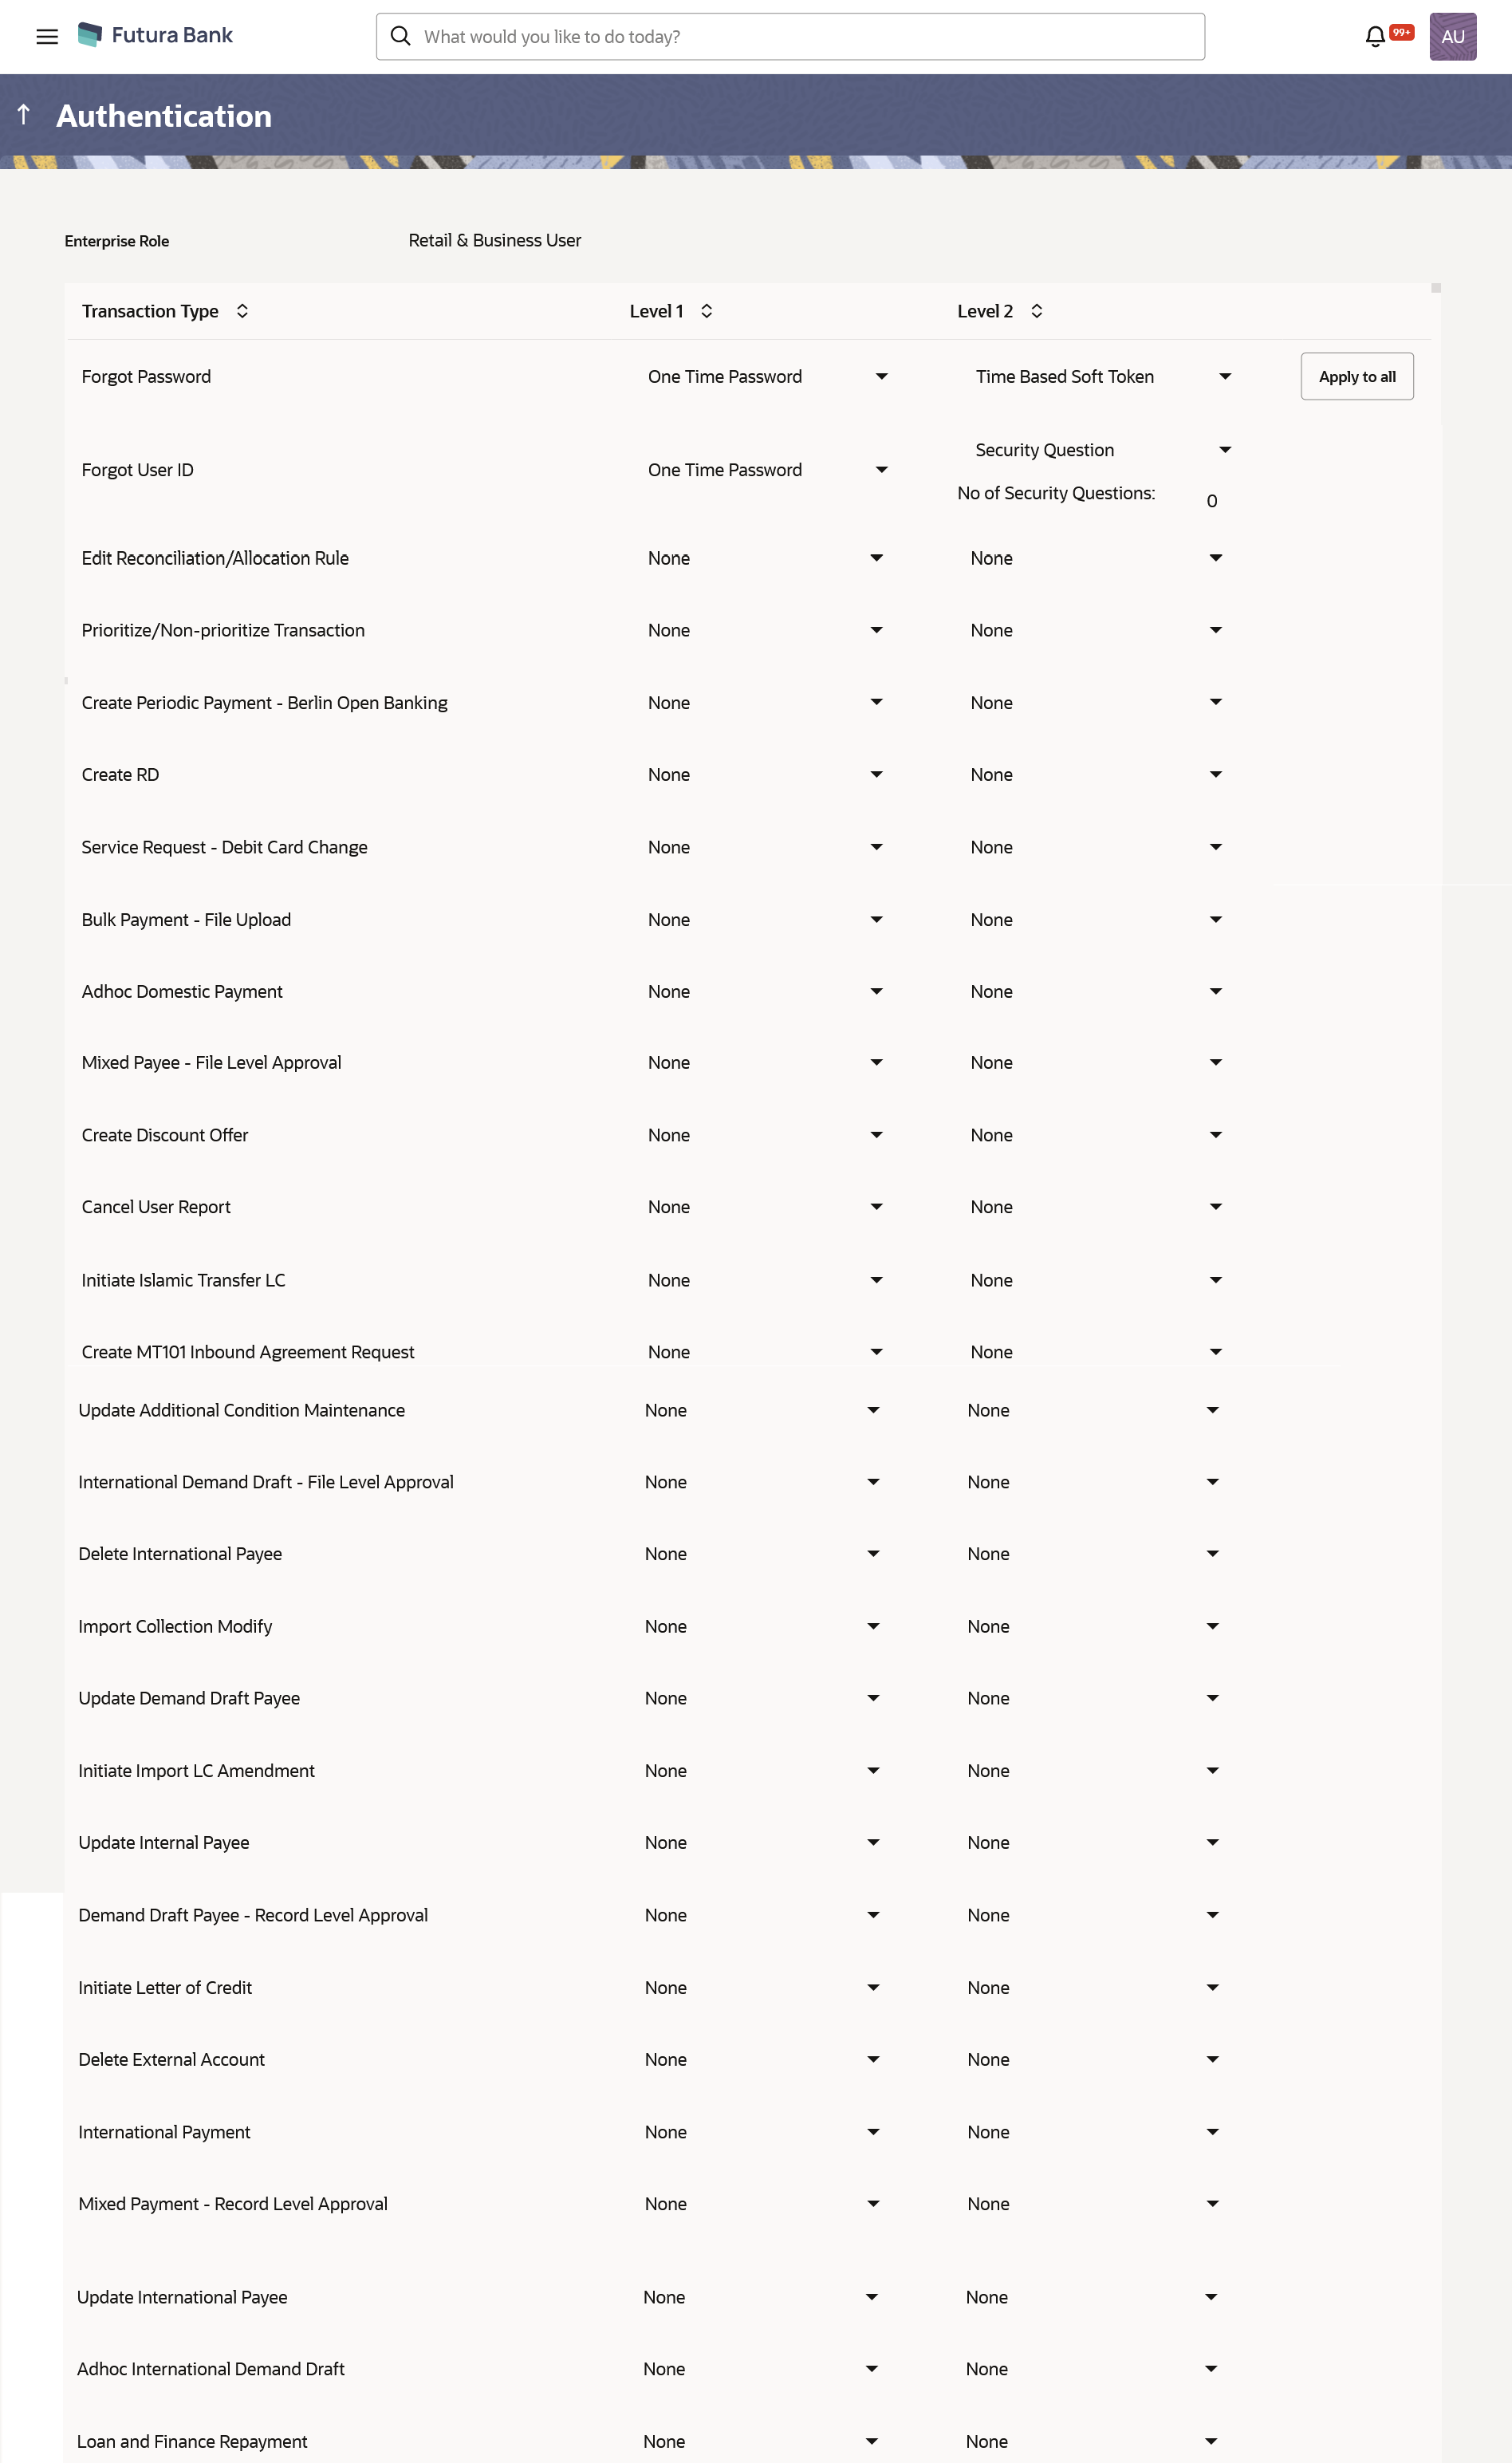
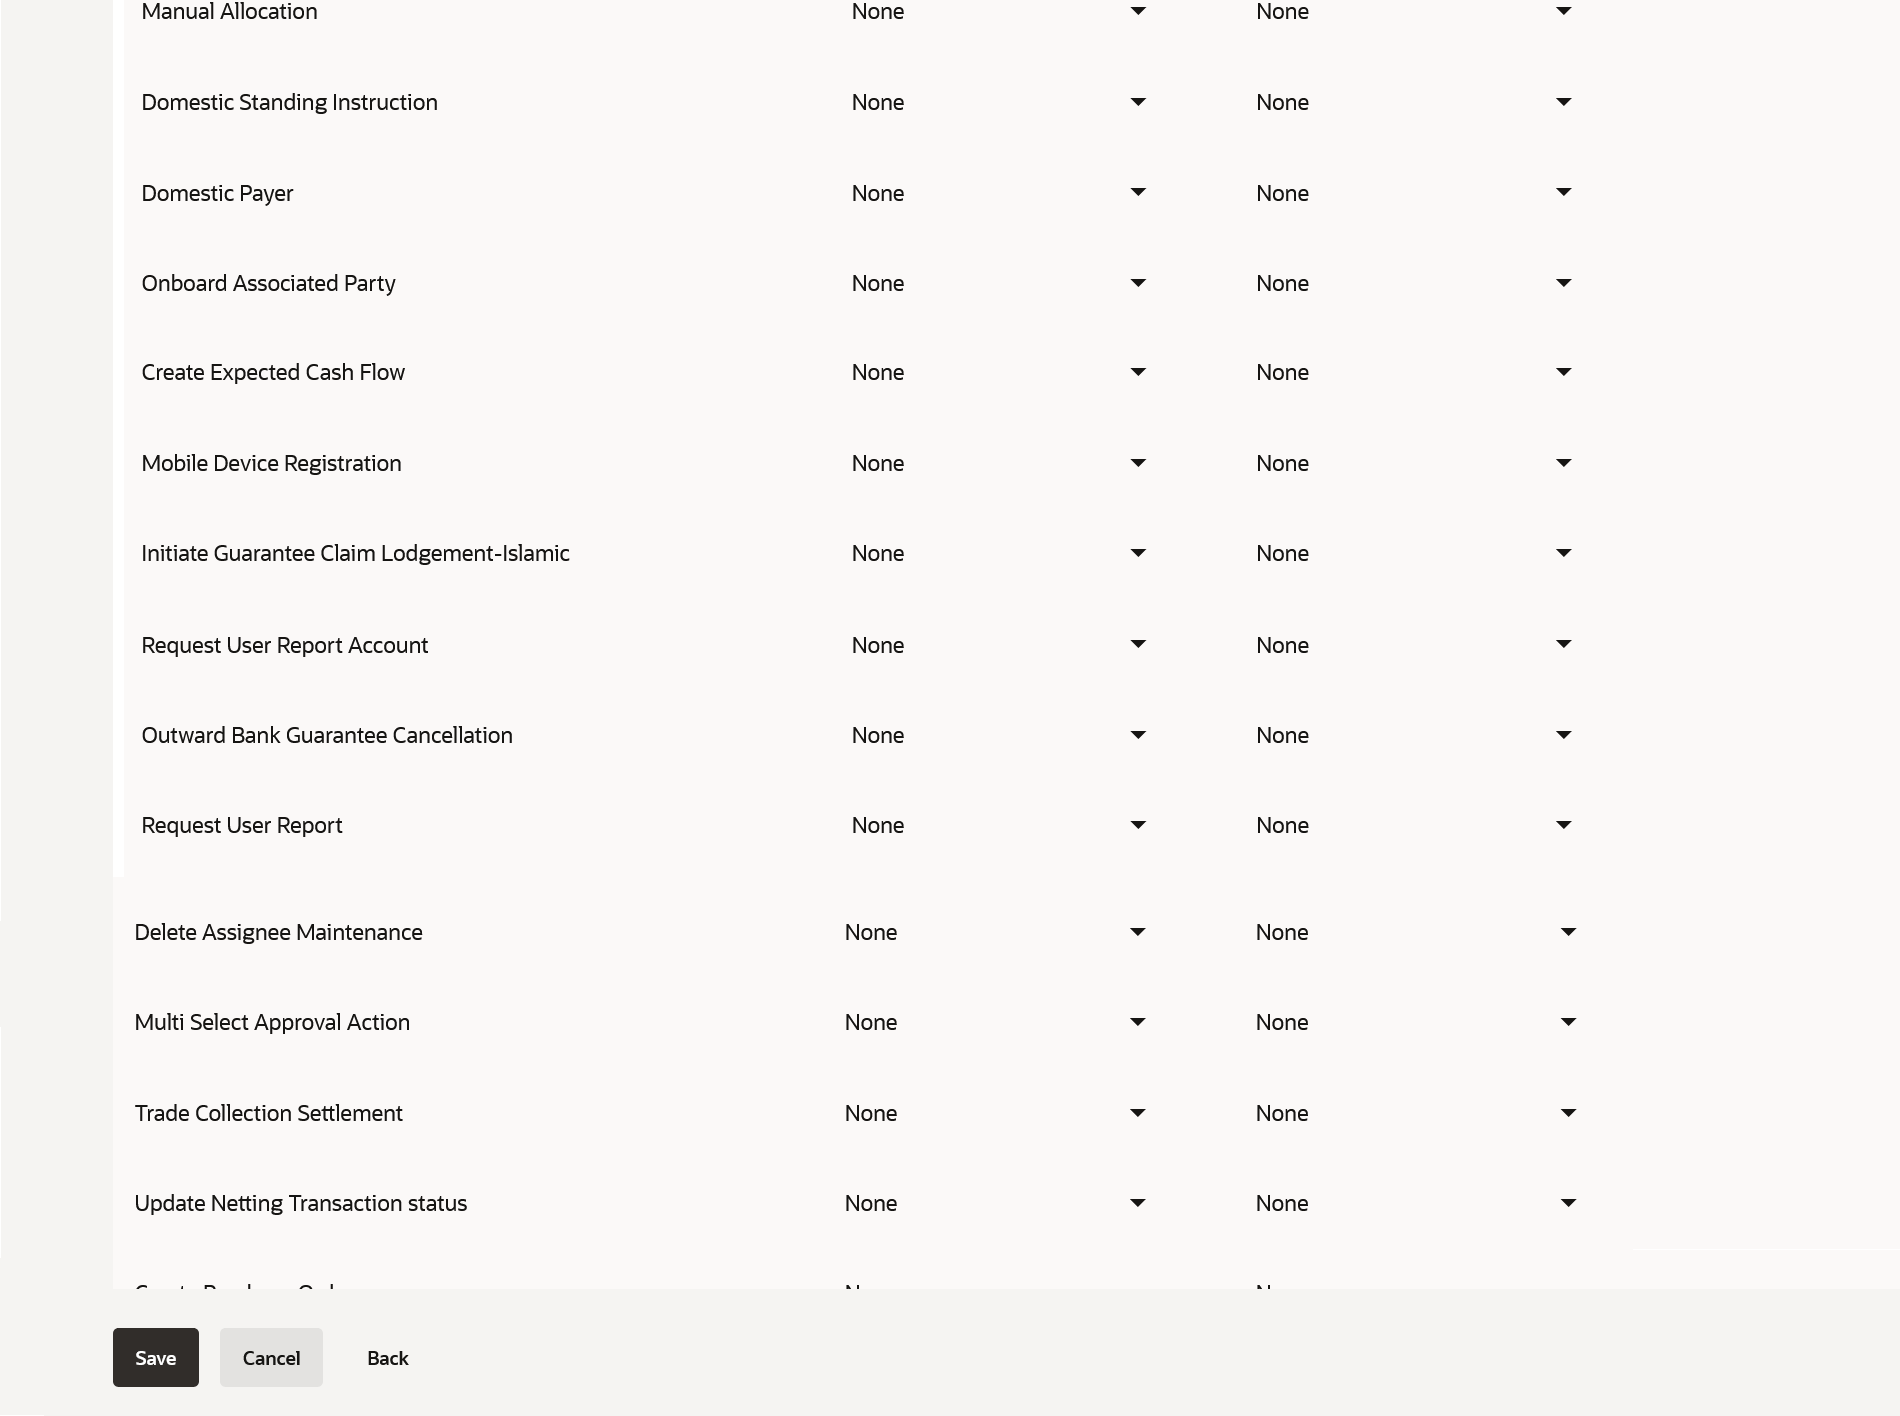
Figure 34-7 Authentication - Create
Note:
The fields which are marked as Required are mandatory.For more information on fields, refer to the field description table.
Table 34-5 Authentication - Create - Field Description
Field Name Description Create Information specified in below fields are related to create. Enterprise Role The enterprise role for which the 2 Factor Authentication is set-up. User Segment The user segment for which the 2 Factor Authentication is set-up from. The options are: - Retail User
- Corporate User
Transactions Information specified in below fields are related to transactions. Transaction Type The transaction type for which the 2 Factor Authentication is set-up. Level 1 The first level of two factor authentication mode (Security Questions, One Time Password , Soft Token, Push Notification based 2FA) set for the transaction type. The options are:- None
- Security Question
- One Time Password(OTP)
- Soft Token
- Push Notification
Number of Question Number of security questions to be asked from user at level 1 authentication. This field appears only if the Security Question option is selected as the Authenticationmode.
Level 2 The second level of two factor authentication mode (Security Questions, One Time Password , Soft Token, Push Notification based 2FA) set for the transaction type. The options are:
- None
- Security Question
- One Time Password(OTP)
- Soft Token
- Push Notification
Number of Question Number of security questions to be asked from user at level 2 authentication. This field appears only if the Security Question option is selected as the Authentication mode.
- In Transactions section, in Level
1 of authentication select the appropriate option.
- If user selects Security Question option: In the Number of questions field enter the number of security questions to be asked.
- In Transactions section, in Level
2 of authentication select the appropriate option.
- If user selects Security Question option: In the
Number of questions field enter the number of security questions to be
asked.
Note:
Click Apply to all to apply the same kind of level 1 & level 2 authentications for all transaction types.
- If user selects Security Question option: In the
Number of questions field enter the number of security questions to be
asked.
- Perform anyone of the following actions:
- Click Save to save the changes made.
- Click Cancel to cancel the transaction.
- Click Back to navigate to the previous screen.
- Perform anyone of the following actions:
- The Authentication Create– Review screen appears. Verify the details, and click Confirm.
- Click Edit to make the changes if any. The Authentication – Edit screen with values in editable form appears.
- Click Cancel to cancel the operation.
- Click OK to complete the transaction.
Parent topic: Authentication


