45.2.2 Create Mapping
This topic describes the systematic instruction to Create Mapping option.
To create the experience mapping:
- Navigate to one of the above paths.The Experience Builder screen appears.
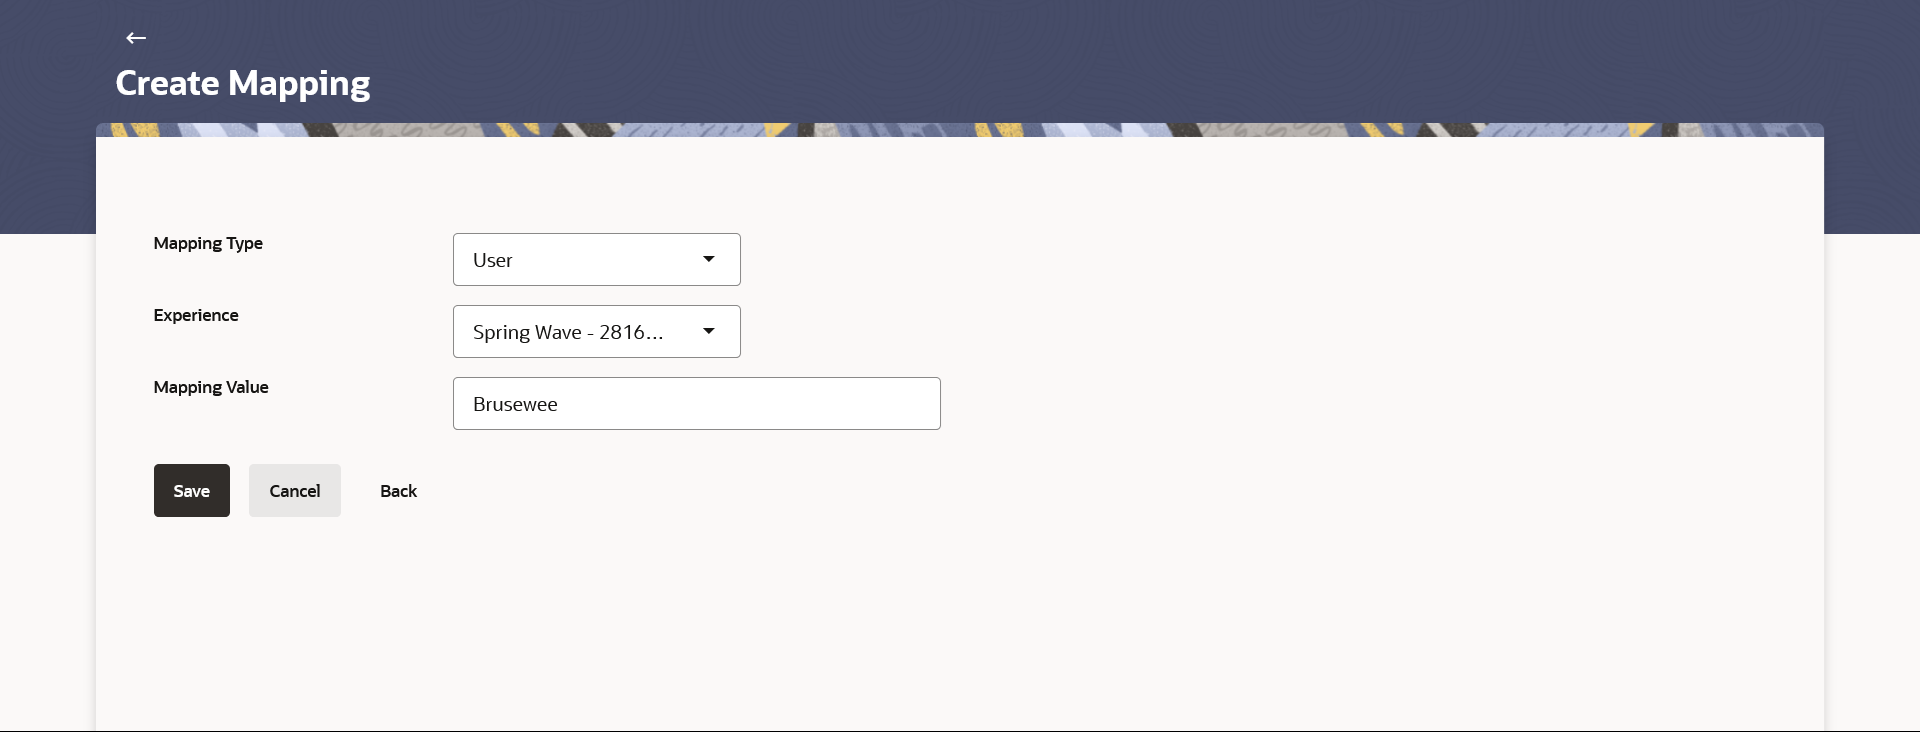
- Click Create Mapping button in the Help Panel.The Experience Builder - Create Mapping screen appears.
Figure 45-12 Experience Builder- Create Mapping
Note:
The fields which are marked as Required are mandatory.For more information on fields, refer to the field description table.
Table 45-9 Experience Builder- Create Mapping - Field Description
Field Name Description Mapping Type Select the level at which the experience is to be mapped. The options are:- User
- Party
- User Type
- Entity
Experience Select a experience to be mapped at the level selected under Mapping Type. Mapping Value Enter a mapping value. This field appears if you select Party option from the Mapping Type list, click the Party Search link and search for a party. The result will populate in the Mapping Value field.
Segment Segment of the user for which the value is to be mapped. This field appears if you select User Type optionfrom the Mapping Type list.
- From the Mapping Type list, select the appropriate option to be mapped.
- From the Brand list, select a experience.
- In the Mapping Value field, enter the value to be
mapped.
- If you have selected Party option from the Mapping Type list, click Party Search, to search the party Id. The Mapping Value field gets populated.
- If you have selected User Type option from the Mapping Type list, click Segment list to select the segment.
- Perform anyone of the following actions.
- Click Save.
- Click Cancel to cancel the transaction.
- Click Back to return to the previous screen.
The success message along with the status of maintenance appears.
- Click OK to return to the dashboard.
Parent topic: Mapping
