- Current Account and Saving Account User Guide
- Maintenance
- Bulletin Board Maintenance
- Create Bulletin
3.7.1 Create Bulletin
This topics helps you to create, view, modify or delete the bulletin messages.
- On the Homepage, from Interaction
Services, under Maintenance,
Bulletin, click Create
Bulletin, or specify the Create Bulletin
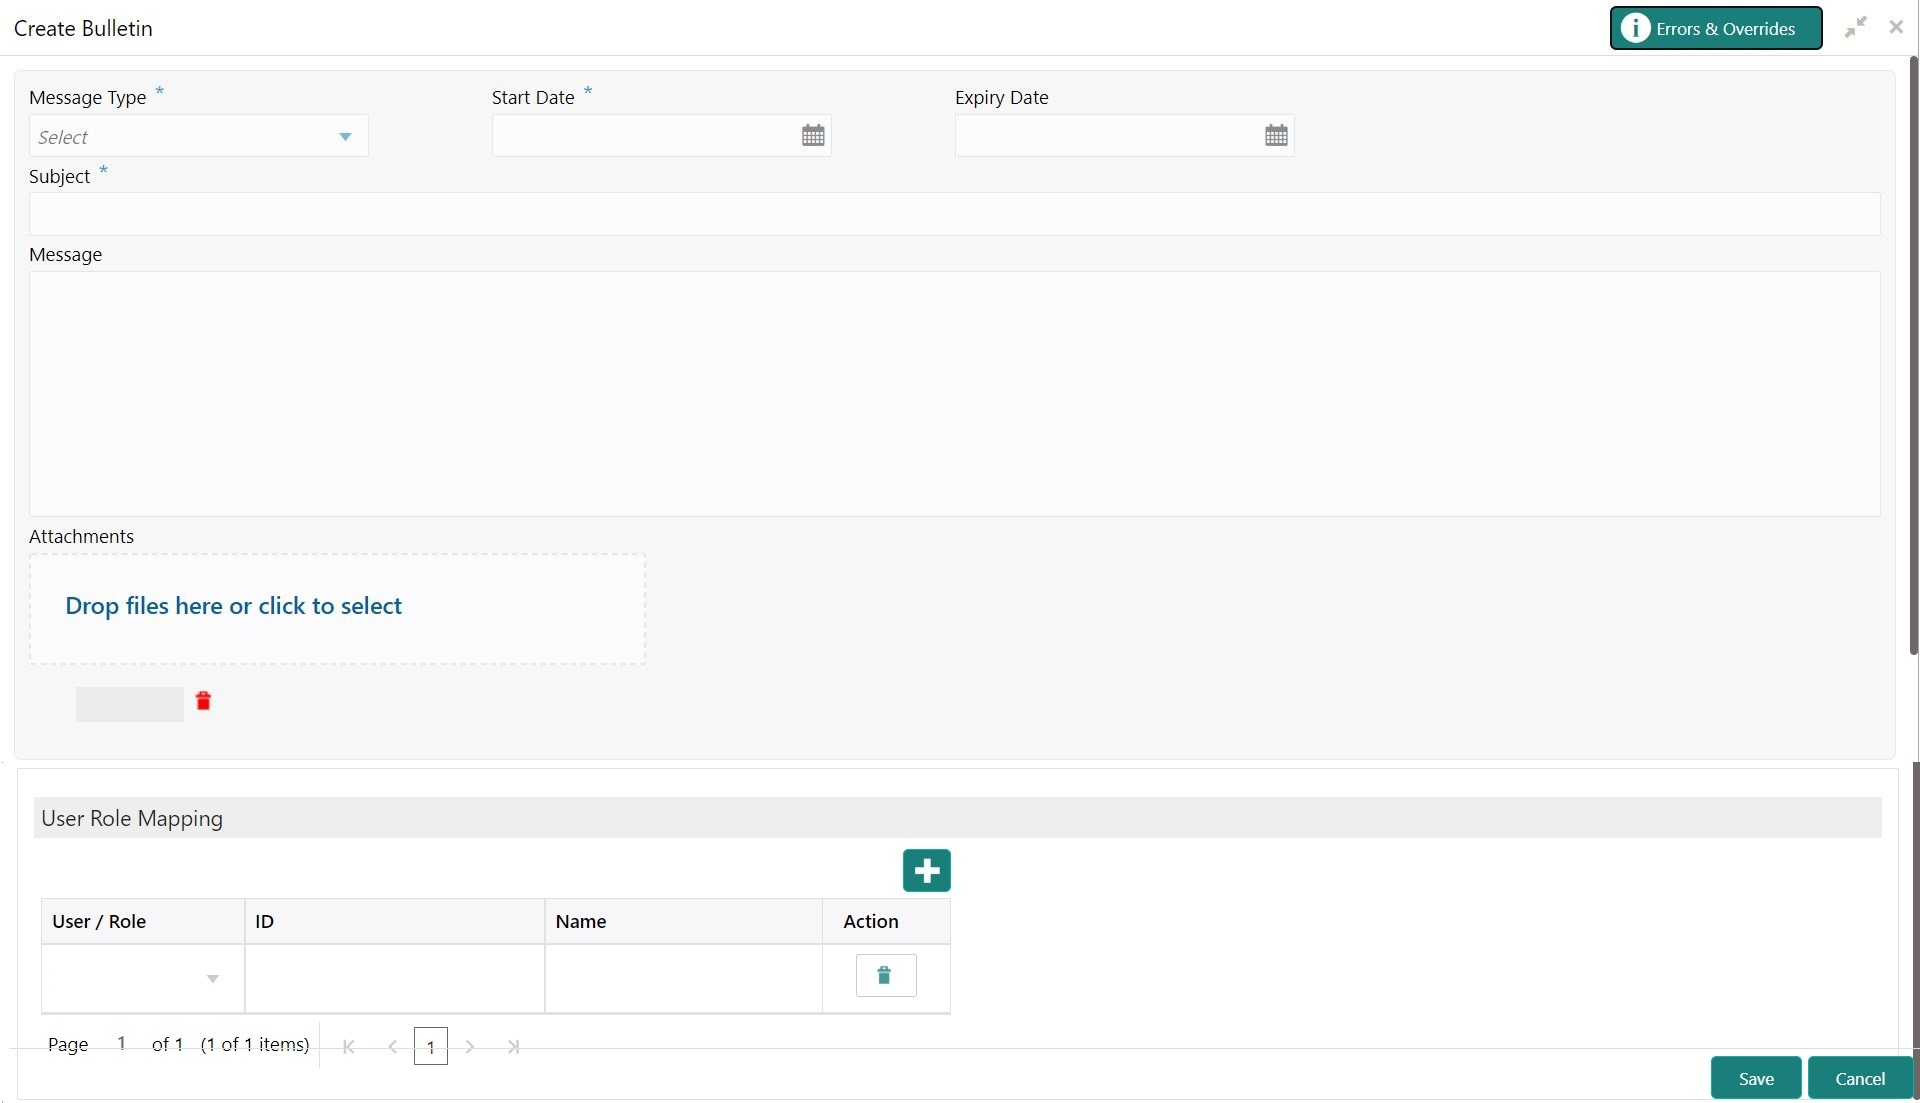
in the Search icon bar.Create Bulletinscreen is displayed.
Note:
The fields which are marked in asterisk blue are mandatory. - On the Create Bulletin screen, specify the fields.For more information on fields, refer to the field description table.
Table 3-12 Create Bulletin - Field Description
Field Description Message Type Select the message type from the drop-down list. The available options are: - Alert - Select
this option if the message requires immediate
attention from the users. When this option is
selected, the Bulletin message is represented with
 icon on the widget.
- Information -
Select this option if the bulletin is for
information purposes only. When this option is
selected, the Bulletin message is represented with
 icon on the widget.
Start Date Select the date from which the bulletin message displays on the widget. Note:
This date cannot be lesser than the current business date.End Date Users can specify the expiry date of the bulletin message. Once the bulletin message reaches the expiry date, the message gets removed from the bulletin board widget. Subject Enter a brief description of the bulletin message. Message Enter a detailed description of the message. Attachments You can attach relevant documents using this option. You can either drag and drop files into the space provided or select documents from your local drive. You can preview or delete an attachment before submitting the transaction for authorization.
- Alert - Select
this option if the message requires immediate
attention from the users. When this option is
selected, the Bulletin message is represented with
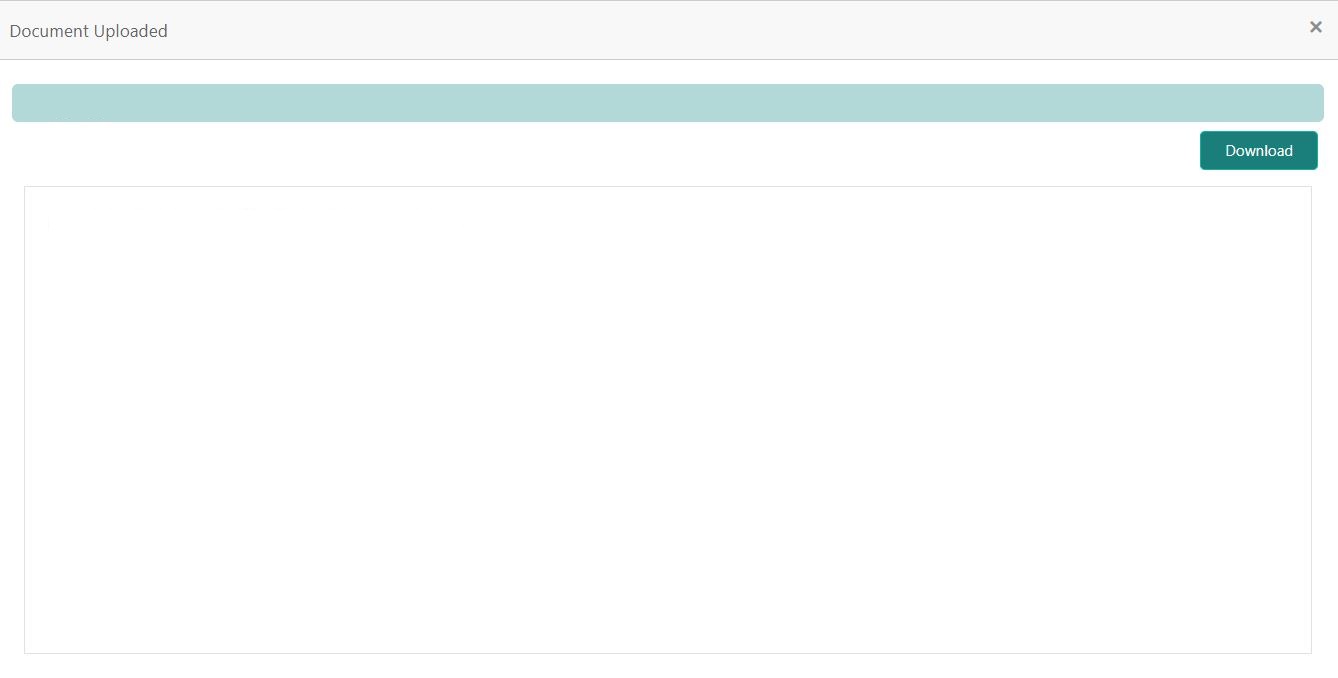
- To preview an attached document, click on the document hyperlink.Document Uploaded pop up window is displayed.
Note:
The document preview is available only to those document types that support the preview feature by default. Where the preview feature is not supported, click on Download button to download the attached document before viewing. - Click
 icon to close the Document Uploaded pop up
window.
 - You can target bulletin messages towards user groups or specific users. Using the User Role Mapping table, you can configure User Roles or Users to a particular bulletin.
- Click
 icon to specify User Role or User mapping to the bulletin
message.For more information on fields, refer to the field description table.
icon to specify User Role or User mapping to the bulletin
message.For more information on fields, refer to the field description table.Table 3-13 User Role Mapping - Field Description
Field Description User/Role Select User/Role from the drop-down list. ID When User is selected, click the search icon to view the User Mapping pop-up window. By default, this window lists all the Users present in the system. You can search for a specific User by providing User, or Username and click Fetch. When Role is selected, click the search icon to view the Role Mapping pop-up window. By default, this window lists all the Roles present in the system. You can search for a specific Role by providing Role, or Role Name and click Fetch.
Name User or Role name is displayed based on the user id or role id selected. Actions Displays the  icon, to remove the respective user or
role.
- After the message is created, the status of the message is updated as
Active or Awaited. System updates the status of the Bulletin message as Active if the start date is equal to the current business date.
Note:
If the Start Date is future dated, then the status of Bulletin message is updated as Awaited until the date is reached. The system automatically updates the status to Active once the start date is reached
Parent topic: Bulletin Board Maintenance

