- Current Account and Saving Account User Guide
- Dashboard
- Service Request
1.4 Service Request
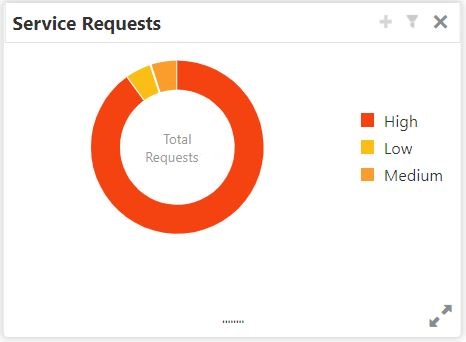
This topic describes the systematic instruction about the Service Request widget in Dashboard.
- High
- Medium
- Low
- To view the Service Requests, hover the mouse on each section of the doughnut.
- The Service Request details are derived from the function id STDSRQST (Service Request Input screen). Users can edit and save the details in this screen.
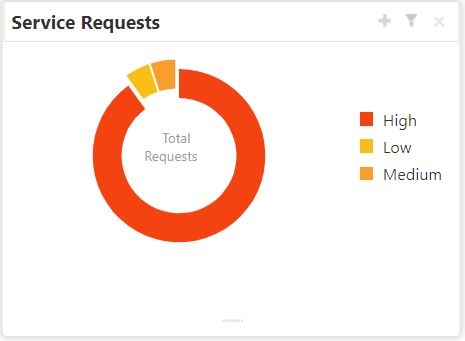
- On the Service Request doughnut, when a section is clicked the doughnut pops
out. Whenever the page is navigated away from the dashboard, this pop-out will
reset and go back to the default view.Service Request Doughnut pop-out is displayed.
Figure 1-11 Service Request Doughnut pop-out
Description of "Figure 1-11 Service Request Doughnut pop-out" - Click
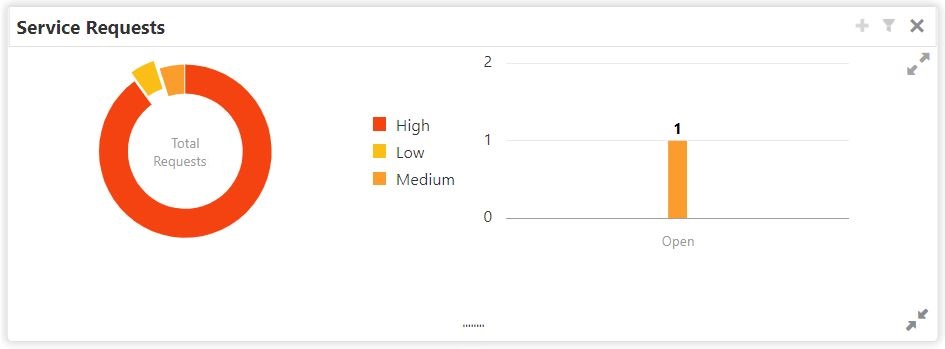
 icon to view the bar graph which displays different status of the
service requests.Each bar displays the total number of service requests at the
top of the bar.Service Request-Bar Graph is displayed.
 - The bar graph displays different status like Open, Closed, Escalated, Pending.
For a specific status, users can click the bar to view the following service
request details in a tabular format.
- Service Request Number
- Service Request Type
- Customer Number
- Account Number
- Click
 icon to close the bar graph.
 - On the Service Request widget, click
 icon to view available service requests for selected priority with the
status in tabular format.Priority Service Request pop-up window gets displayed.
icon to view available service requests for selected priority with the
status in tabular format.Priority Service Request pop-up window gets displayed.Figure 1-13 Priority Service Request Pop Up Window

Description of "Figure 1-13 Priority Service Request Pop Up Window" - Users can view the following details in the Service Requests table,
- Service Request Number
- Service Request Type
- Customer Number
- Account Number
- Status
- Click
 icon to create New Service Requests.New Service Request screen is displayed.
Figure 1-14 Service request-New Service request
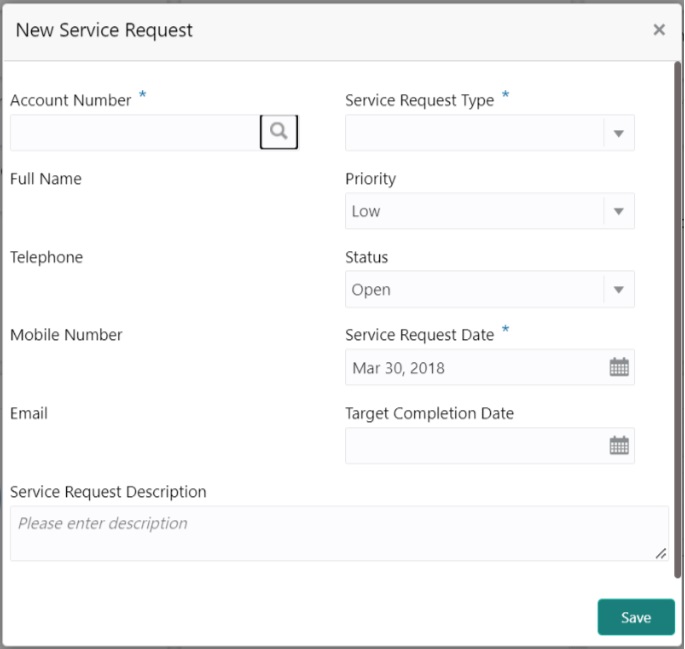
Description of "Figure 1-14 Service request-New Service request" - On the New Service Request screen, specify the
fields.For more information on fields, refer to the field description table.
Table 1-5 Service Request-New Service Request
Field Description Account Number Account Number is displayed based on the Customer Number selected. Alternatively, users can also enter or click the search icon to view the Customer Account Details pop-up window. By default, this window lists all the Account Numbers present in the system. You can search for a specific Account Number by providing the Account Number or Account Name and click the Fetch button. After the Account Number is selected, the system defaults the Customer Number.
Service Request Type Select the service request type. Full Name Displays the full name defined at the customer record. Priority Users can select any one of the Priority Type from the drop-down list. The Priority drop-down lists the below values, - High
- Medium
- Low
Note:
By default, the Low option is selected.Telephone Displays the telephone number defined at the customer record. Status Users can select any one of the Status from the drop-down list. The Status drop-down lists the below values, - Open
- Pending
- Closed
- Escalated
Mobile Number Displays the mobile number defined at the customer record. Service Request Date Click on the adjoining calendar icon and specify the Service Request Date. Note:
By default, the branch date is displayed.Email Display the Email ID defined at the customer record. Target Completion Date Click on the adjoining calendar icon and specify the Target Completion Date of the service request. Service Request Description Users can enter the description about the Service Request. - After entering all the details users need to click on Save button. The system generates a service request number and populates in the Service Request Number field & displays a success message SR is saved successfully. When the user accepts the message, the screen is closed and the service request appears on the widget.
- Click
 to filter the service requestsFilter Service Requests pop up window is displayed.
Figure 1-15 Filter Service Requests Pop Up Window
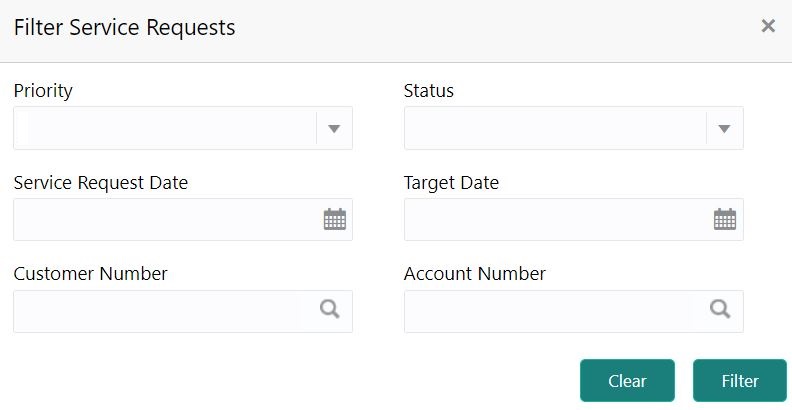
Description of "Figure 1-15 Filter Service Requests Pop Up Window" - On Filter Service Requests pop up window, specify the
fields.For more information on fields, refer to the field description table.
Table 1-6 Filter Service Requests
Field Description Priority Users can select any one of the Priority Type from the drop-down list. The Priority drop-down lists the below values, - High
- Medium
- Low
Status Users can select any one of the Status from the drop-down list. The Status drop-down lists the below values, - Open
- Pending
- Closed
- Escalated
Service Request Date Click on the adjoining calendar icon and specify the Service Request Date. Target Date Click on the adjoining calendar icon and specify the Target Date of the service request. Customer Number Enter the Customer Number or click the search icon to view the Customer Details pop-up window. By default, this window lists all the Customer Numbers present in the system. You can search for a specific Customer Details by providing Customer Number or Customer Name and click the Fetch button. Account Number Enter the Account Number or click the search icon to view the Customer Account Details pop-up window. By default, this window lists all the Customer Numbers present in the system. You can search for a specific Customer Account Details by providing Customer Number, Account Number or Account Name and click the Fetch button. - Click the Filter button.The applied Filters will appear in the band within the widget.
- To remove the filters, click
 icon and click the clear button.
Parent topic: Dashboard
