4.4 Nominee Details Update

You can modify the existing nominee details, add a new nominee, and delete the existing nominee details added to the CASA account using this screen.

To update nominee details:

Note:

The fields marked as Required are mandatory.
  1. On the Homepage, from the Deposit Services mega menu, under Maintenance, click Nominee or specify Nominee in the search icon bar and select the screen.

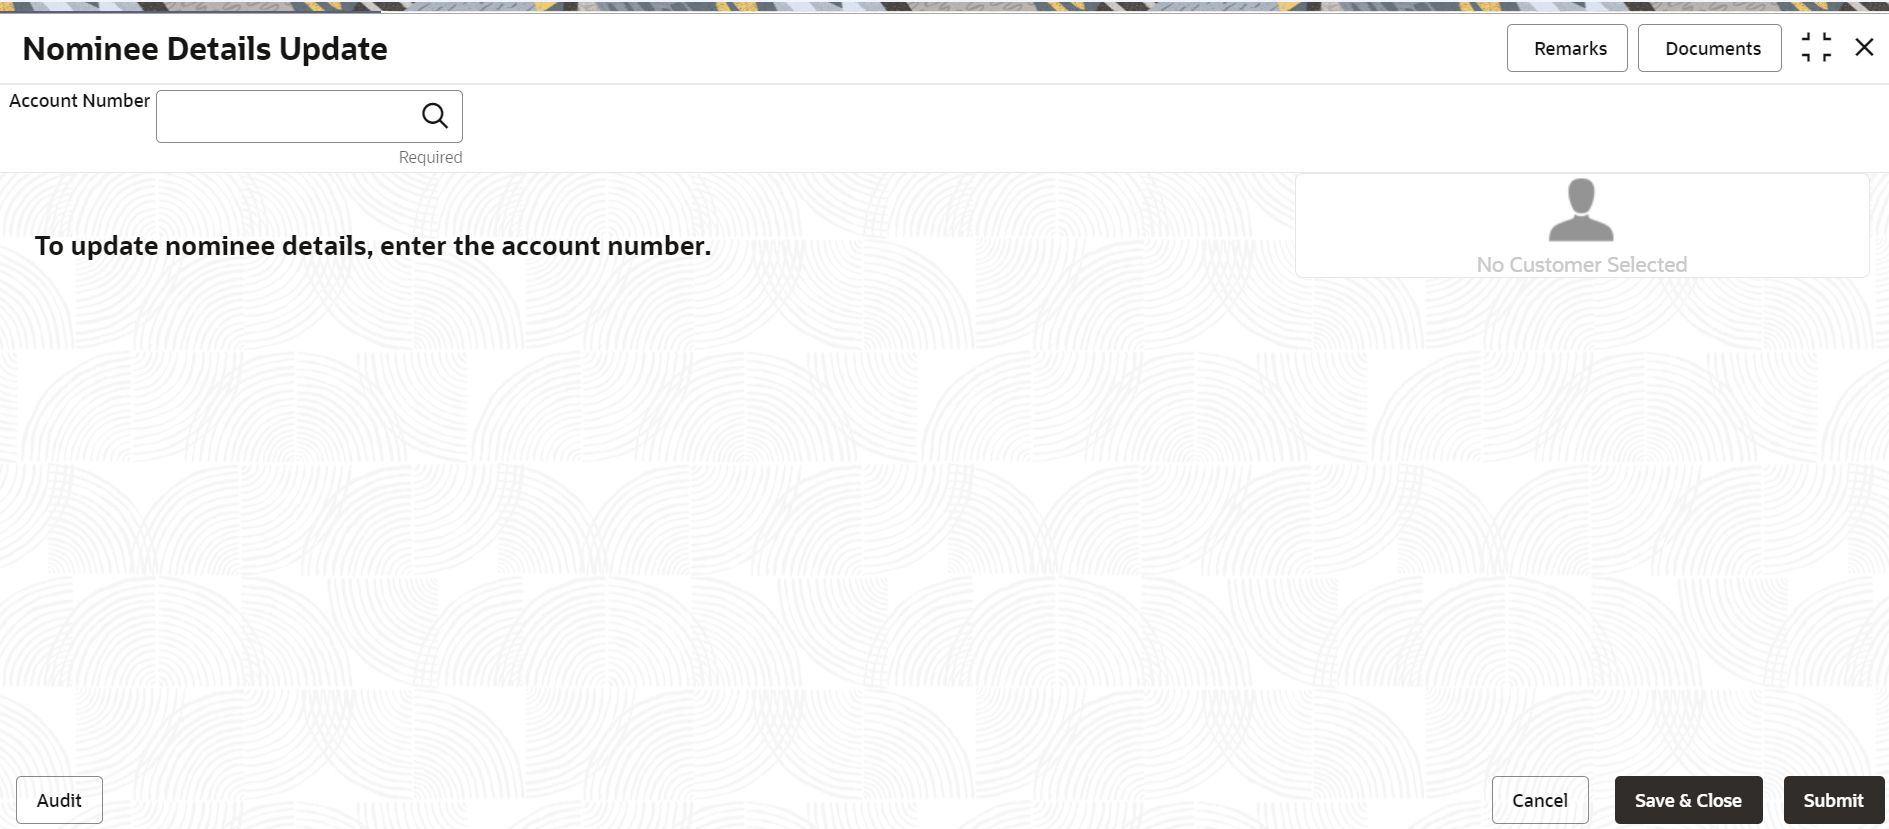
    The Nominee Details Update screen is displayed.

    Figure 4-10 Nominee Details Update


  2. Click the Search icon or specify the account number in the Account Number field, and press Enter or Tab.
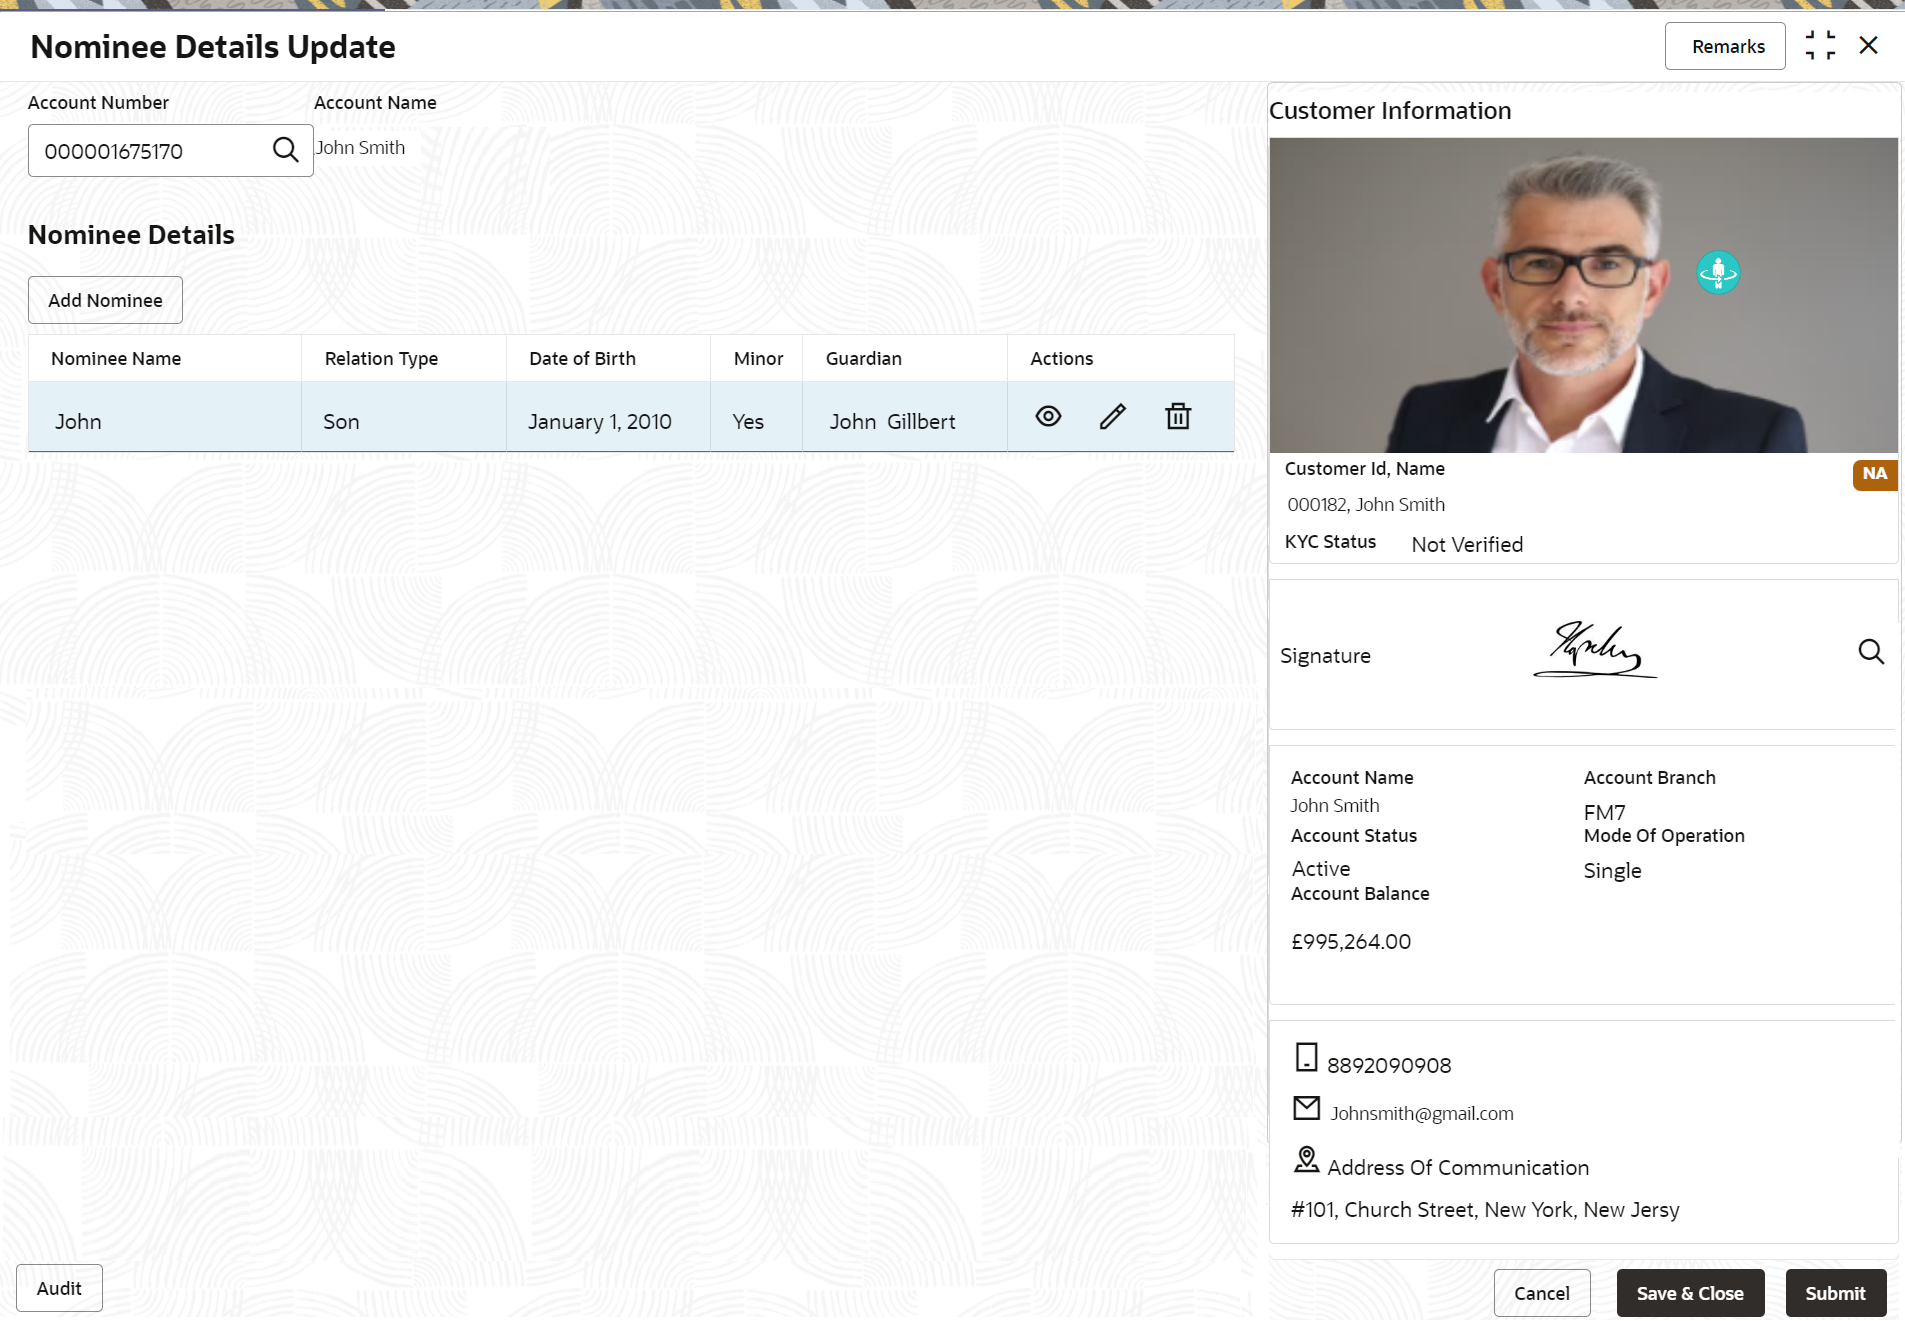
    The details are displayed in the screen.
  3. In the Nominee Details section, you can view the details of the nominee if already added to the account. For more information on fields, refer to the field description table.

    Table 4-6 Nominee Details Update – Field Description

    Field Description

    Account Number

    Click the Search icon and select the account number or specify the account number to update the nominee details.

    Note:

    • The customer information is displayed at the right of the screen.

    Amount Name

    Displays the name of the account holder for the selected account number.

    Nominee Details

    This section displays the details of the nominee added to the CASA account.

    Note:

    For information on adding a nominee, refer Add Nominee.
    Nominee Name Displays the name of the nominee added.
    Relation Type Displays the relationship of the nominee.
    Date of Birth Displays the nominee's date of birth.
    Minor Displays whether the nominee is a minor.
    Guardian Displays the name of the guardian, if the nominee is a minor.
    Actions Displays the following icons to perform the action:
    • View: For information on this action, refer View Nominee Details.
    • View: For information on this action, refer Edit Nominee Details.

    • Delete

      : If you click this icon, then a confirmation message is displayed that the nominee details will not be recovered. To proceed with deletion, you need to click Delete.
  4. Click Submit.
    The screen is successfully submitted for authorization.