4.2.1 Common Tasks in Maintenance Screens

You can perform one or more of the common tasks in the maintenance screens based on the requirement.

Now, that you have learned how to work with your records, you might want to explore more advanced features:
  • Search Records
  • Create/Configure Records
  • Copy Records
  • Reopen Records
  • Print Records
  • Minimize Records
  • Audit Records
  • View Records
  • Refresh Records
  • Pagination
  • Edit Records
  • Unlock Records
  • Delete Records
  • Authorize Records
  • Close Records

The common tasks are as follows:

Table 4-3 Common Tasks in Maintenance Screens

Feature Description

View Records

You can view the summary of all configured records in the selected summary screen. This helps you to find the required record faster. A few different formats to view the records are described in the following topics.
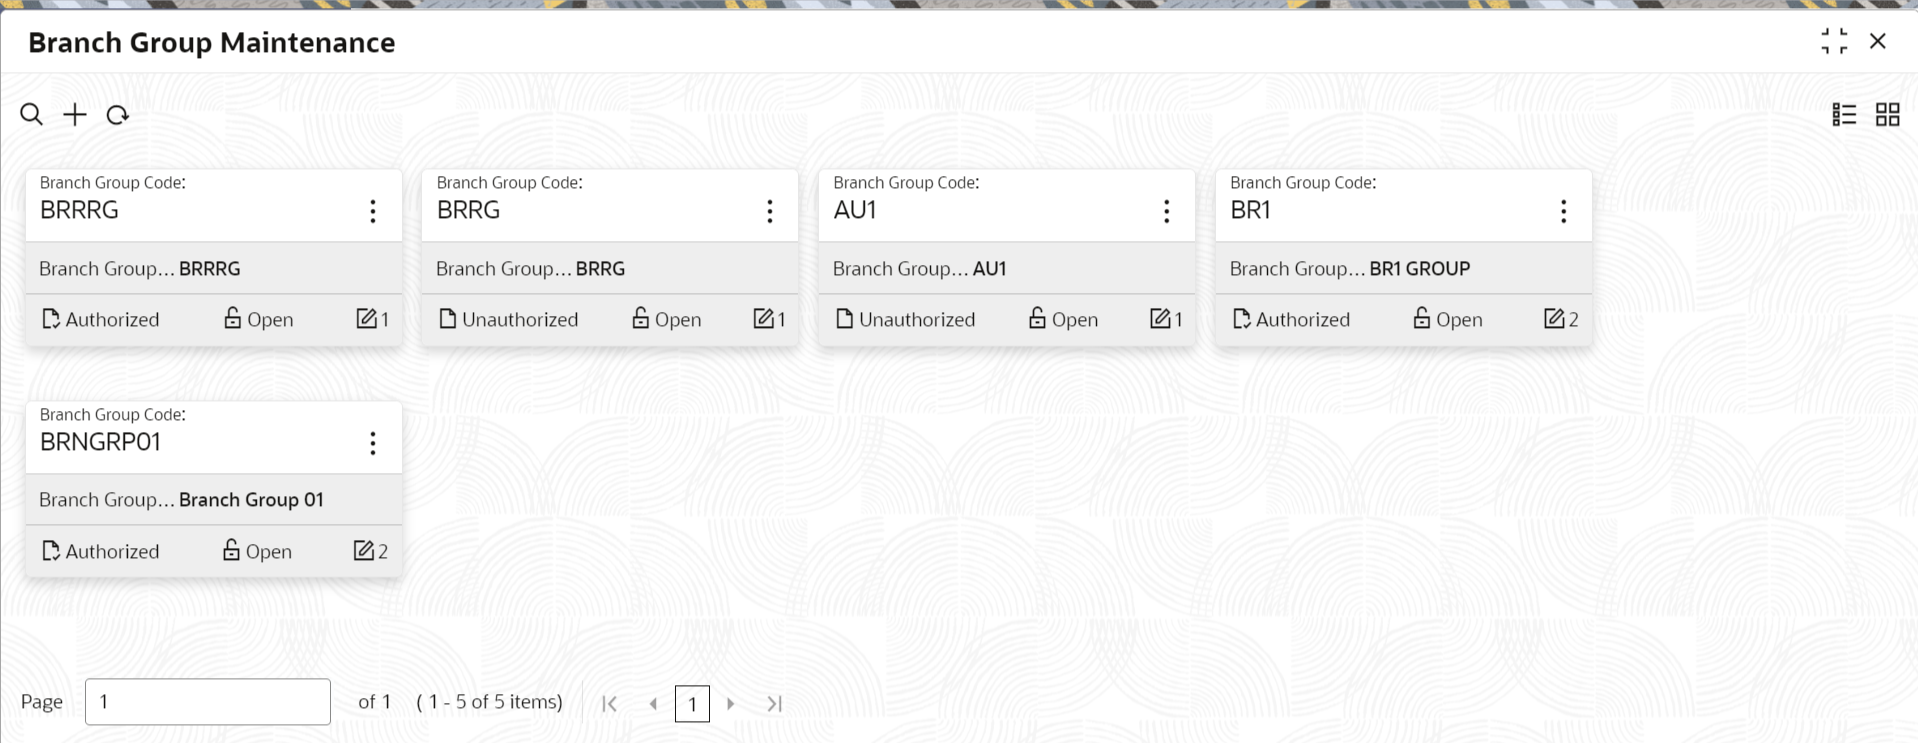
  • Tile View - The default summary view of the records is tile view. Displays the configured records in a tile format with a few key fields that are associated with the screen. You can click a tile to open a record on a full screen and view the details. A sample is shown in Figure 4-1.

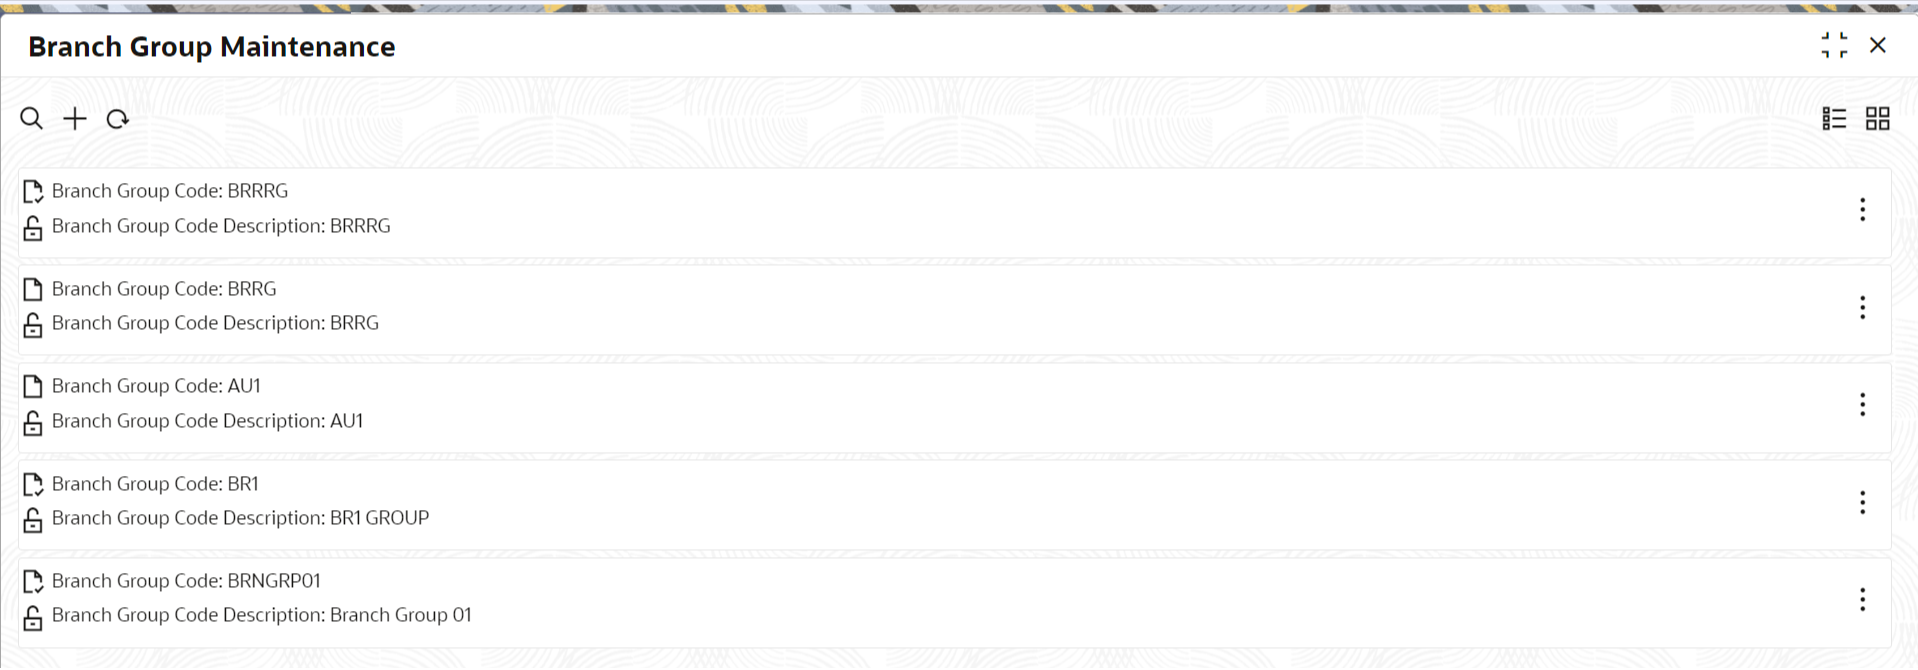
  • List View - Displays the configured records in a list format. In the selected screen, click the List view icon icon on the action toolbar as illustrated to view the details. A sample is shown in Figure 4-2.

Search Records

To search for records based on specific criteria:
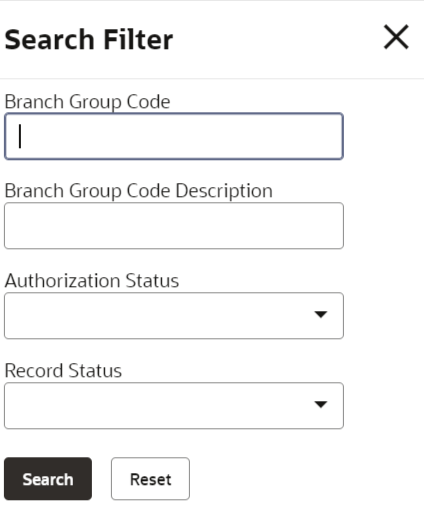
  1. On the selected screen, click the Search icon icon. The fields associated with the selected screen displays in a drop-down menu.

  2. Specify the required details associated with the selected screen.

  3. Click Search to view the requested record.

A sample screen for search records is shown in Figure 4-3.

Pagination

The number of records is displayed on the bottom left corner of the selected view screen. Depending on the records available, the number of pages appears. You can navigate to the first page, last page, previous page, or next page by using the number icons.

Refresh Records

On the selected screen, click the Refresh icon icon, the records associated with the selected screen are updated with the latest details.

Create/Configure Records

To create/configure records in one of the three ways:
  1. On the selected view screen, click Add to create/configure a record.

  2. On the selected view screen, click on a configured record.

  3. Click New to create/configure a record.

  4. On the menu, select a sub-menu, and click <Create the name of the screen>.

Edit Records

To edit a record:

Note:

Ensure you have the privileges and know the guidelines to modify the records.
  1. On the selected screen, click a record and make the required changes to the record.

  2. Click Save to save the modified record.

Copy Records

To copy a record:
  1. On the selected screen, click a record.

  2. Click Copy to copy the selected record details and make the required changes to the record such as name.

  3. Click Save to save the modified record.

Unlock Records

To unlock a record:
  1. On the selected screen, click a record.

  2. Click Unlock to unlock the selected record details and make the required changes to the record such as name.

  3. Click Save to save the modified record.

Reopen Records

To re-open a record:
  1. On the selected screen, click a record.

  2. Click Reopen, a confirmation popup appears.

  3. Provide a remark and click Confirm to reopen the record.

Delete Records

On the selected screen, select a record and click Delete to remove the record.

Note:

Ensure you have the privileges and know the guidelines to delete the records.

Print Records

To print a record:
  1. On the selected screen, click a record.

  2. Click Print to view the record in a print format and print the records.

Authorize Records

To authorize a record:
  1. On the selected screen, click a record.

  2. Click Authorize and the records associated with the selected screen that must be authorized appears.

  3. Select the required record that must be authorized.

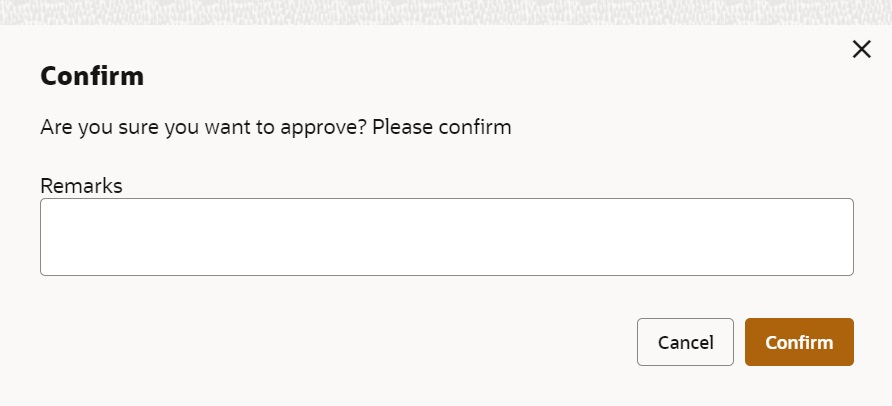
  4. Click Approve, and a confirmation popup appears.

    A sample screen to select an unauthorized record shown in Figure 4-4

  5. Provide a remark and click Confirm to authorize the record.

    A confirmation popup screen to provide a remark is shown in

    Figure 4-5

Minimize Records

On the selected screen, click the Minimize icon icon to minimize the screen. The minimized screen appears at the bottom left corner of the screen. You can click again to maximize the screen.

Close Records

On the selected screen, click the Close icon icon to close the screen. If you are in the middle of creating/modifying the records in a selected screen, an error/warning message appears prompting you to save the changes.

Audit Records

To audit a record:
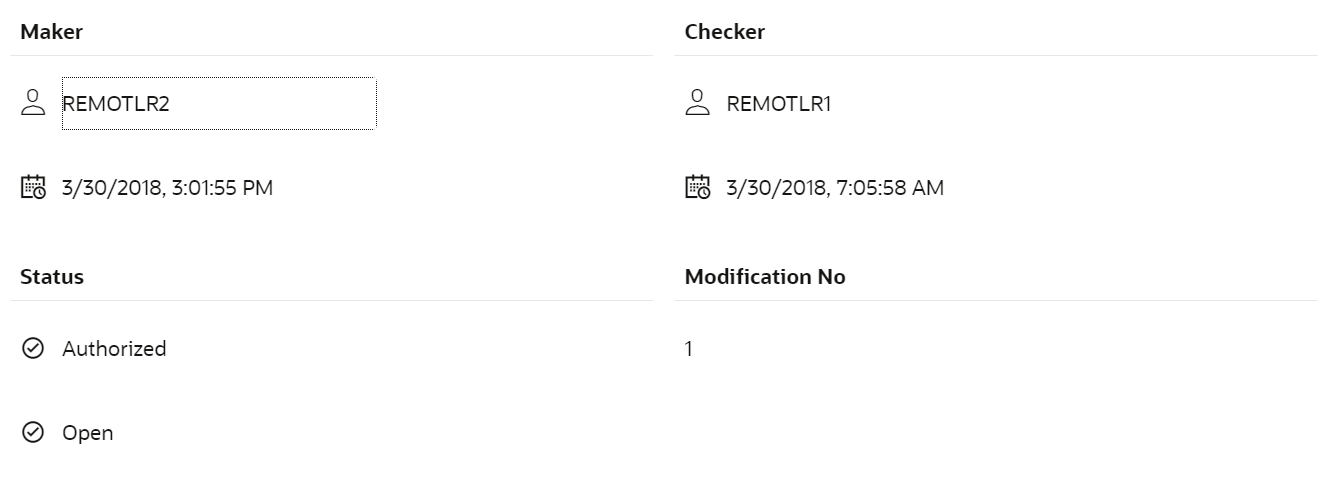
  1. On the selected screen, click Audit to view the change history of the record. The audit detail popup is displayed.

    A sample screen to audit record is shown in Figure 4-6.

  2. Click Show History to view the modification history of the record.

    A sample screen to view the modification history is shown in Figure 4-7

  3. Click Back to navigate to the previous screen.
  4. Click anywhere on the screen to close the audit detail popup.