5.3.1 Pending for Approvals
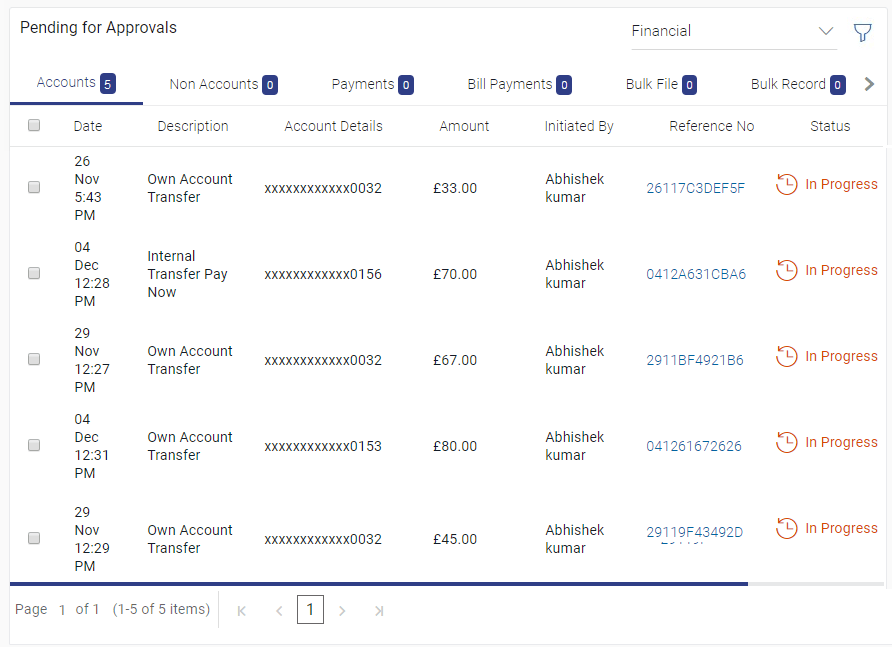
This topic provides the systematic instructions to user for viewing pending for approvals list contains transactions that have been initiated by the maker and are pending for approval.
When the approver user logins to the application, he can view the transactions that are pending for his decision to either approve or reject.
The Pending Approval tab, a summarized view of the following:
- Count of all the transactions pending approval
- Count of the financial and non-financial transactions pending approval out of the total count
- Count the urgent transactions (prioritized and in grace period) pending approval
The transactions pending approval within a period can be searched across modules by providing a date range. The financial and non-financial sections display module wise count of transactions pending approval. The details can be viewed either in a graphical format or in a list format using a switch option.
Note:
- If for any module, the pending approval count is ‘0’, then it will not be shown in the list.
- In the
 graph view icon, on clicking the bars in the graph, the user will be
navigated to the transaction listing page.
- In the
 list view icon, on clicking the module name link , the list of transactions
pending approval within the module can be viewed.
The tab also displays the all the transactions pending approval within a module along with the prioritized and in-grace tags. A specific transaction (pending approval) reference number can also be searched within a module. Module specific filters is provided to search for transactions pending approval within a module.
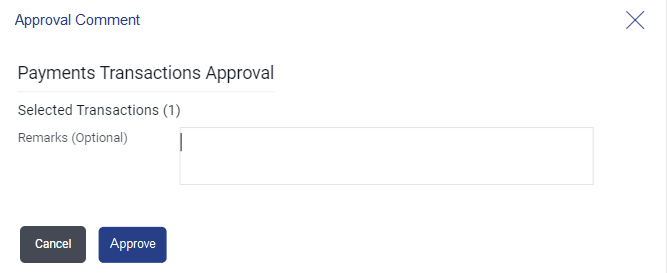
The search will be on a specific module and not across modules. Dynamic switching of modules will be available from the filter overlay. Module wise filters will be provided similar to the Pending Approval Dashboard. Approver can selects specific transaction or all transactions listed on that page or all transactions across pages of the selected module and approve or reject the selected records.
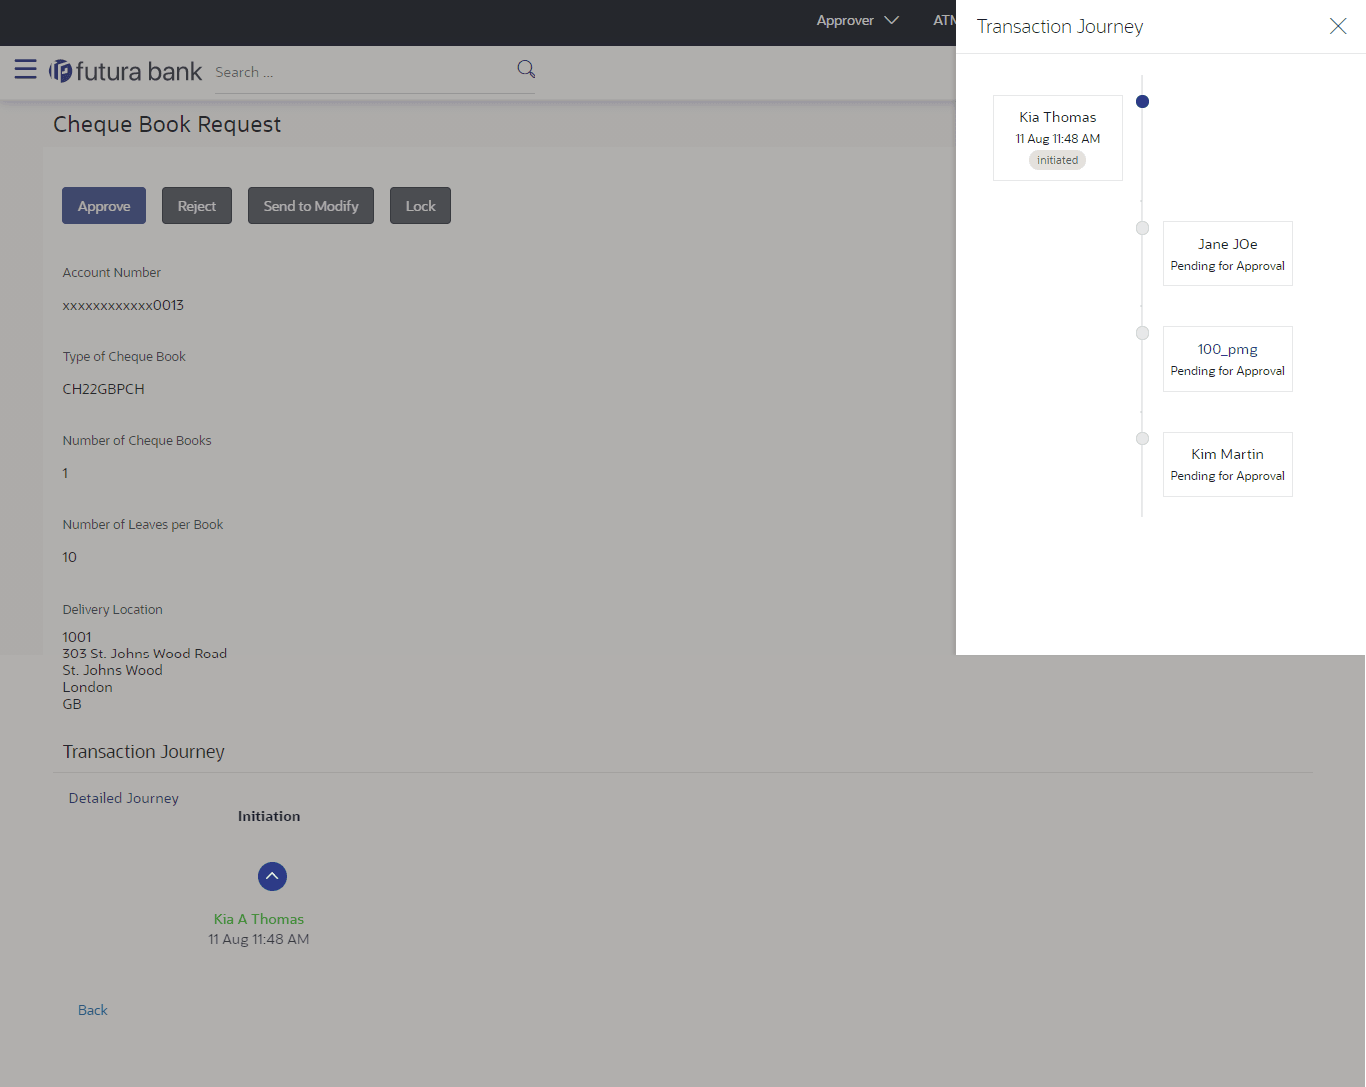
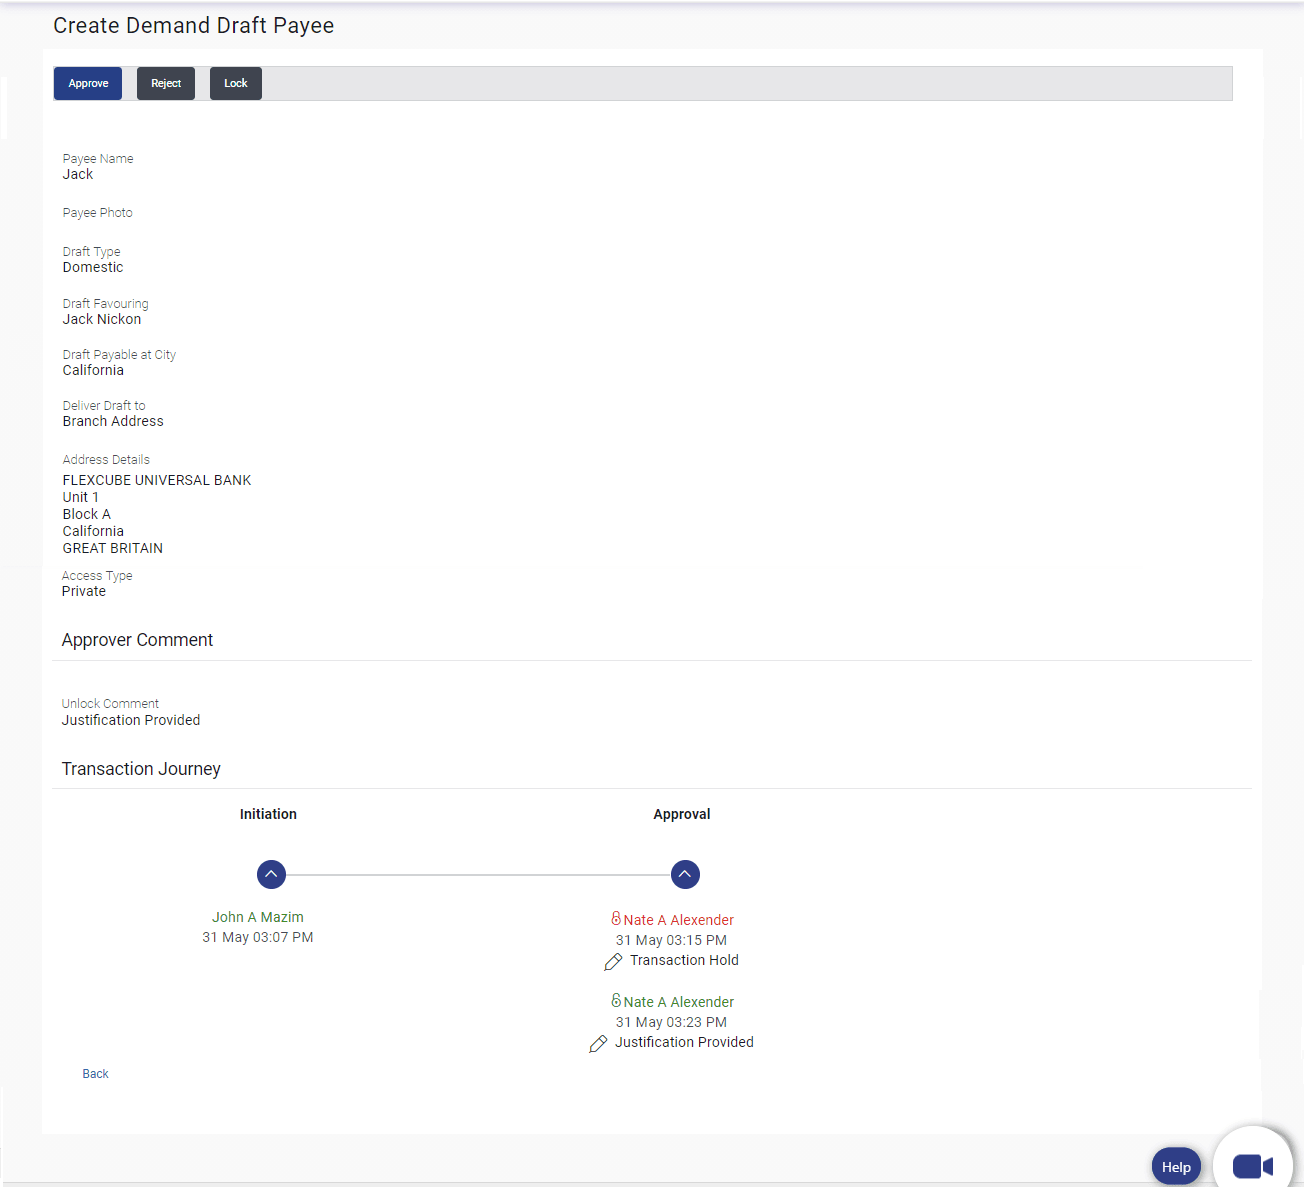
Approver can also Lock a transaction, in case he wants to verify something operationally before approving it. Once the transaction is locked, the same will not be available for approval and the transaction status will be changed to ‘Locked’. Maker will be able to see transaction with “Locked” status in his activity log. Once a transaction is locked, no action (like approve, reject, send to modify) will be allowed on that transaction.
Any approver, who is authorized to approve that transaction, will be able to unlock it by going to transaction approval page. Once the transaction is unlocked, it will be available for approval to the users as per the workflow.
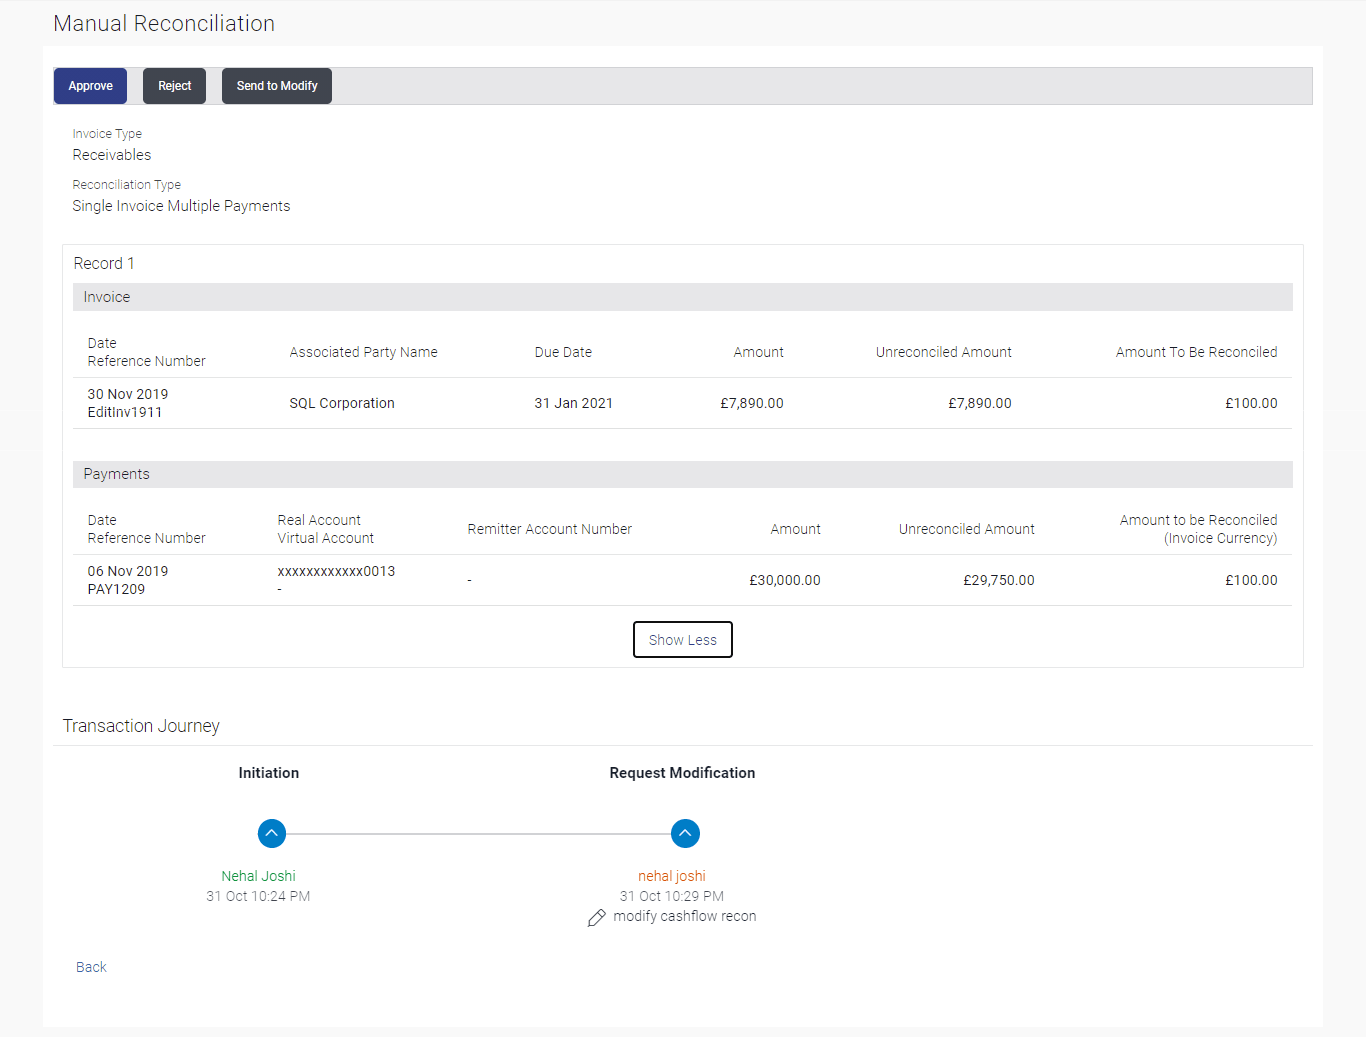
For only specific transactions, Send to Modify functionality is enabled. Here approver can send the transaction back to modification, which are waiting for his approval, with comment if any.
Note:
Send to Modify functionality is not supported on wearables.
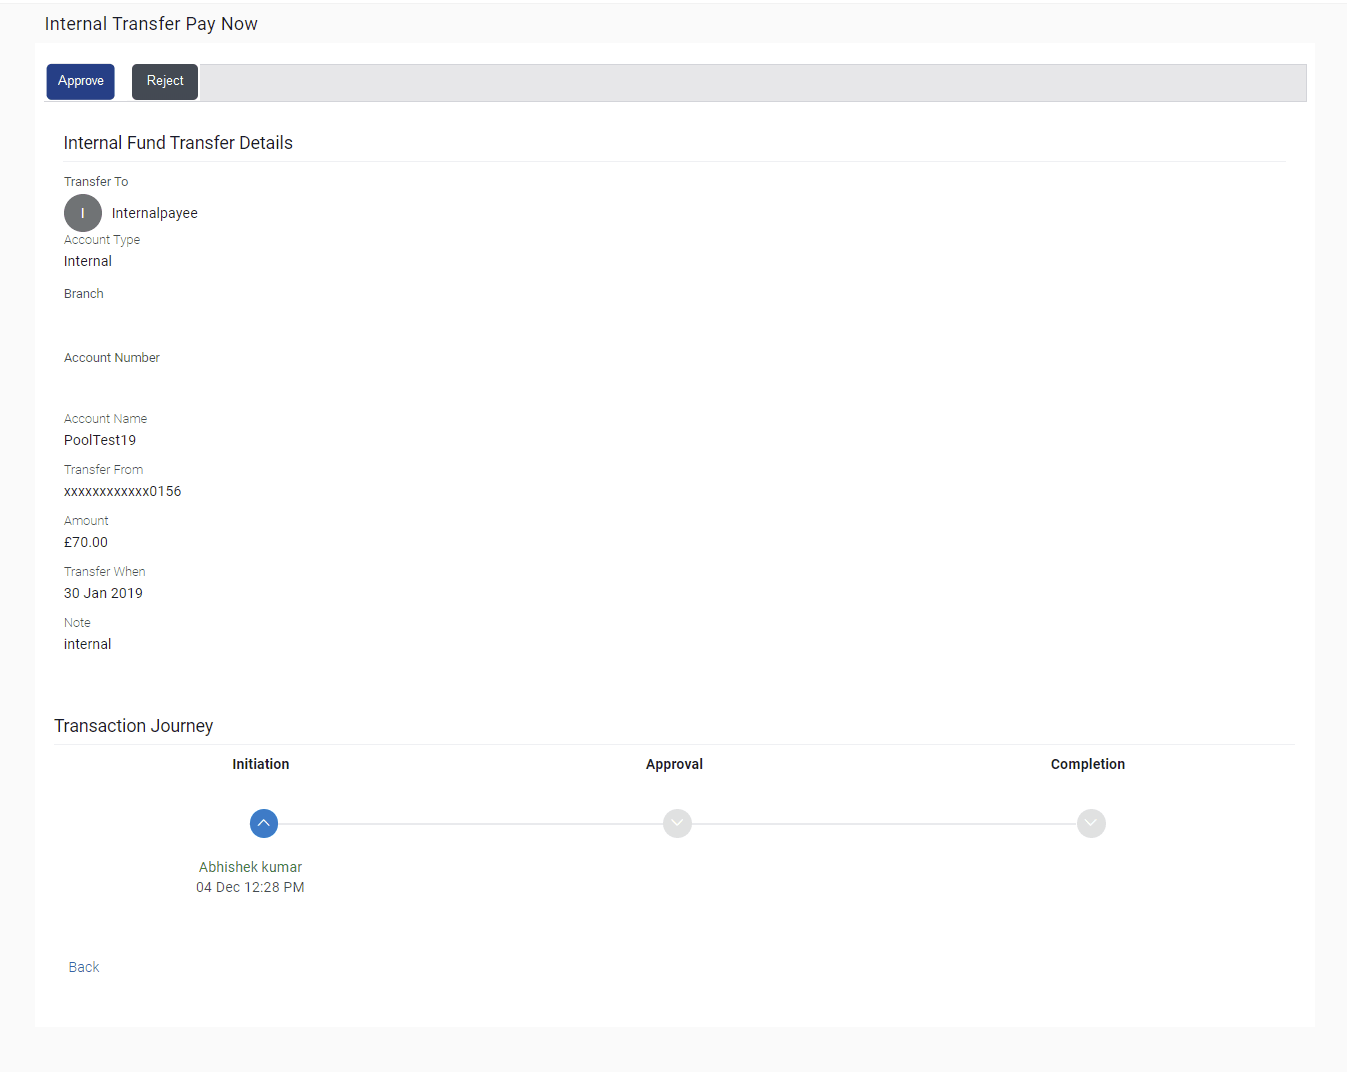
The reference number of the transaction is a hyperlink, on clicking the link the transaction details and transaction journey of the specific transaction is displayed.
To approve the transaction:
Transaction to approve
Transaction Name
This section displays the name of the transaction like Loan repayment, Bulk File Upload etc.
Review
The section displays the details of the transaction.
Transaction Journey
This section displays the status of transactions. The possible values for the status are:
- Initiation
- Approval
- Locked
- Completion
- Request Modification
Parent topic: Corporate user as an Approver role
