1.1 Liveness Check

This topic describes the liveness check process for product applications.

Liveness check is available in the form of selfie capture.

If liveness check is enabled for the product application, you will be provided with the option to have your KYC verified through liveness check. If you opt to go through with liveness check, you will be instructed to first select the identity proof document that you wish to be consider. Once done, you will be guided to click a picture of the front and back of the ID proof document and to then click a selfie.

Note:

In case, due to technical or any other reasons, you are not able to click a picture of the ID proof, the system will prompt you to upload images of the same instead.

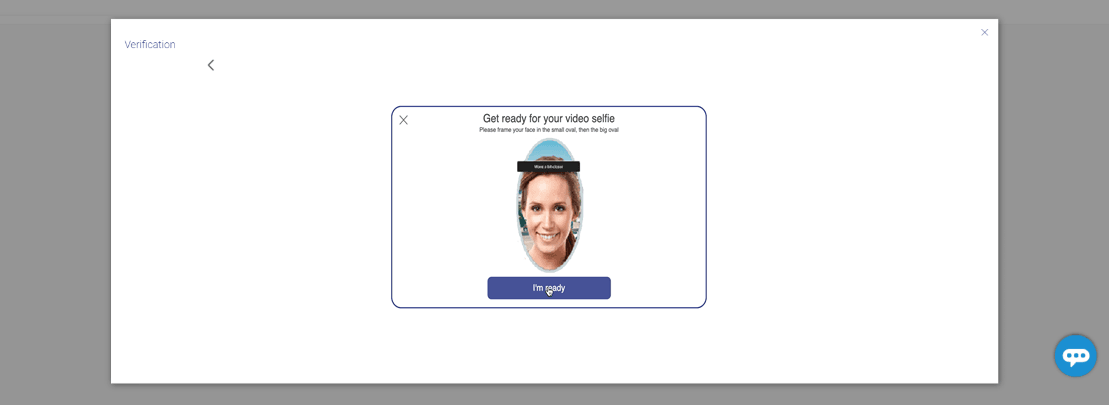
While clicking a selfie, the system will guide you to center your face in line with the device’s camera so that the system can click your photograph (selfie). The third party ID verification system will then proceed to complete the steps required to complete liveness check. If the system approves your liveness check, you will be able to proceed with the application form.

Upon a positive outcome, i.e. if liveness check is completed successfully, you will be able to proceed with the application form and your personal information section will be prefilled with data as fetched from the ID proof that you have provided as part of this step. However, if the feedback is negative, you will be informed of the same and the bank will conduct your KYC check manually. You will still be allowed to proceed with the application form. However, your personal information section will not be prefilled with information and you will be required to enter all information manually.

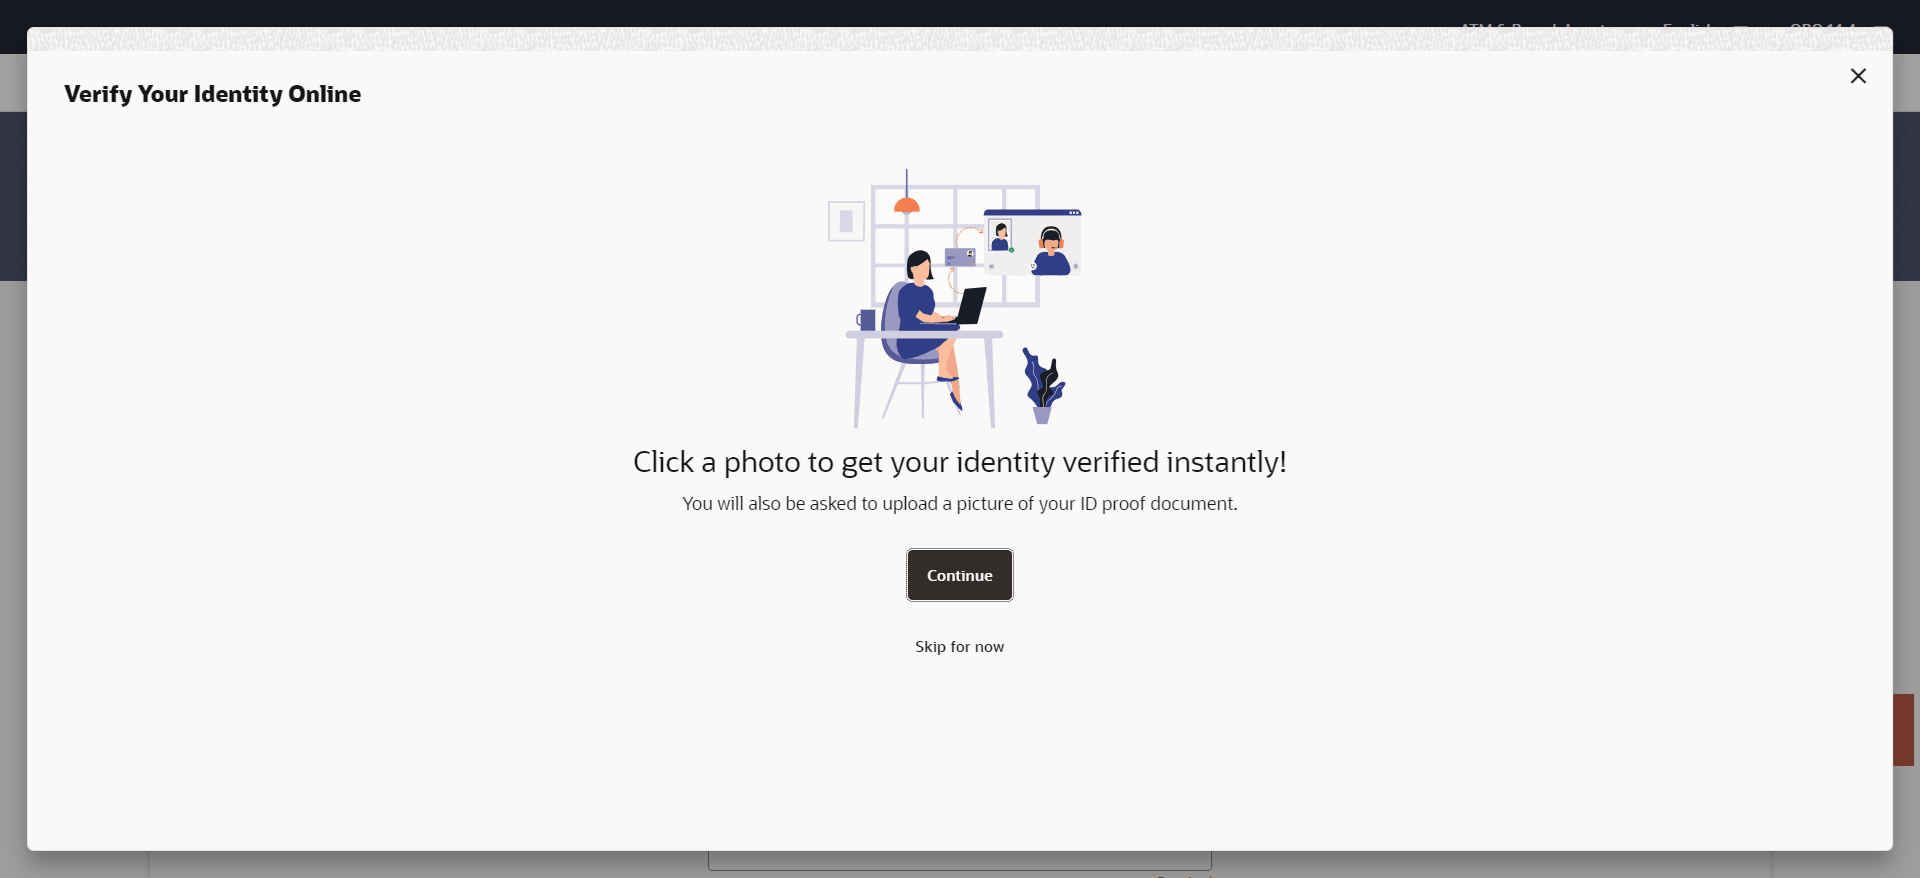
Figure 1-1 Liveness Check – Introductory Page


  1. Perform one of the following actions:
    • Click Continue to proceed with Liveness Check.

      The first page of liveness check will be displayed.

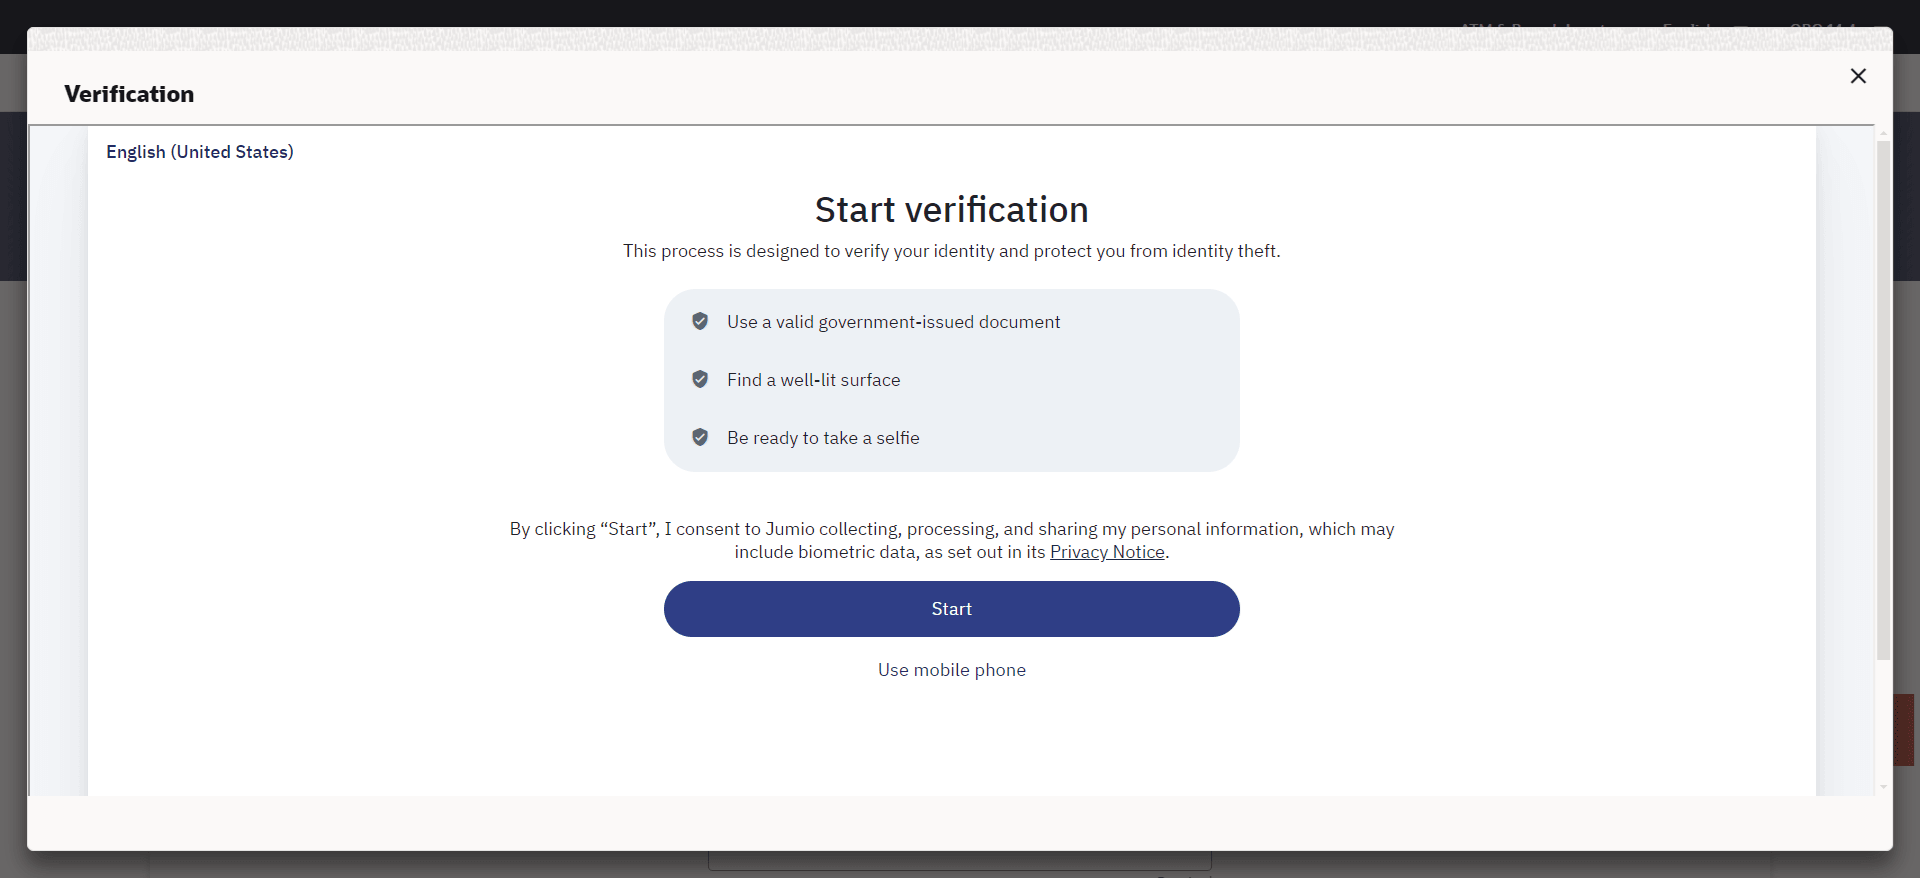
      Figure 1-2 Liveness Check – Start Verification


    • Click Skip for now if you do not wish to go through with liveness check.

      The Personal Information step will be displayed and you will be required to enter all your information manually.  

    • Under the kebab menu, perform one of the following actions:
      • Click the Save and Continue Later option to save the application.
      • Click the Continue on Mobile option to continue the application on a mobile device.
  2. Click Start to start with the liveness check flow.

    Liveness Check – Identity Proof Selection

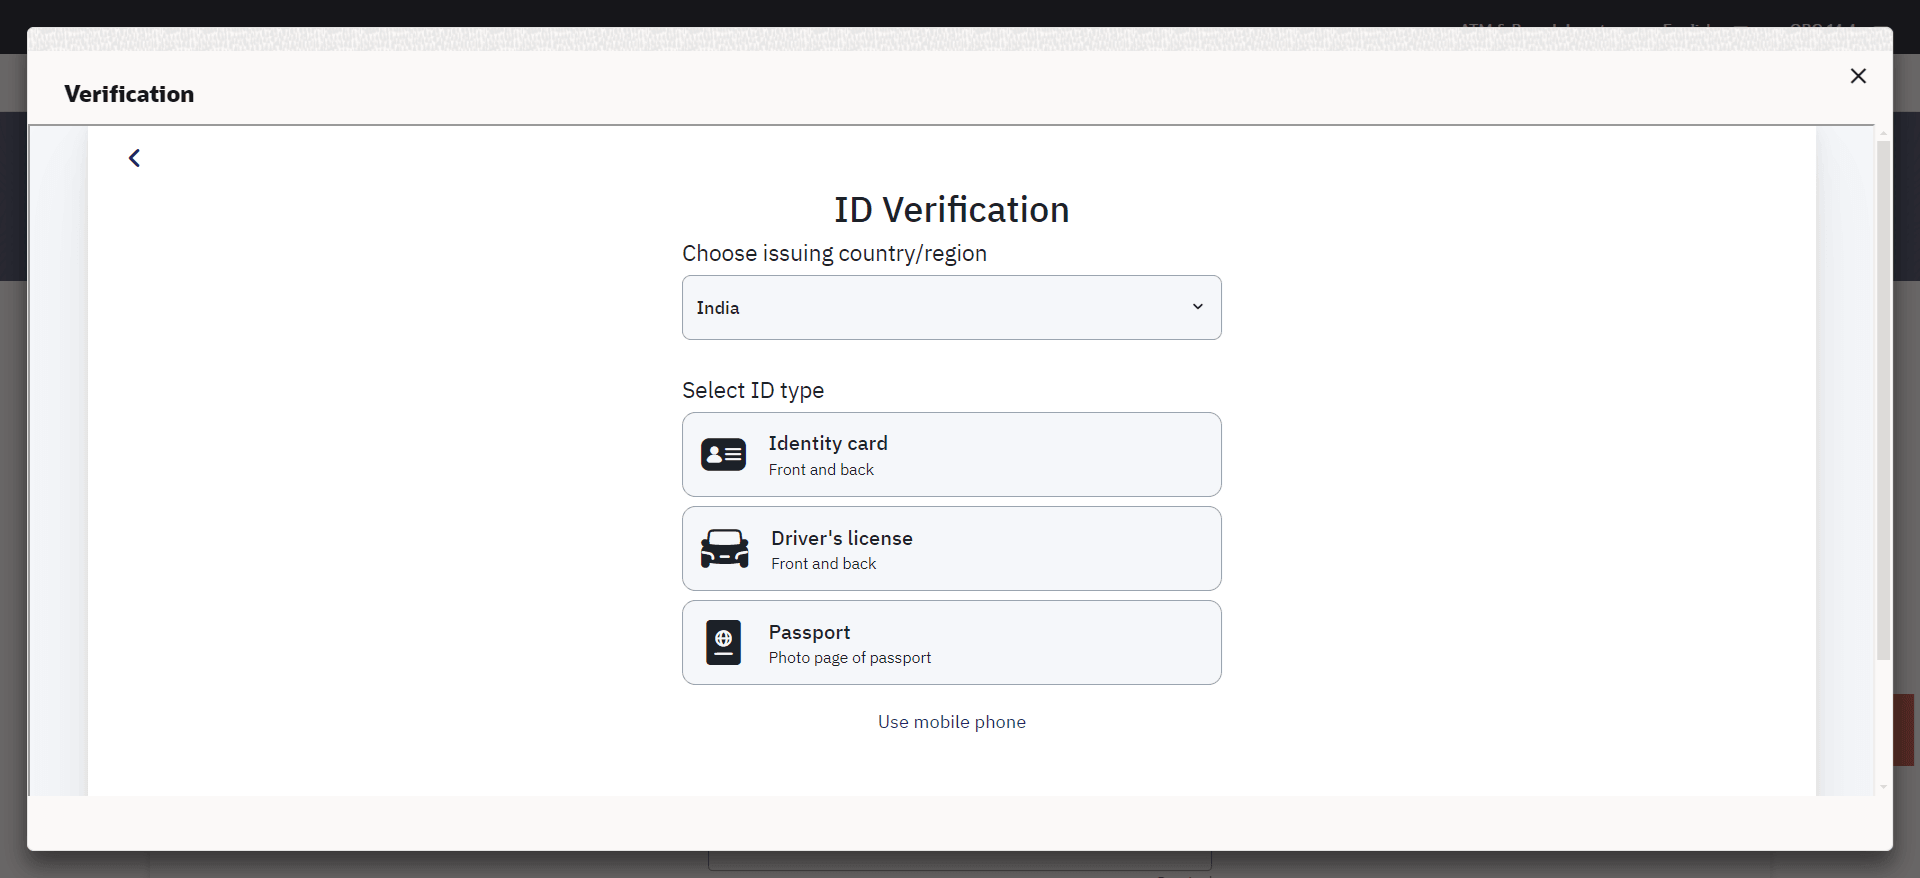
    In this step, you will be required to choose an identification document that you would like to provide for liveness check. Your liveness check and identity verification will be conducted on the basis of this document. In the next step you will be guided to click pictures of the front and back of the identification document selected here and also to click a selfie.

    Figure 1-3 Liveness Check – Identity Proof Selection


    1. From the Choose issuing country/region field, select the country that has issued the identity proof you wish to provide for liveness check.
    2. From the Select ID type field, select the identification proof that you wish to provide.

      The next step of Liveness Check gets displayed.

Liveness Check – Option for document upload

This step will appear only if due to technical or other reasons, you were unable to capture images of your identity proof. You can select the method through which you would like to upload images of the identity proof you have selected.

Figure 1-4 Liveness Check –Option for document upload


Perform one of the following actions:

  • If you select the option Upload file,

    Your device’s browse file feature will get enabled and you will be able select images of the front and back of the document you wish to provide.

  • If you select the option Prefer to use your mobile?;

    To proceed with the liveness check, you can either enter your email address
        to receive a link or scan the QR code.  The link or QR code will allow you to continue the
        process on your chosen device.

Liveness Check – Upload Identity Proof Images

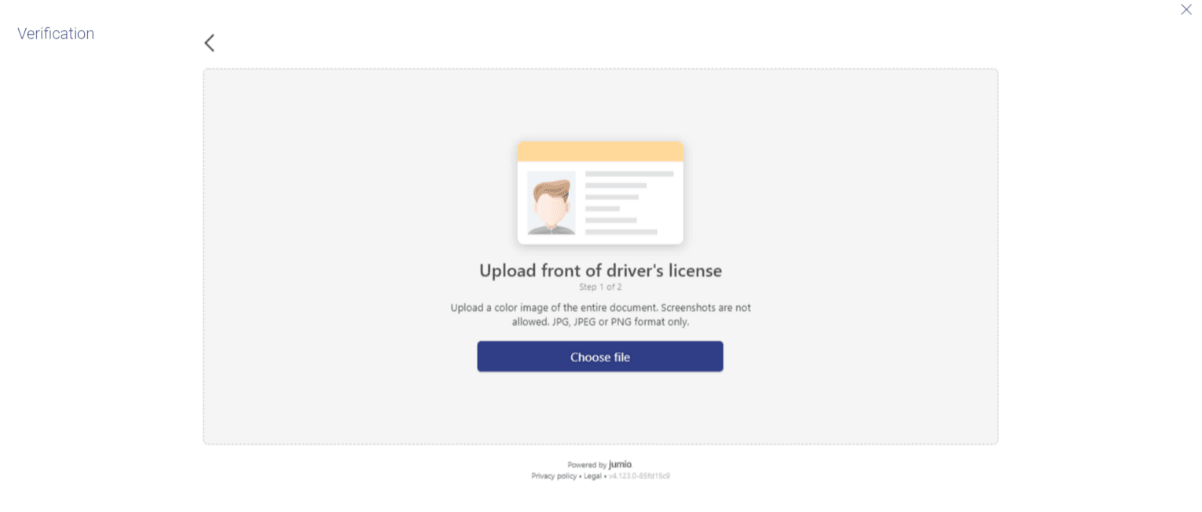
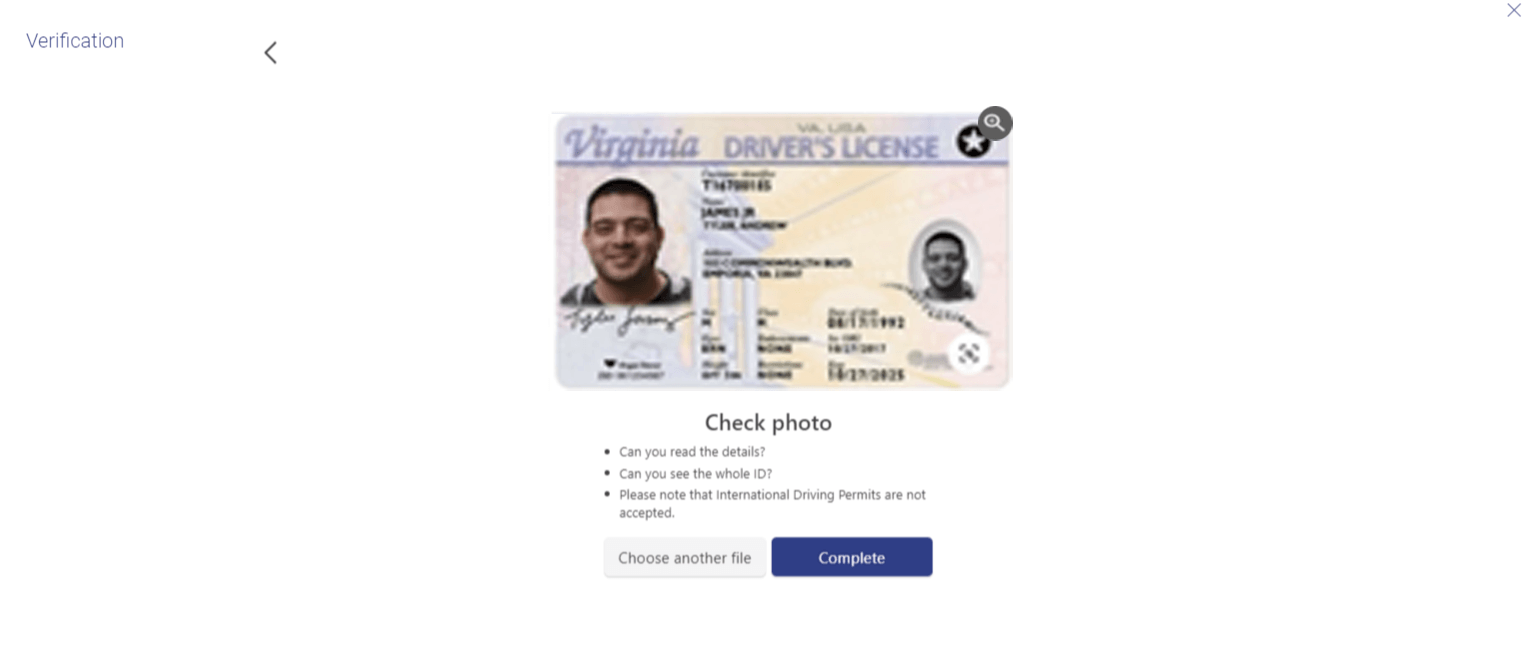
In this step, you can upload images of the front and back of the identity proof document you wish to provide for liveness check. Once you have added images, the system will undertake a check to ensure the quality of the document images you have uploaded is good and readable.

  1. Upload Identity Proof Images.

    Figure 1-5 Liveness Check –Upload Identity Proof Images


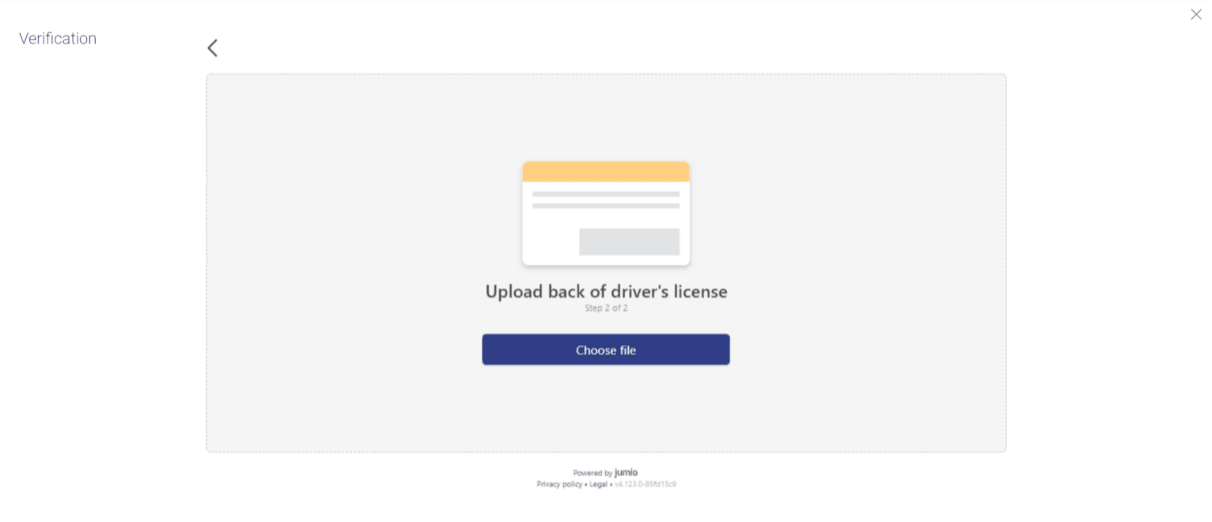
    Figure 1-6 Liveness Check –Upload Identity Proof Images


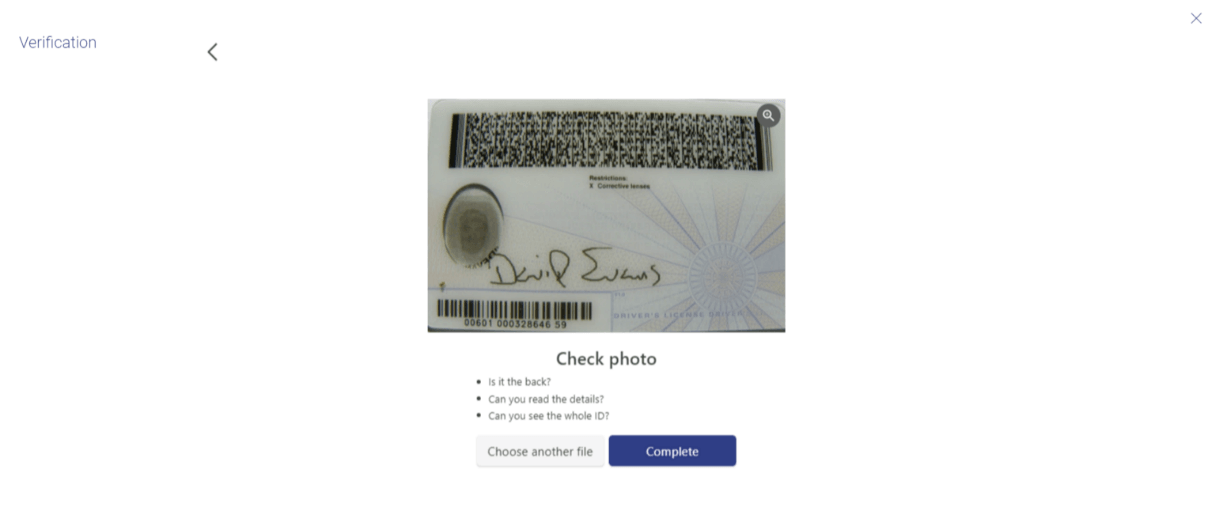
    Figure 1-7 Liveness Check –Upload Identity Proof Images


    Figure 1-8 Liveness Check –Upload Identity Proof Images


  2. Click Choose file to upload the front image of the identity proof document.
    A file browser window opens. Browse your device using the file browser window, select an image, and upload it. Perform one of the following actions:
    • If you select Choose another file,

      A file browser window opend to choose a different image which will replace the one you had selected previously.

    • If you select Complete,

      The image gets uploaded  and the page on which you can upload the back image of the identity proof document is displayed.

  3. Click Choose file to upload the back image of the identity proof document.
    A file browser window opens. Browse your device using the file browser window, select an image, and upload it. Perform one of the following actions:
    • If you select Choose another file,

      A file browser window opend to choose a different image which will replace the one you had selected previously.

    • If you select Complete,

      The image gets uploaded and the next step of the liveness check flow gets displayed.

Capture of Identity Proof Images and Selfie Capture

In this step, you will be guided to click front and back images of the identity proof you had selected in the previous step and also to click a selfie. The images of the identity proof and your photograph will be used to complete your liveness check.

  1. Capture of Identity Proof Images and Selfie Capture.

    Figure 1-9 Capture of Identity Proof Images and Selfie Capture


  2. Click Start to begin face verification.
    The device’s camera will be switched on and the system will display commands guiding you to capture front and back images of your identity proof and to align your face to the device’s camera in order to capture a selfie.