1 Siri Payments

This topic provides the systematic instructions to initiate voice based payments using the Siri Payments feature.

This feature harnesses Apple’s voice command assistant, Siri, to enable users to initiate voice based payments to registered payees from their mobile devices. The user can, hence, simply use voice commands to launch Siri and transfer money to payees without having to physically access the banking application to make payments.

Siri payments can be made to existing payees across different payee categories. The match is based on the nickname of the payee maintained in the system.

The payment is authenticated with use of touch ID / Face ID as a passcode.

Note:

Siri cannot pay multiple people at the same time.

Face ID as an option for Authentication will depend on the device support.

Features Supported in Application

  • Payments to registered beneficiaries.

Pre-requisites

  • The user’s mobile device needs to support software version of iOS 10 or a higher version.
  • The user needs to provide Siri with the permission to access the bank application.
  • The application role to which the user belongs is provided access to Payments as a transaction through touch point Siri by way of Role Transaction Mapping.
  • The user must have a valid current or savings account with bank that is enabled for online banking.
  • The user must have registered payees.

To transfer money through Siri:
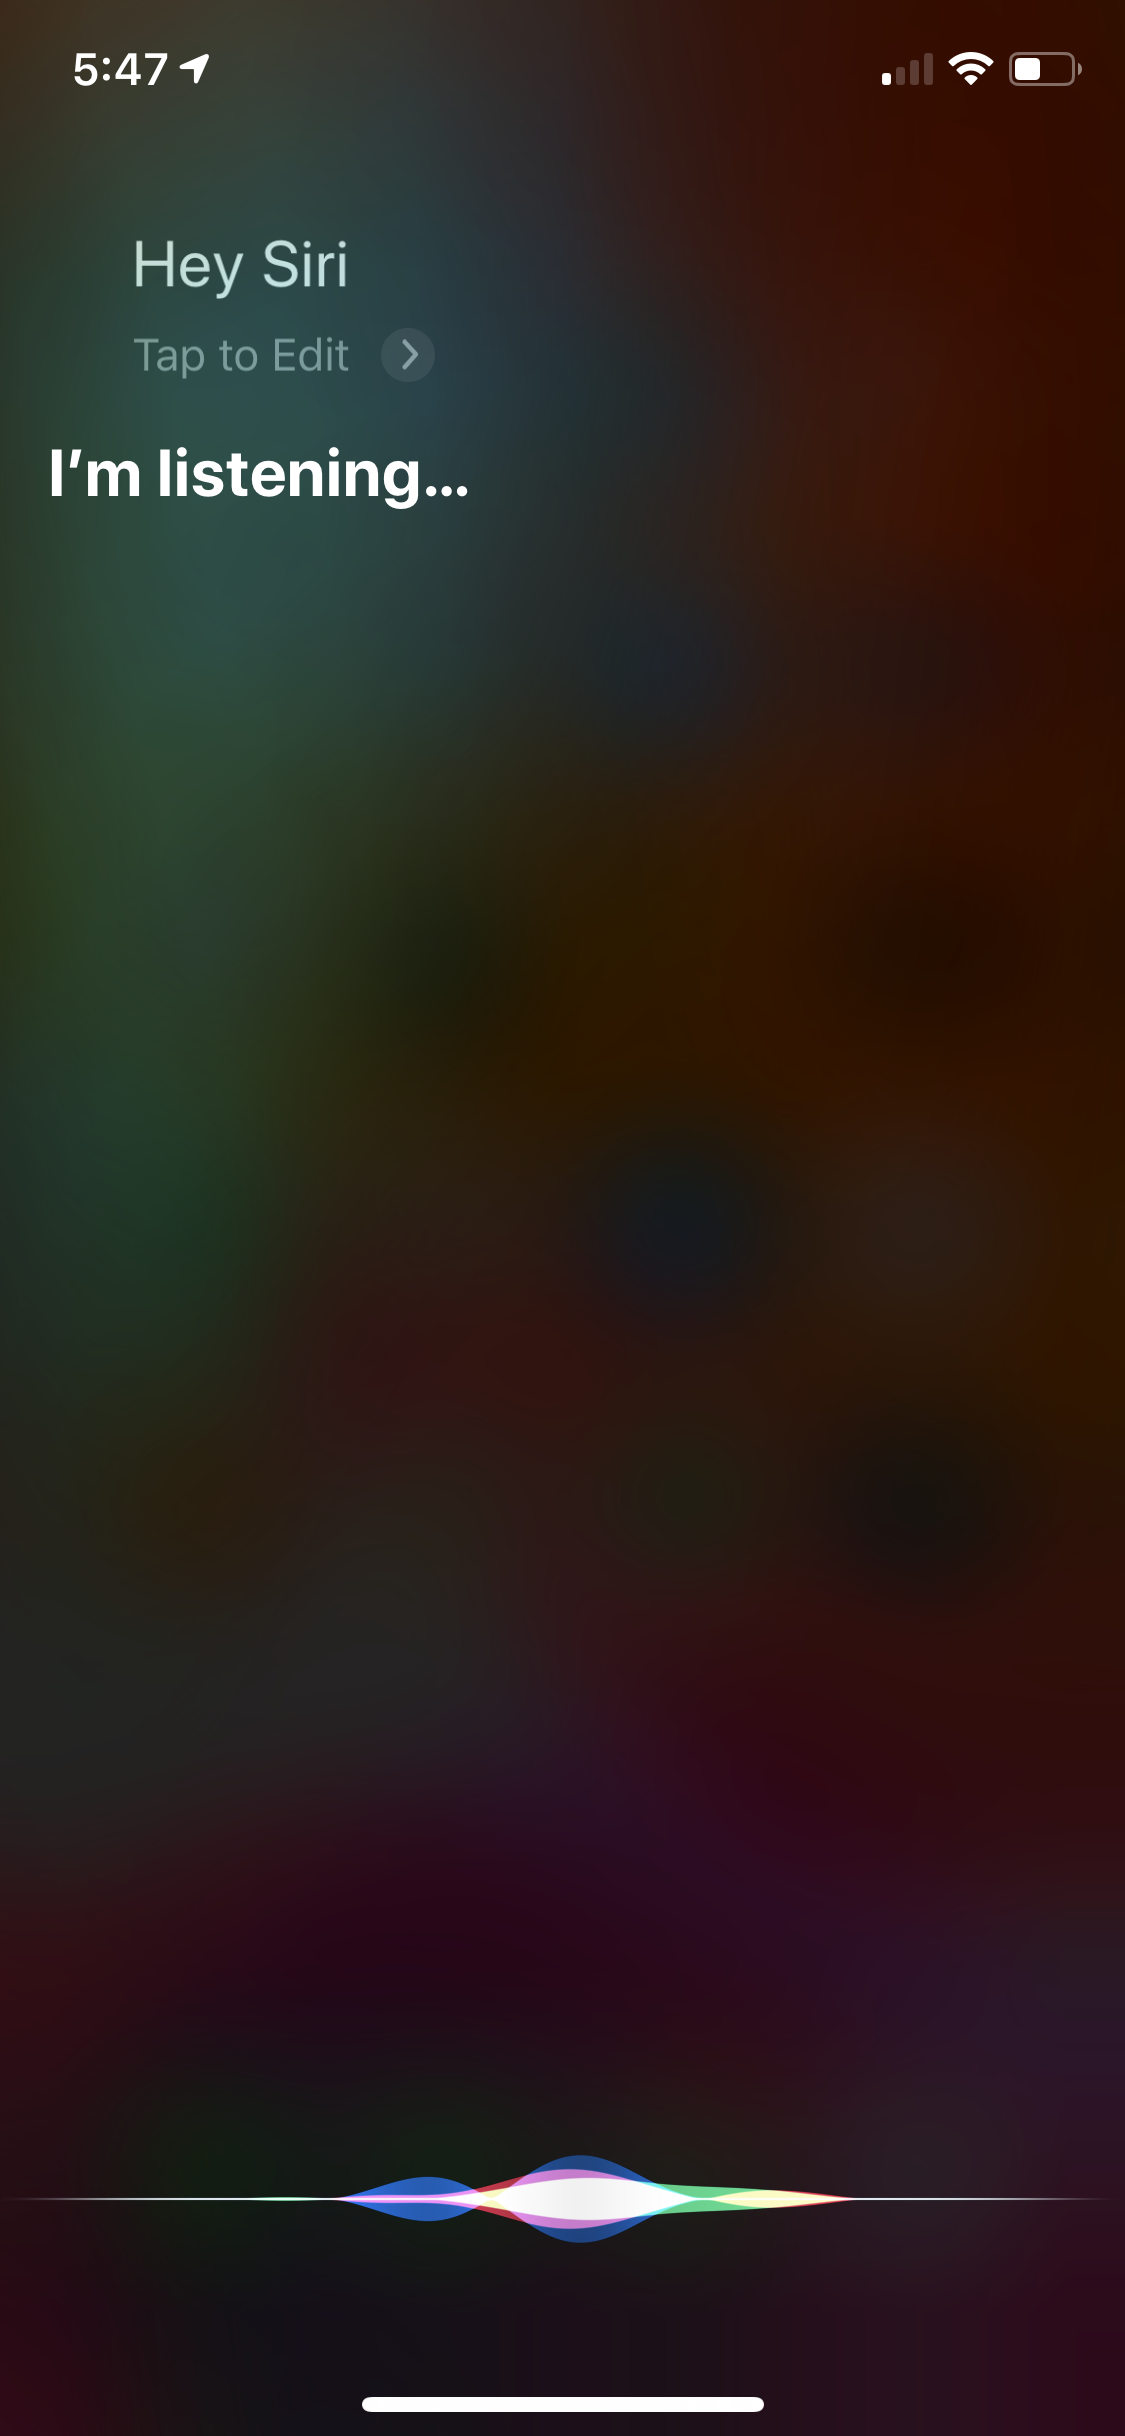
  1. Launch Siri by holding the Home button or by calling out Hey Siri depending on the settings enabled on the device.
  2. Ask Siri to initiate the payment by specifying the details i.e. payee nick name, amount and remarks if any e.g. Hey Siri, pay John $59 for lunch.

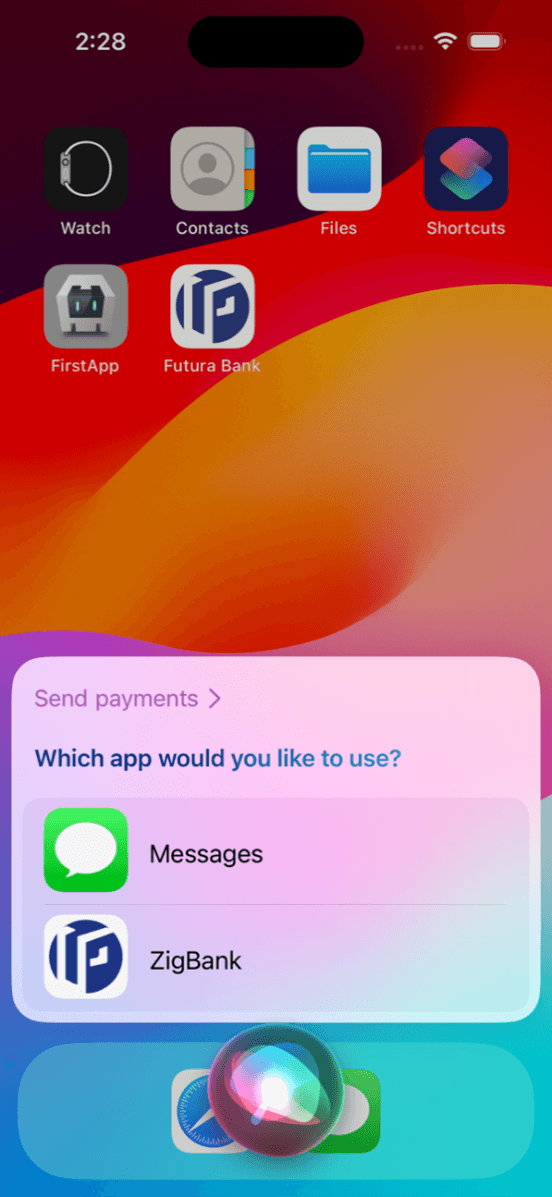
    Figure 1-2 Payment Request to Siri page


    Siri prompts the user to select an application.

  3. Select the bank's name to initiate the flow.
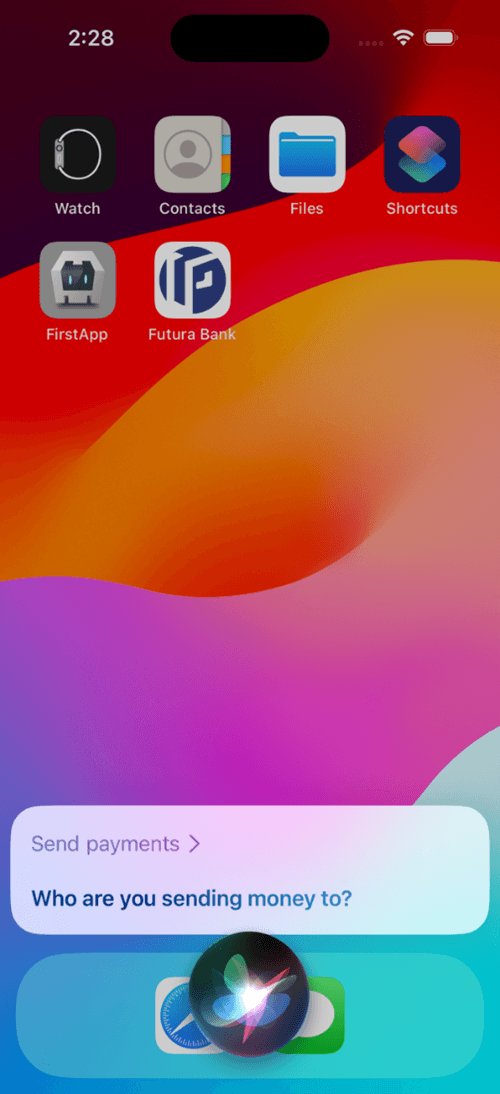
    Siri will prompt for the payee's name if it cannot find a matching name among the nicknames saved in the bank application.

    Note:

    If a match is found, it will proceed without interruption.

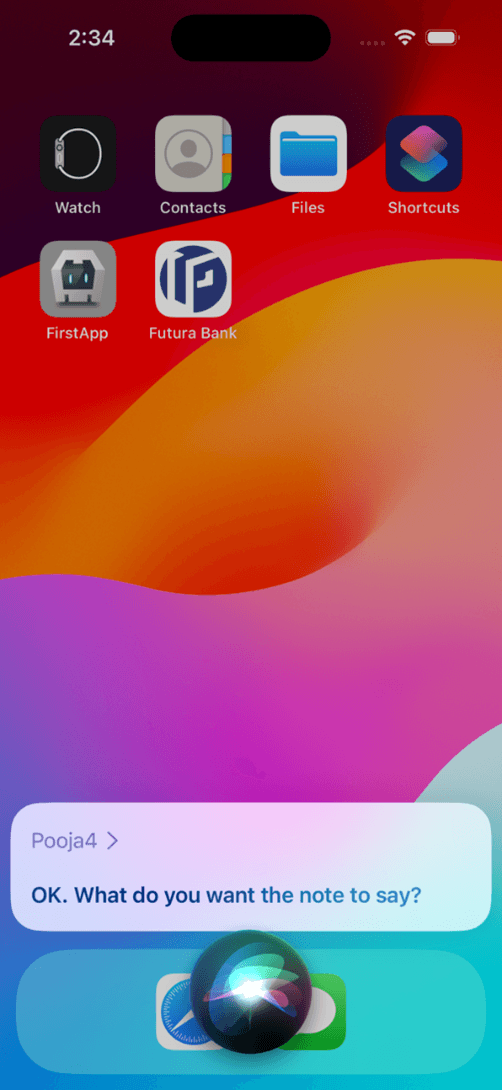
    Siri will ask if the user would like to add a note to the transaction before proceeding.

  4. Perform one of the following actions:
    • Click Sendor to give voice command to confirm the payment.
    • Click Cancel or give voice command to cancel the transaction.
  5. Perform one of the following actions:
    • The user has an option to confirm the payment through voice command or by clicking Send.

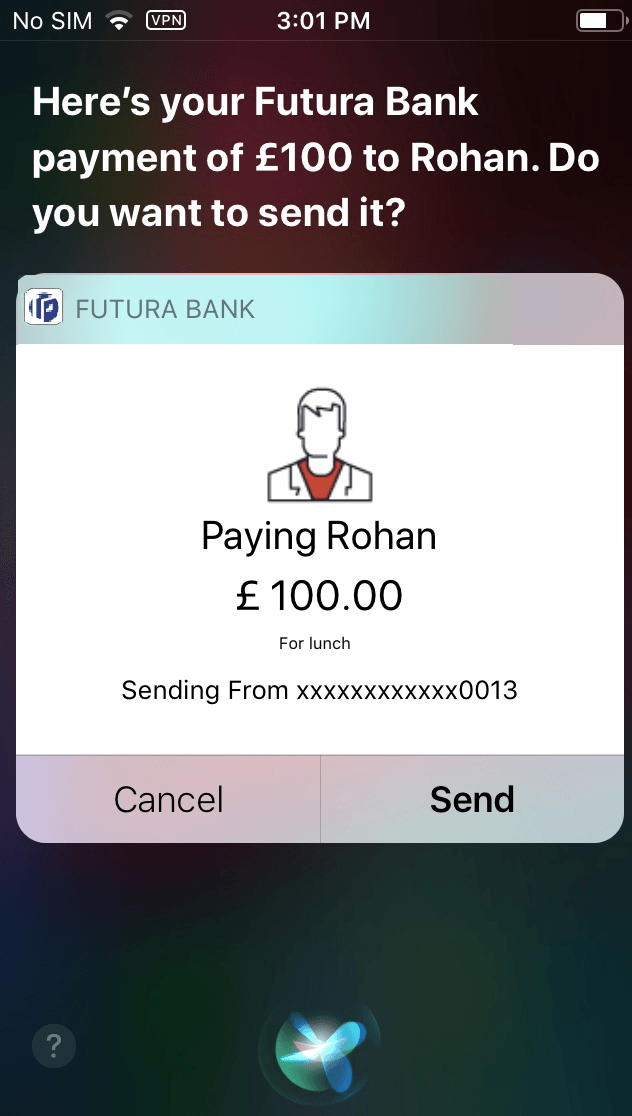
      Figure 1-4 Payment Permission Request


      Note:

      The fields which are marked as Required are mandatory.

      For more information on fields, refer to the field description table.

      Table 1-1 Payment Permission Request - Field Description

      Field Name Description
      Payee Name Displays the nickname of the payee to whom the payment is being made.
      Amount Displays the amount to be transferred along with the currency in which the transfer is taking place.
      Transfer From Displays the source account, with account nickname (if defined), from which the funds will be transferred.
      Narration/Remarks Displays the remarks, if defined.
    • The user can cancel the transaction through voice command or by clicking on the Cancel option.
  6. Perform one of the following actions:
    • Click Send.

      The Touch ID Authentication / Face ID Authentication screen appears depending upon the alternate login option enabled.

    • If you give a voice command or click Cancel option, Siri will cancel the payment transaction.

    Touch ID Authentication

  7. To authenticate the payment, scan your fingerprint to confirm your identity with a single touch.
    The success message appears along with transaction reference number of the payment transaction.