4 Features of Development Workbench

This topic explains the systematic instructions about the features of the development workbench.

In the development workbench, refer to the following features.
  • Login Screen
  • Homepage
  • Browser
  • Windows
  • Options
  • Sign Out

Each function is explained in the below steps.
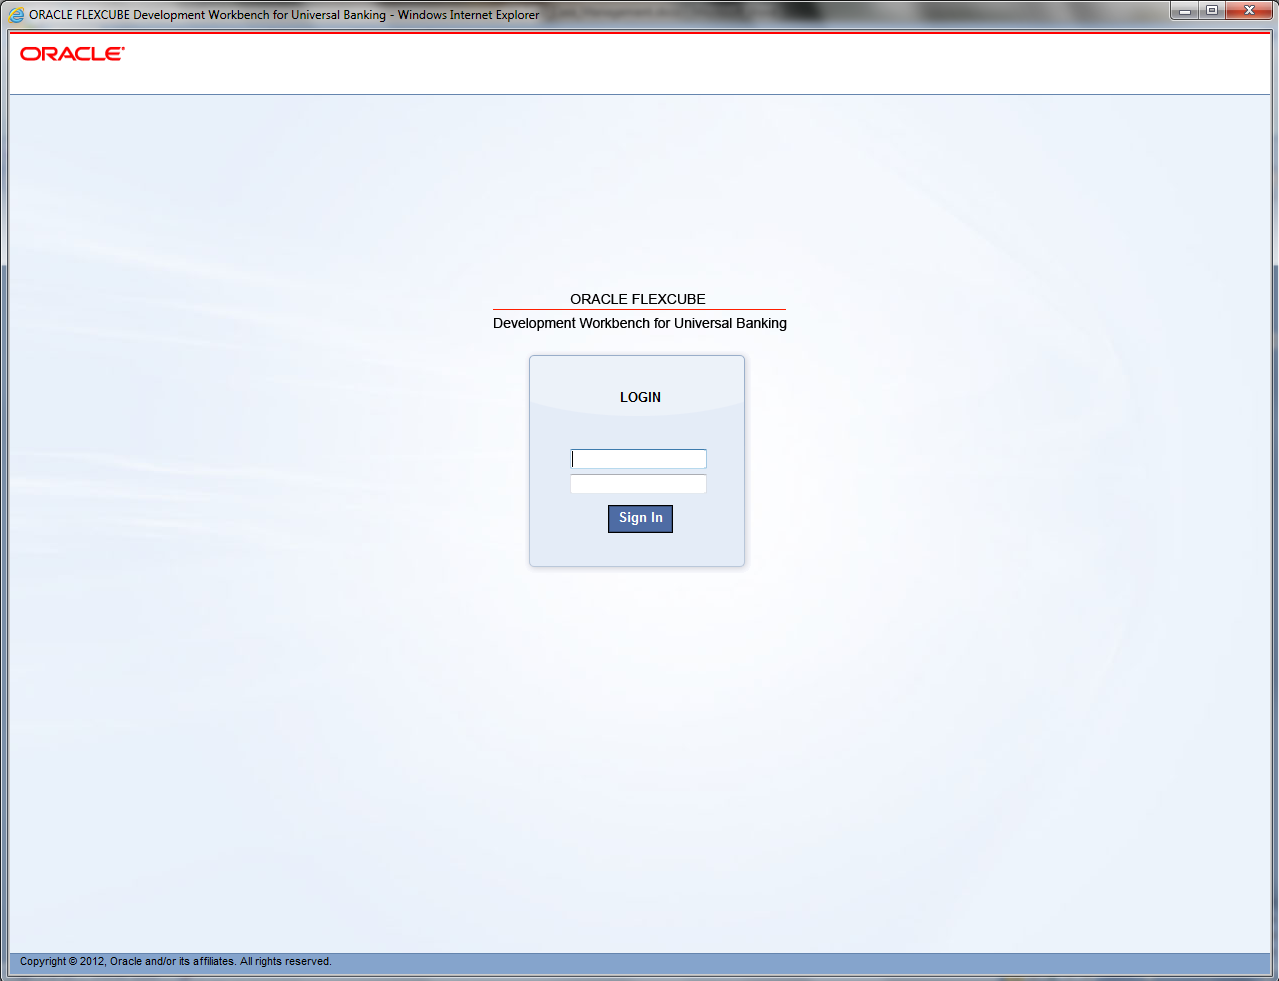
  1. Launch the Development Workbench application from the start menu.
    Only the Release Admin has the rights to create new Users. Development Workbench Admin creates a new release and assign one user as a Release admin for that release.
    The Development Workbench Login screen displays.

    Note:

    User should make sure that the same User ID is created in FLEXCUBE.
  2. Specify the User ID, Password and click on Sign In.
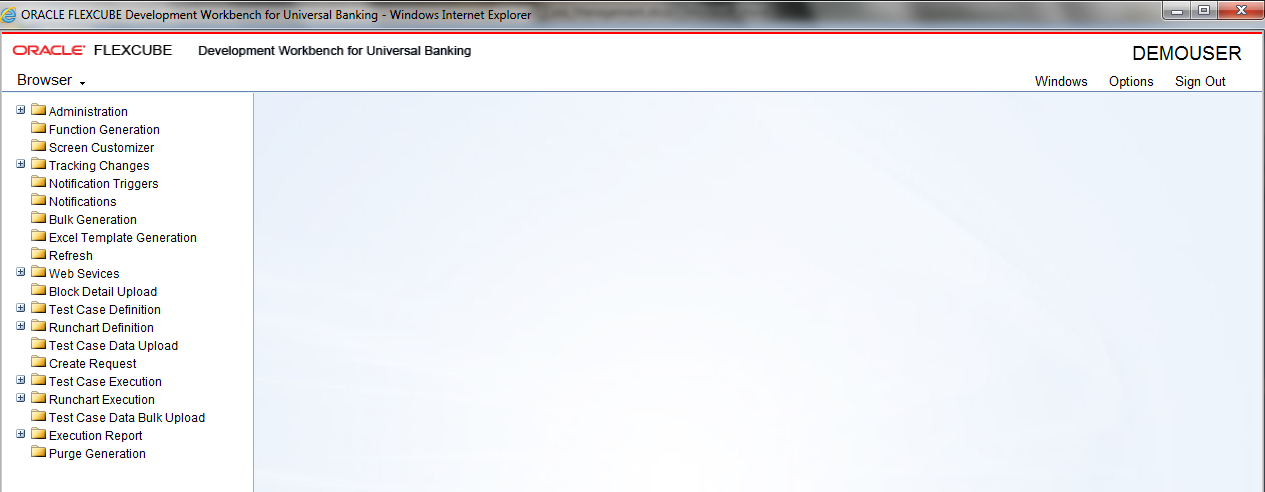
    The Development Workbench Homescreen is display.
  3. On the Homescreen, to view the menu, click on Browser.
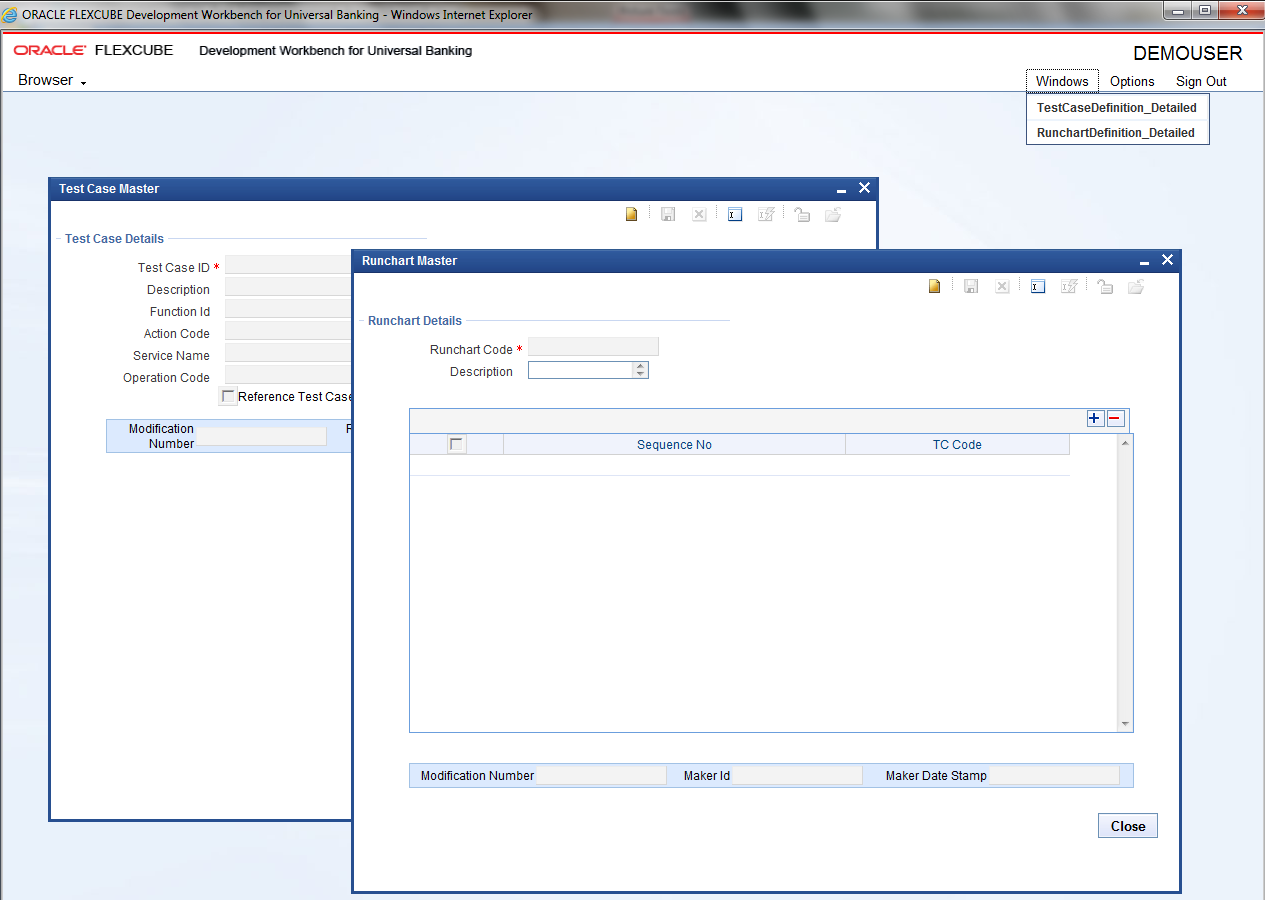
  4. To swap the open windows in the application on the Homescreen, click on Windows.
    The Windows screens displays.
  5. On the Homescreen, to view the available options, click on Options. The available options are:
    1. User Preferences
    2. Change Password
    3. Launch FLEXCUBE UBS
    4. Accessibility Help
    5. About
  6. To launch the FCUBS application, click on Launch FLEXCUBE UBS under Options.
    The FCUBS link is given at the time of Release creation which can be modified at any release stage by the release Admin.
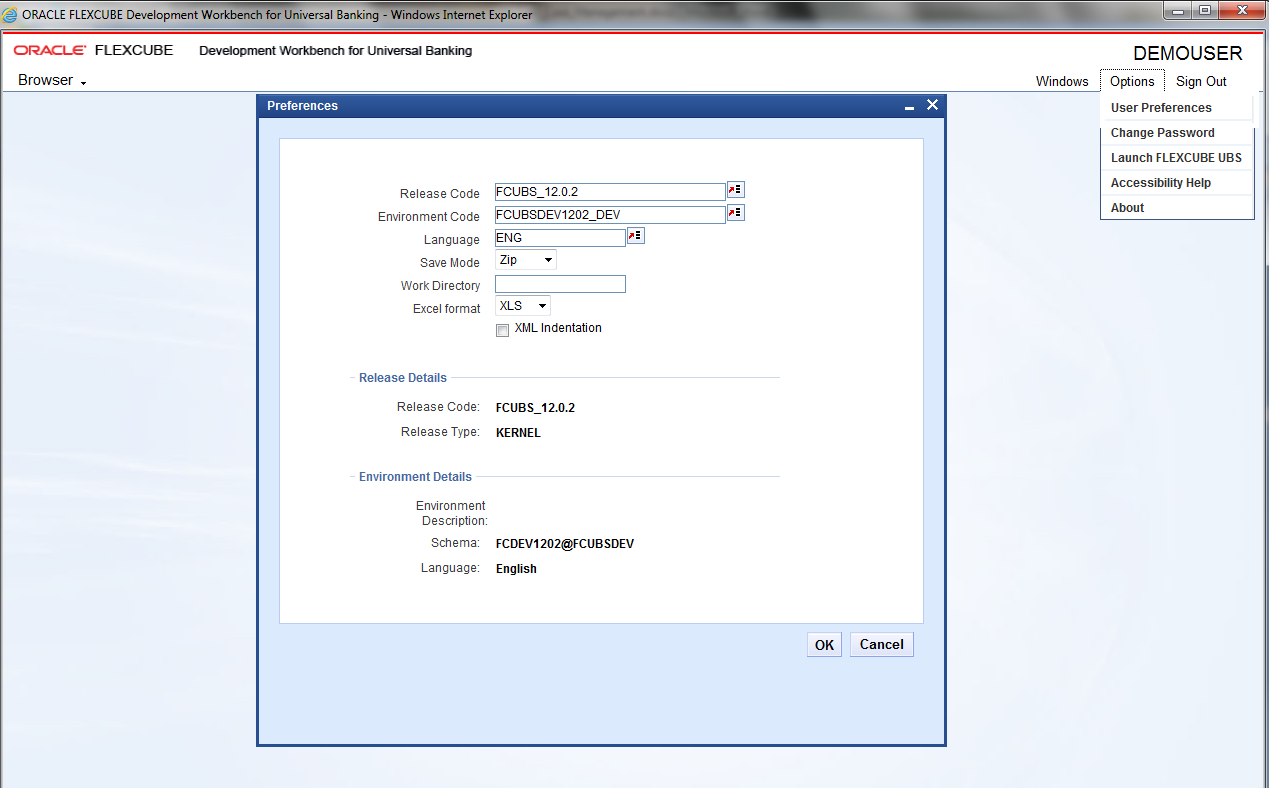
  7. To launch the User Preferences, click on User Preferences under Options.
    The Preferences screen displays.
  8. The Preferences screen displays the current user release & schema details. To switch between releases and environments, click the User Preferences option.
  9. Click Choose next to Release code and Environment code. The user can view the releases and the corresponding environments and map accordingly.
  10. Click OK.
    Preferences screen is closed.
  11. To change the password, click Change Password option under Options.
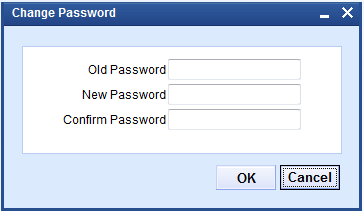
    The Change Password pop-up window displays.
  12. On the Change Password pop-up window, specify the fields.
    For more information on fields, refer to the field description table.

    Table 4-1 Change Password

    Field Description
    Old Password Specify the existing password.
    New Password Specify the New Password.
    Confirm Password Re-enter the New Password.
  13. Click OK.
    The Password is changed.
  14. To Sign Out of TCM, click on Sign Out.
    The Login page displays.