- Current Account Origination User Guide
- Initiating Current Account Opening Process
- Account Funding Stage
- Summary
2.5.2 Summary
This topic provides the systematic instructions to view the tiles for all the data segments in the Account Funding stage.
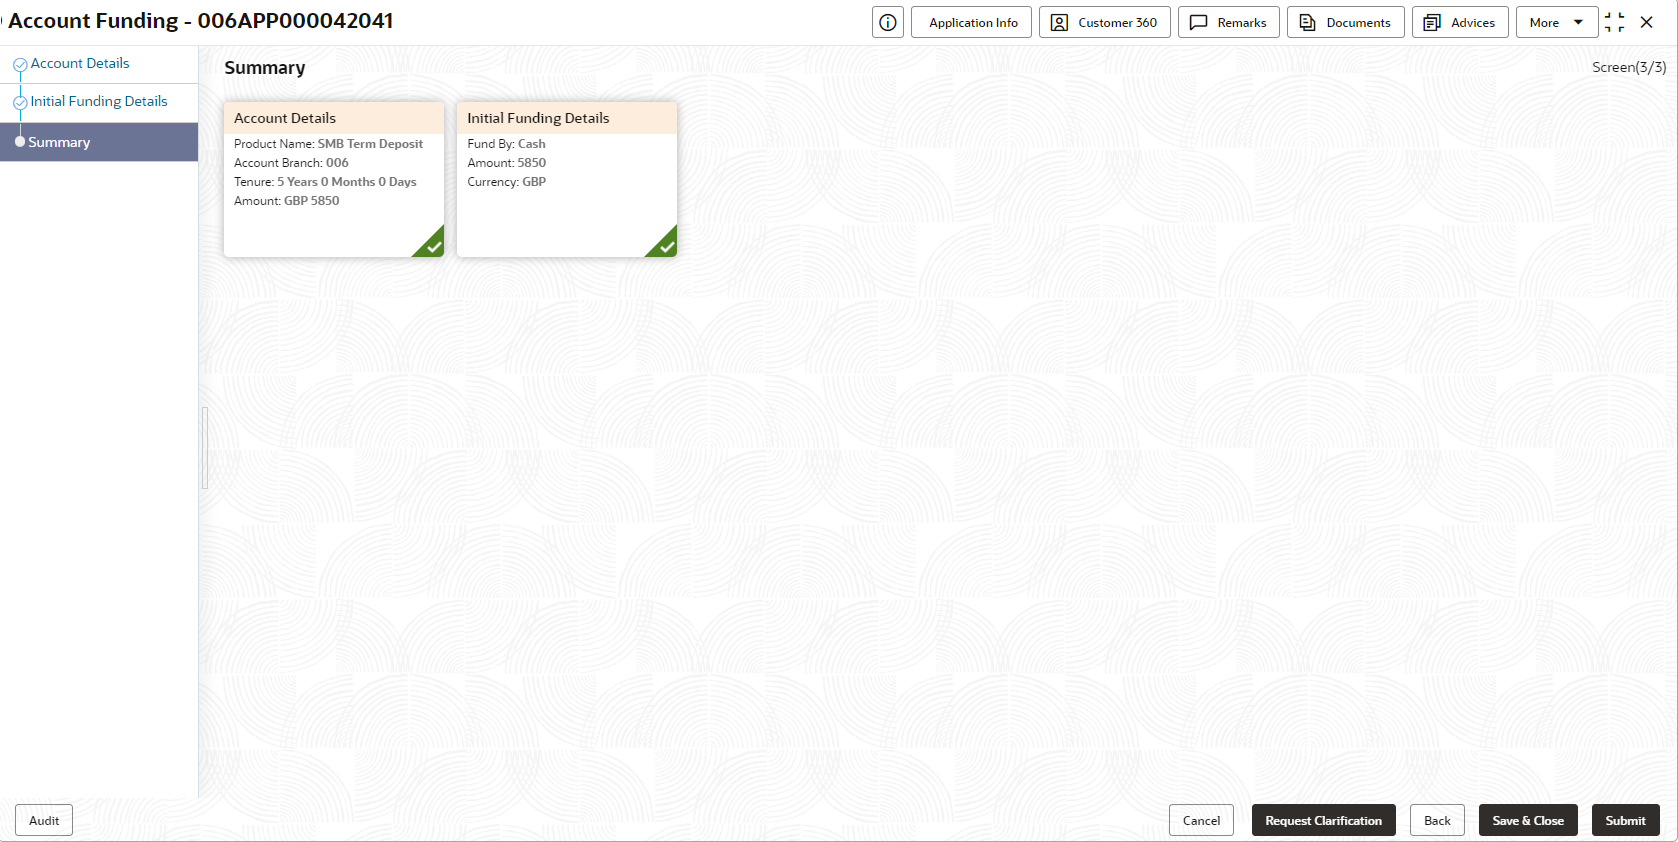
The Summary displays the tiles for all the data segments in the Account Funding stage. The tiles display the important details captured in the specified data segment.
- Click Next in Initial Funding
Details screen to proceed with the next data segment, after
successfully capturing the data.The Summary screen displays.
Each of these summary tiles are clickable and the user will have the option to view all the details captured under the given data segment.
For more information on fields, refer to the field description table.Table 2-34 Summary - Account Funding – Field Description
Data Segment Description Account Details Displays the account details. Initial Funding Details Displays the initial funding details. - Click Submit to reach the OUTCOME, where the overrides, checklist
and documents for this stage can be validated or verified. The Overrides
screen is displayed.
Overrides are basically warnings that are raised during the business validations. User has to accept the overrides to proceed further. Alternatively, the user can go back and correct the data to make ensure overrides do not arise.
- Click Proceed Next. The Checklist screen is displayed.
Checklist configured in the business process for the business product is displayed here. Checklist are the check points that the user has to accept having confirmed.
- Select the checkbox to accept the checklist. Click Save & Proceed. The Outcome screen is displayed.
- In the Outcome screen, select appropriate option from the Select to
Proceed field.
- Select the Proceed to proceed with the application. By default this option is selected. It will logically complete the Account Funding Stage for the current application. The Workflow Orchestrator will automatically move this application to the next processing stage, Underwriting. The stage movement is driven by the business configuration for a given combination of Process Code, Life Cycle and Business Product Code.
- Select the Return to Application Enrichment to return to application enrichment stage. The system generates the Application Enrichment task that appears in Free Task to acquire and edit
- Select the Return to Overdraft Limit Details to return to overdraft limit details stage, the system generate the Overdraft Limit Details stage that appears in Free Task to acquire and edit.
- Select the Return to Application Entry to return to application entry stage. The system generates the Application Entry task that appears in Free Task to acquire and edit.
- Select the Reject by Bank to reject the submission of this application. The application is terminated, and an email is sent to the borrower or customer with a rejection advice.
- Enter the remarks in Remarks.
- Click Submit. The Confirmation screen is displayed.
On successful submission the above pop-up appears and displays the next stage in which the application has moved. Application Reference Number and the Process Reference Number is also displayed.
- Click Close to close the window. OR
Click Go to Free Task. The system successfully moves the Application Reference Number along with the sub process reference numbers [Current Account] to the Underwriting on Host stage. This application is available in the FREE TASK list. The user who has the access rights will be able to acquire and proceed with the next processing stage of the application. The following notification will be sent to the user, if application is initiated from assisted channel, and to the Oracle Banking Digital Experience customer, if application is initiated from self-service.
Parent topic: Account Funding Stage
