1.1 Activation of Menu and Report Rules
This topic provides the systematic instructions to activate the sample.
To activate the sample reports, the following must be performed:
- Activate Menu
- Activate Reports Roles
Activation of Menu
You can activate the sample reports using menu in two ways:
- Front End
- Back end
Front End Activation using Menu
This topic provides the systematic instruction to activate the sample reports through Front End activation using menu.
To activate the sample reports using menu in Oracle Banking Treasury Management, perform the following:
- On the Home page, enter SMDFNDSC in the text field, and click the next arrow.
The Function Description Maintenance screen is displayed.
Figure 1-1 Function Description Maintenance
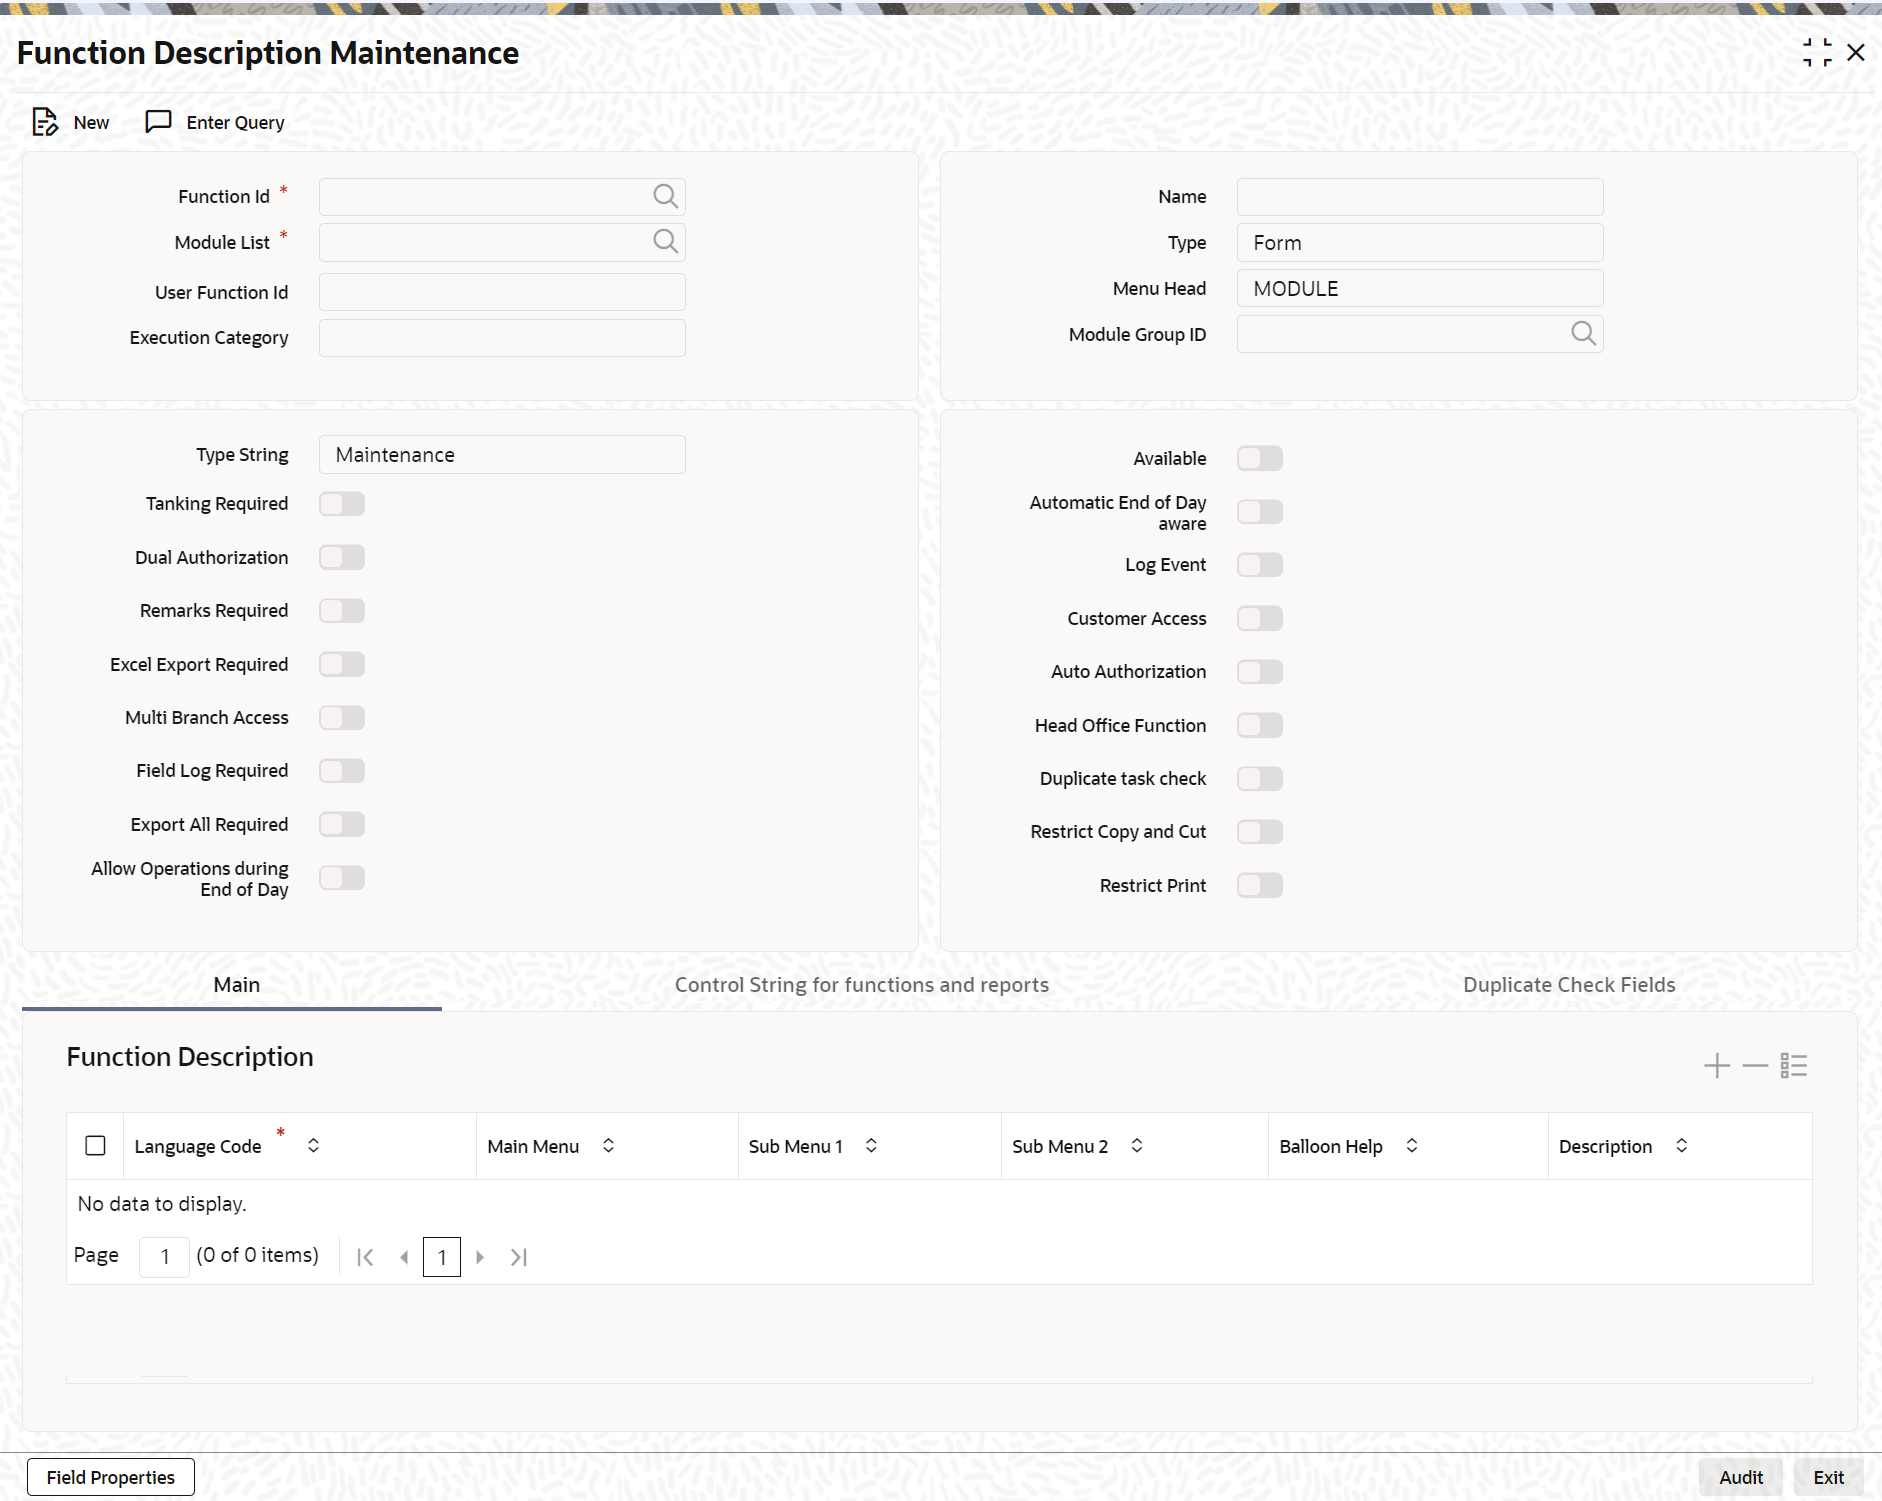
Description of "Figure 1-1 Function Description Maintenance" - In the Function Description Maintenance screen, ensure that Available field is enabled to activate by modifying the record.
Note:
We recommend that you modify and authorize the record.
Back End Activation using Menu
Reports can also be activated from back end by updating the static data of SMTB_MENU Available column to ‘1’ for all the reports.
Activation of Report Roles
This topic provides the systematic instructions to activate the report roles.
All the report roles end with the word ‘REPORTS’ which are pre-shipped in ‘closed’ status. To activate the report roles, perform the following:
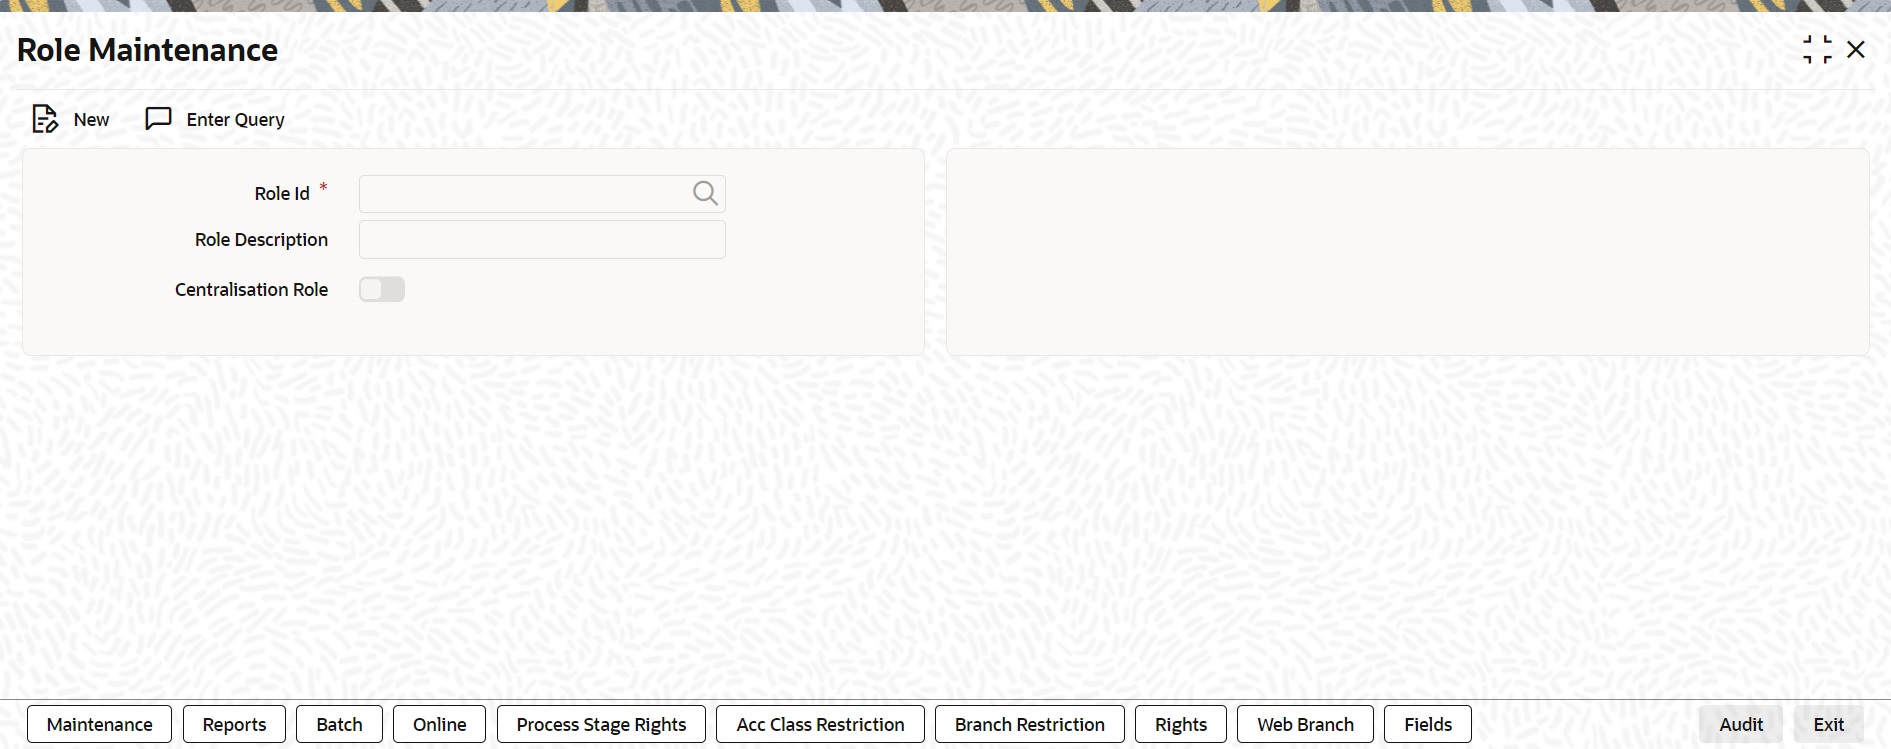
- On the Home page, enter SMDROLDF in the text field, and click the next arrow.
The Role Maintenance screen is displayed
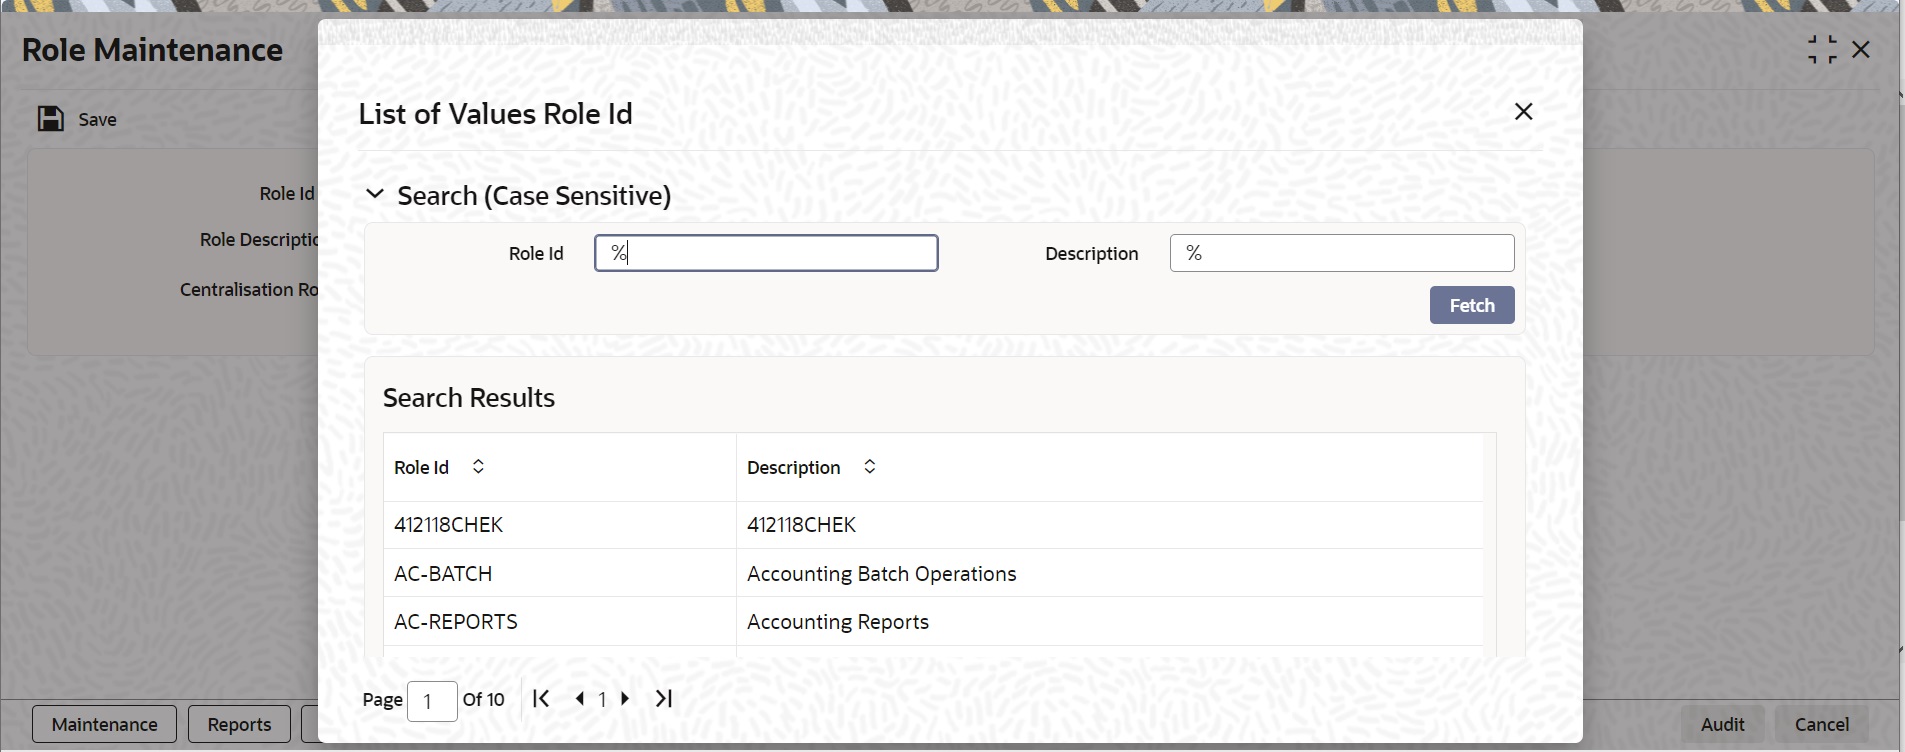
- Click the Search icon to search for the report roles in the displayed list of values.
The List of values Role Id page is displayed.
- Initially all the report roles are in ‘closed’ status, click Reopen to reopen the report roles.
The system displays a confirmation message.
Figure 1-5 Role Maintenance - Reopen Confirmation Message
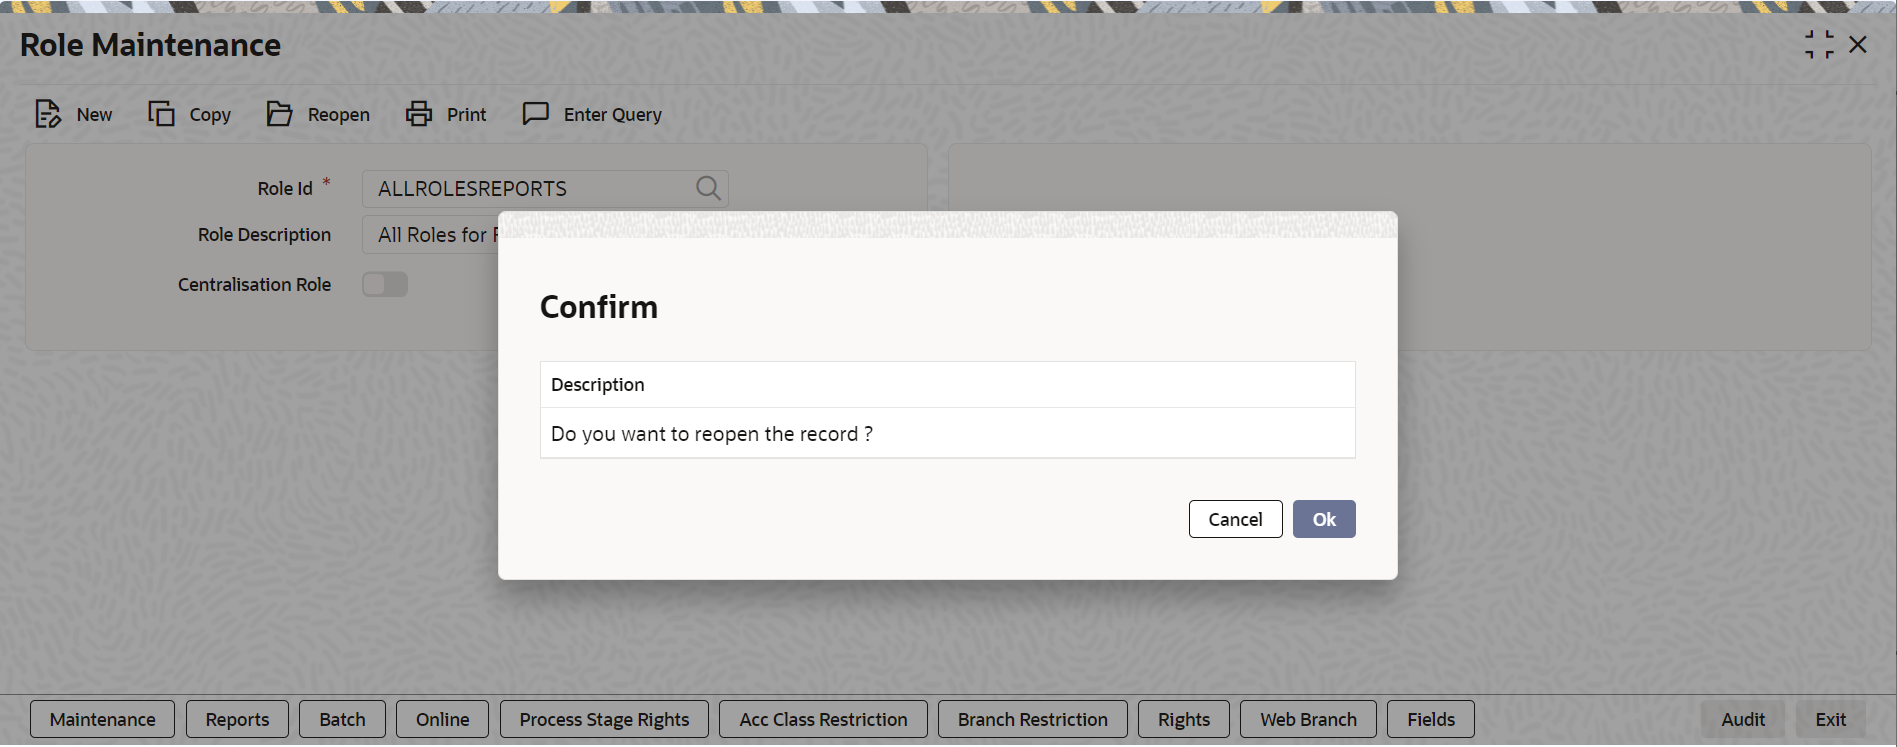
Description of "Figure 1-5 Role Maintenance - Reopen Confirmation Message" - In the displayed Confirmation Message page, click Ok to reopen the Record.
Note:
Click Cancel to cancel the record reopening operation.The system displays an Information Message.Figure 1-6 Role Maintenance - Reopen Information Message
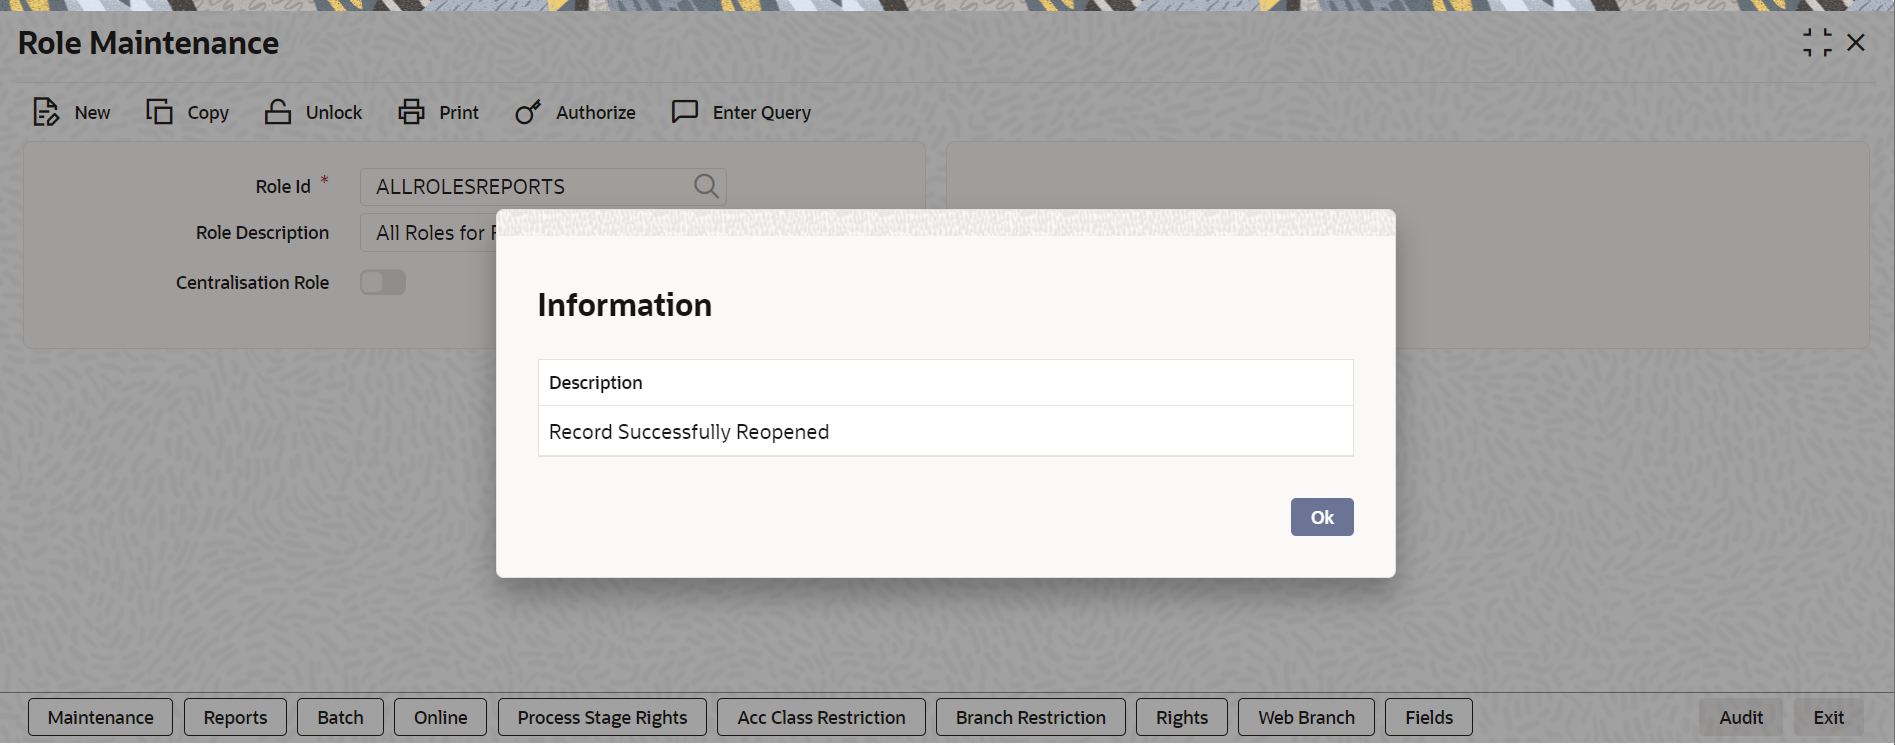
Description of "Figure 1-6 Role Maintenance - Reopen Information Message" - In the displayed Information message page, click Ok. The record is reopened successfully.
Parent topic: Activation of Sample Reports

