- Messaging User Guide
- Define Free Format Messages
- Maintain Free Format Message
8.1 Maintain Free Format Message
This topic provides systematic instructions to maintain a free format message.
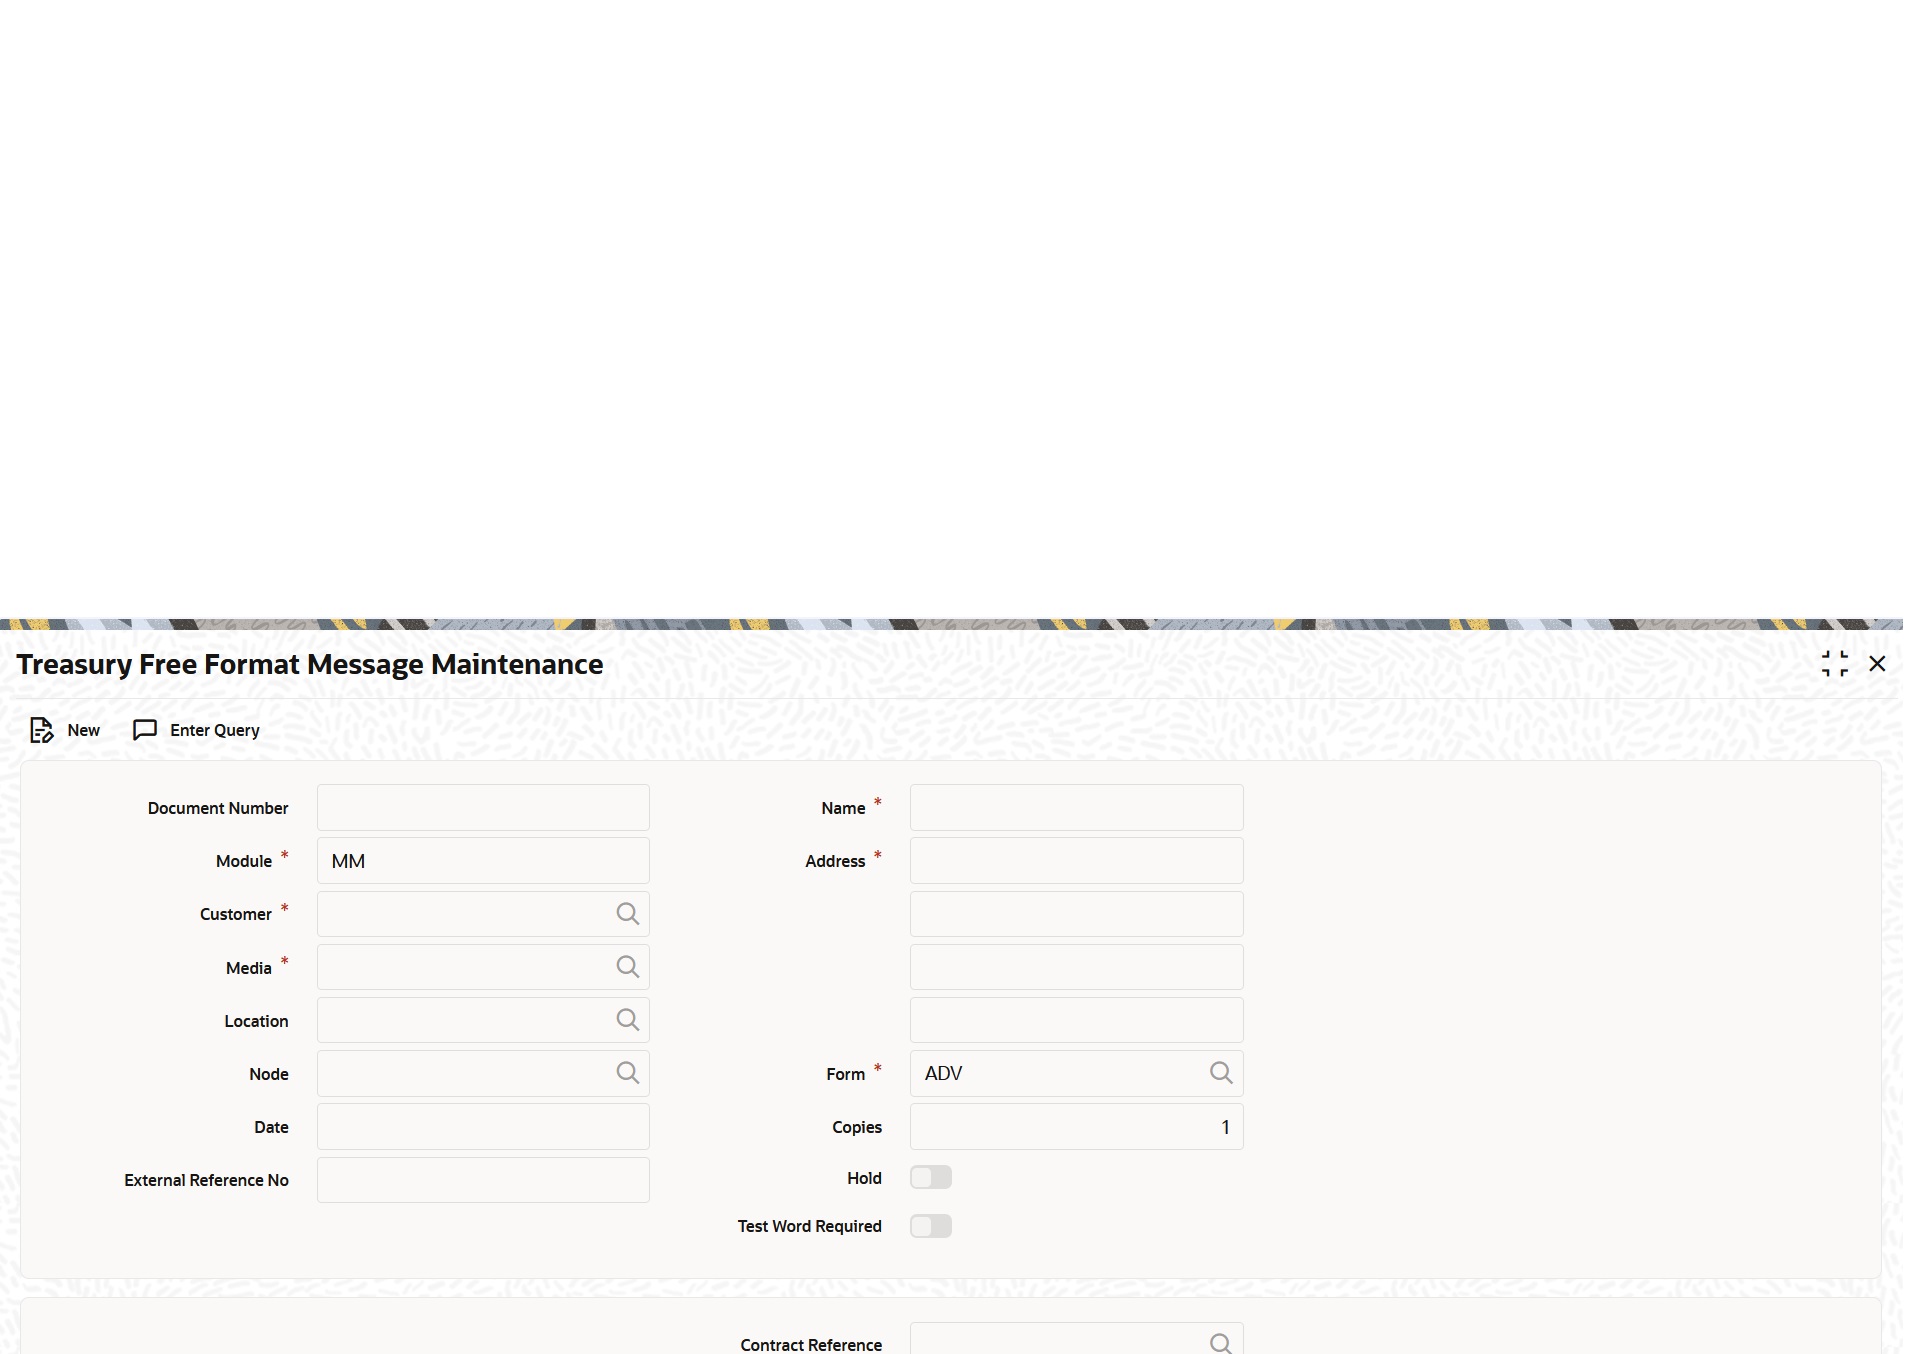
- On Homescreen, specify MSDTRFFT in the text box, and click Next.Treasury Free Format Message Maintenance screen displays.
Figure 8-1 Treasury Free Format Message Maintenance

Description of "Figure 8-1 Treasury Free Format Message Maintenance" - On Treasury Free Format Message Maintenance screen, specify the details.
Table 8-1 Treasury Free Format Message Maintenance - Field Description
Field Description Document Number The system generates the document number on save. Module Select the module from the drop-down list. Customer Select the customer code to whom the message is addressed. If the recipient is not a customer of the bank, then specify the name of the recipient in this field. Media Specify the media through which the Free Format Message should be transmitted. The media through which a Free Format Message is transmitted is depends on the media types that is maintained for the branch in the Media Maintenance screen. Location Specify the location of the address. To recall, the location that is specified for an address is a unique identifier between the other addresses of the customer for a given media. The address of the customer will be automatically displayed based on the Customer-Location-Media combination, if it is already maintained in the system. Node Specify the node from where this Free Format Message has to be generated. Date Select the date from the Calendar icon. External Reference Number The system displays external reference number on save. Name In the case of a walk-in customer, enter the name of the customer to whom the message is to be addressed. If the recipient of the message is a customer of the bank, the customer’s name will be automatically displayed on entering the customer’s CIF number in the Customer field. Address If the recipient of the message is a customer of the bank, the customer’s address will be automatically displayed based on the Customer-Location-Media combination that is specified. In the case of a Walk-in customer, enter the address. The format of the address depends on the media through which the Free Format Message is transmitted. If the address is for the media type Mail, enter the customer's address in the four rows under this field. Each line can contain a maximum of 35 characters. If the media of transmission is Telex, the address should be expressed numerically. For defining a SWIFT address, the address should be of eight or eleven alphanumeric characters. Form If the message to be sent is in the form of a template, select the template from the option list. Copies Enter the number of copies of the Free Format Message must be sent to the customer at the time it is generated. To send more than one copy to a location, the first message is the original one and the others are marked as Copy Hold On-hold Messages are temporarily stopped from the generation. If its specified to generate messages in the background, the Free Format Messages are immediately sent on saving the record. To not send the messages immediately, place it on hold. In this case, the messages appears in the Outgoing Message Browser, but will be in the hold status. The user must release the message before generating it from the Outgoing Browser. Test Word Required Indicate whether a test word needs to be inserted into the telex message manually before it is generated from your branch. Contract Reference Specify the code assigned to the customer, the recipient of the message. This code is assigned to the customer in the Customer Information File (CIF). Server The server indicates the machine on which the database of the bank is installed. To import a format from an ASCII file on the server, select the radio button against Server. Import File Specify the full path to the file on the server which contains the format to be imported. Import Click Import button to import the ASCII file format. The file containing the format of the message will be displayed on the screen.
Parent topic: Define Free Format Messages
8.1 Maintain Free Format Message - Message Tab
This topic provides systematic instructions to specify free format messages.
- On Treasury Free Format Message Maintenance screen, click the Message tab.Message tab displays.
Figure 8-2 Treasury Free Format Message Maintenance - Message

Description of "Figure 8-2 Treasury Free Format Message Maintenance - Message" - On Message tab, specify the details.
Table 8-2 Message Tab - Field Description
Field Description Message Enter the details of a Free Format Message either by using the format editor on the screen or by importing the format from an ASCII file. This can be located either on the server or the client.
8.1 Maintain Free Format Message - SWIFT Message Details Tab
This topic provides systematic instructions to view SWIFT message details.
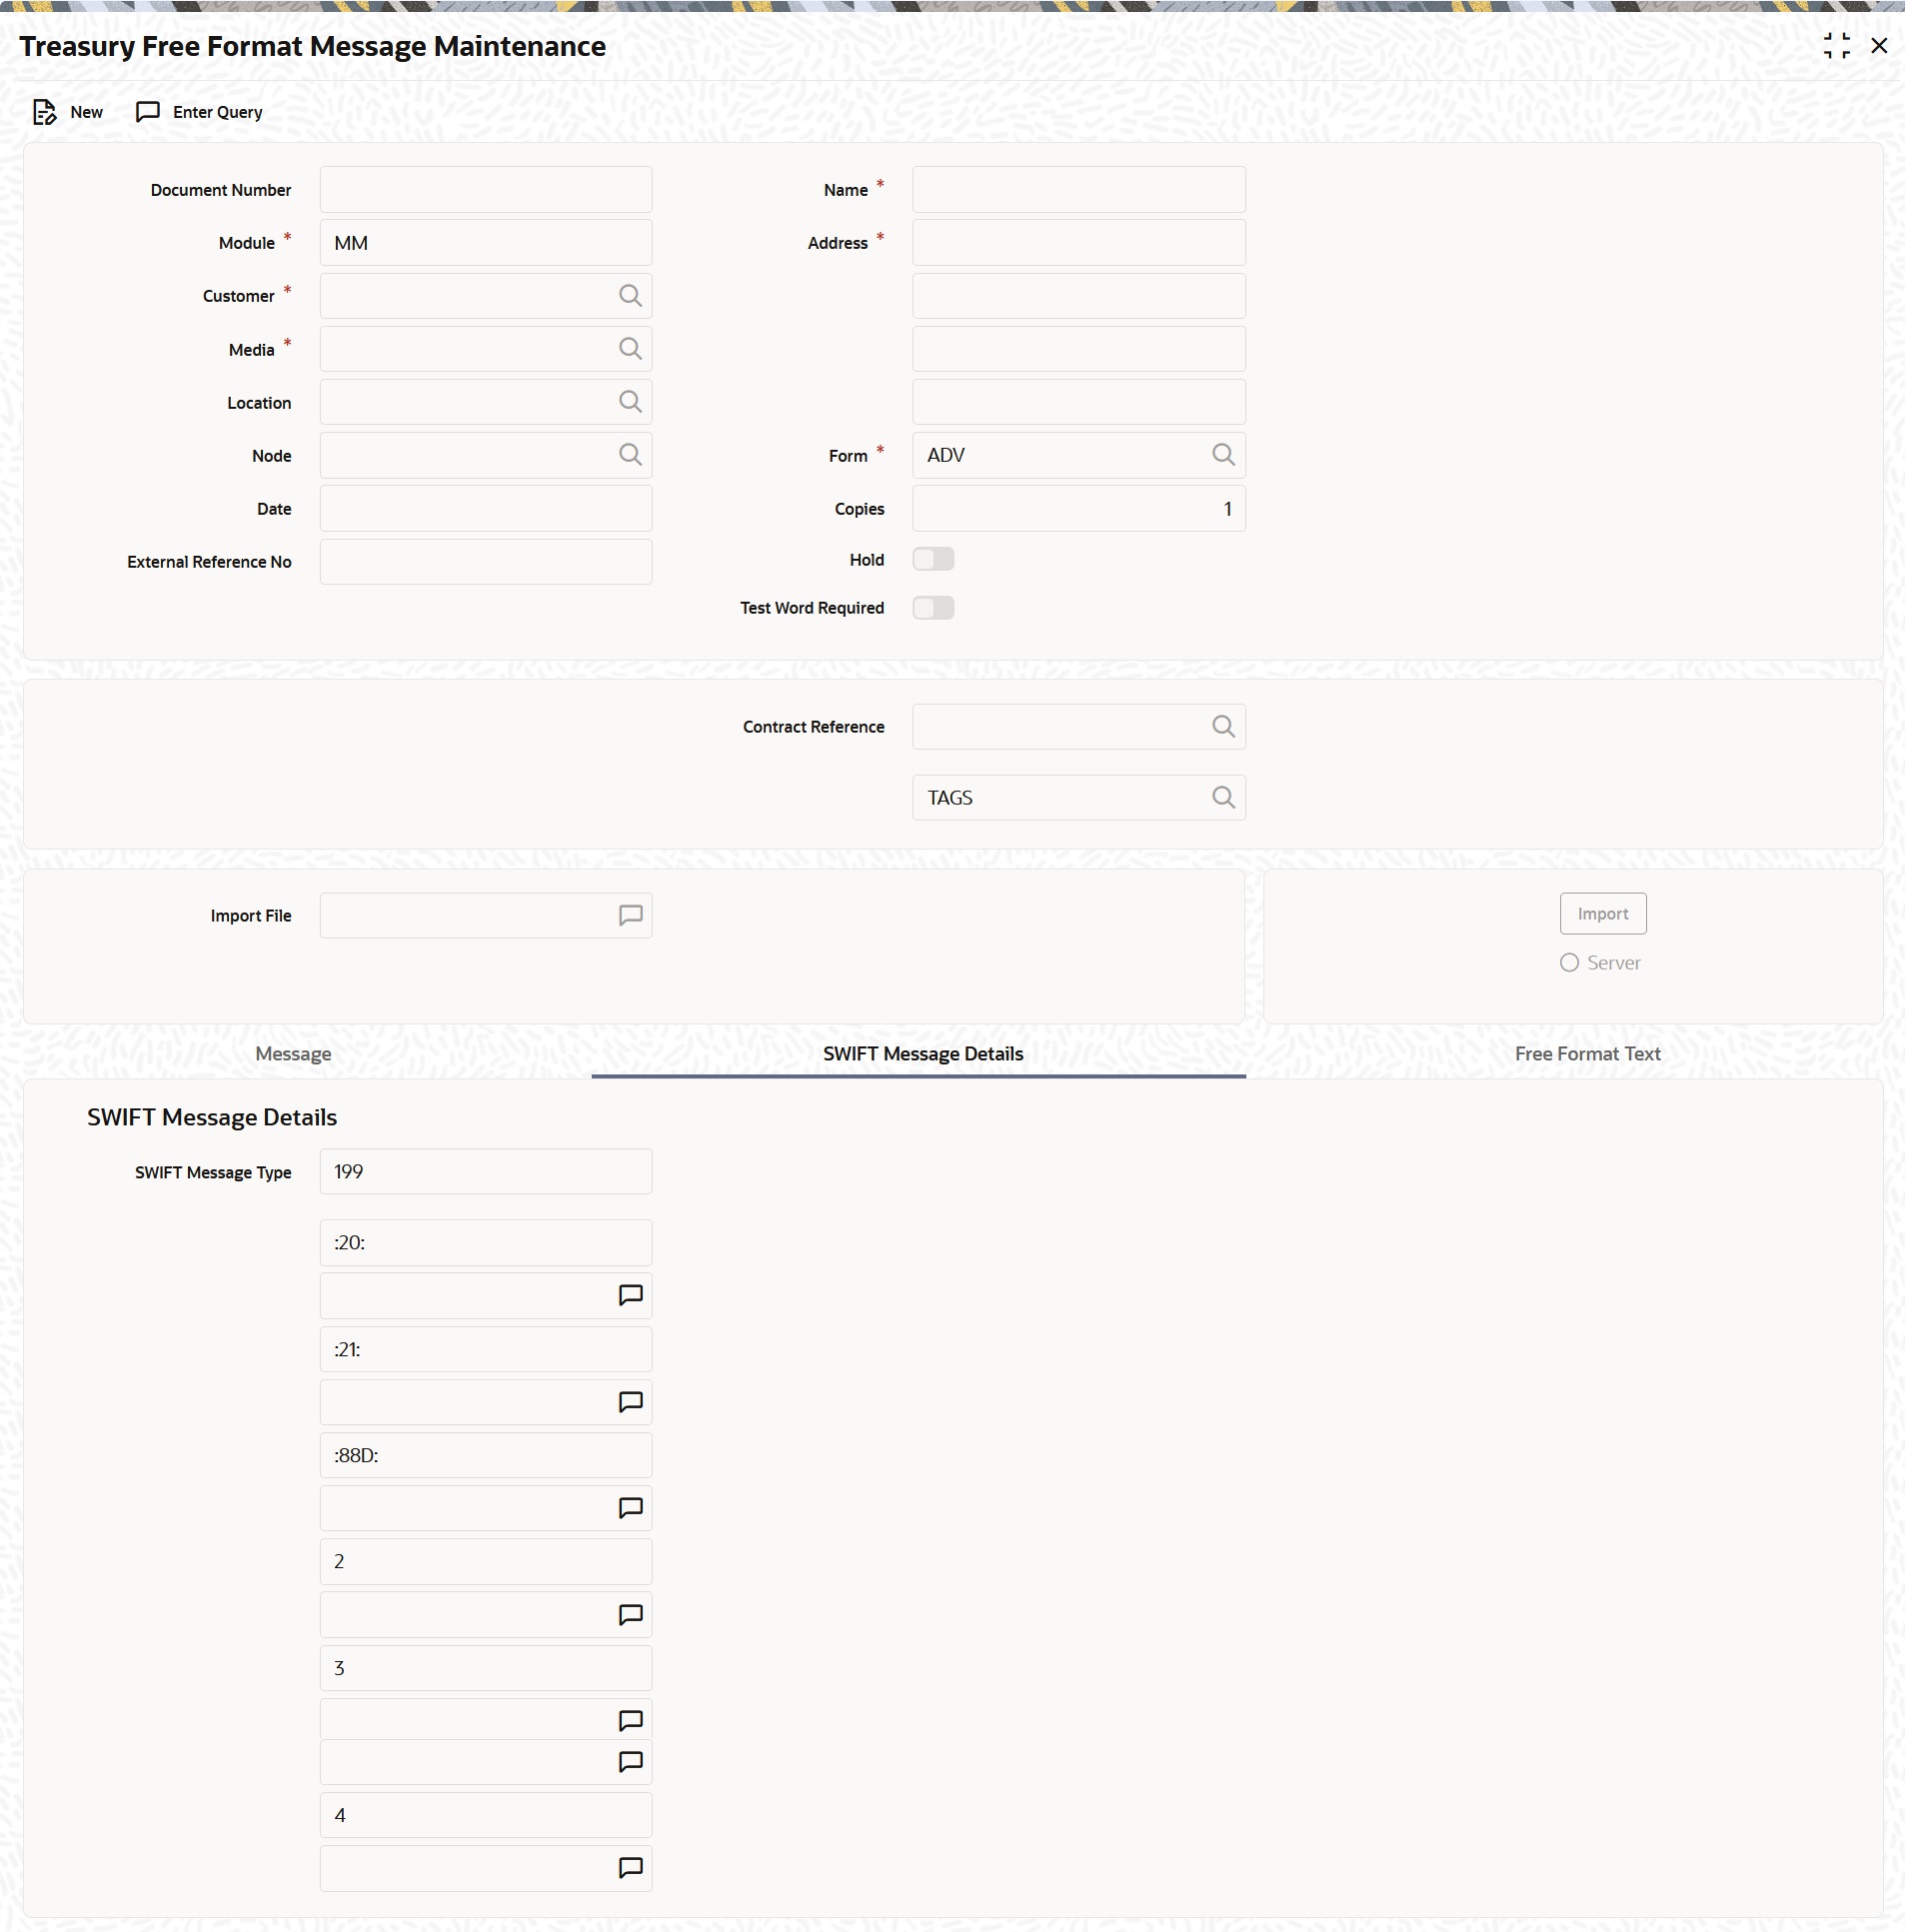
- On Treasury Free Format Message Maintenance screen, click the SWIFT Message Details tab.SWIFT Message Details tab displays.
Figure 8-3 Treasury Free Format Message Maintenance - SWIFT Message Details

Description of "Figure 8-3 Treasury Free Format Message Maintenance - SWIFT Message Details" - On SWIFT Message Details tab, specify the details.
Table 8-3 SWIFT Message Details Tab - Field Description
Field Description SWIFT Message Type Select the type of SWIFT message. - 199
- 299
- 399
- 499
- 599
- 699
- 799
- 899
- 999
- 649
8.1 Maintain Free Format Message - Free Format Text Tab
This topic provides systematic instructions to maintain free format text.
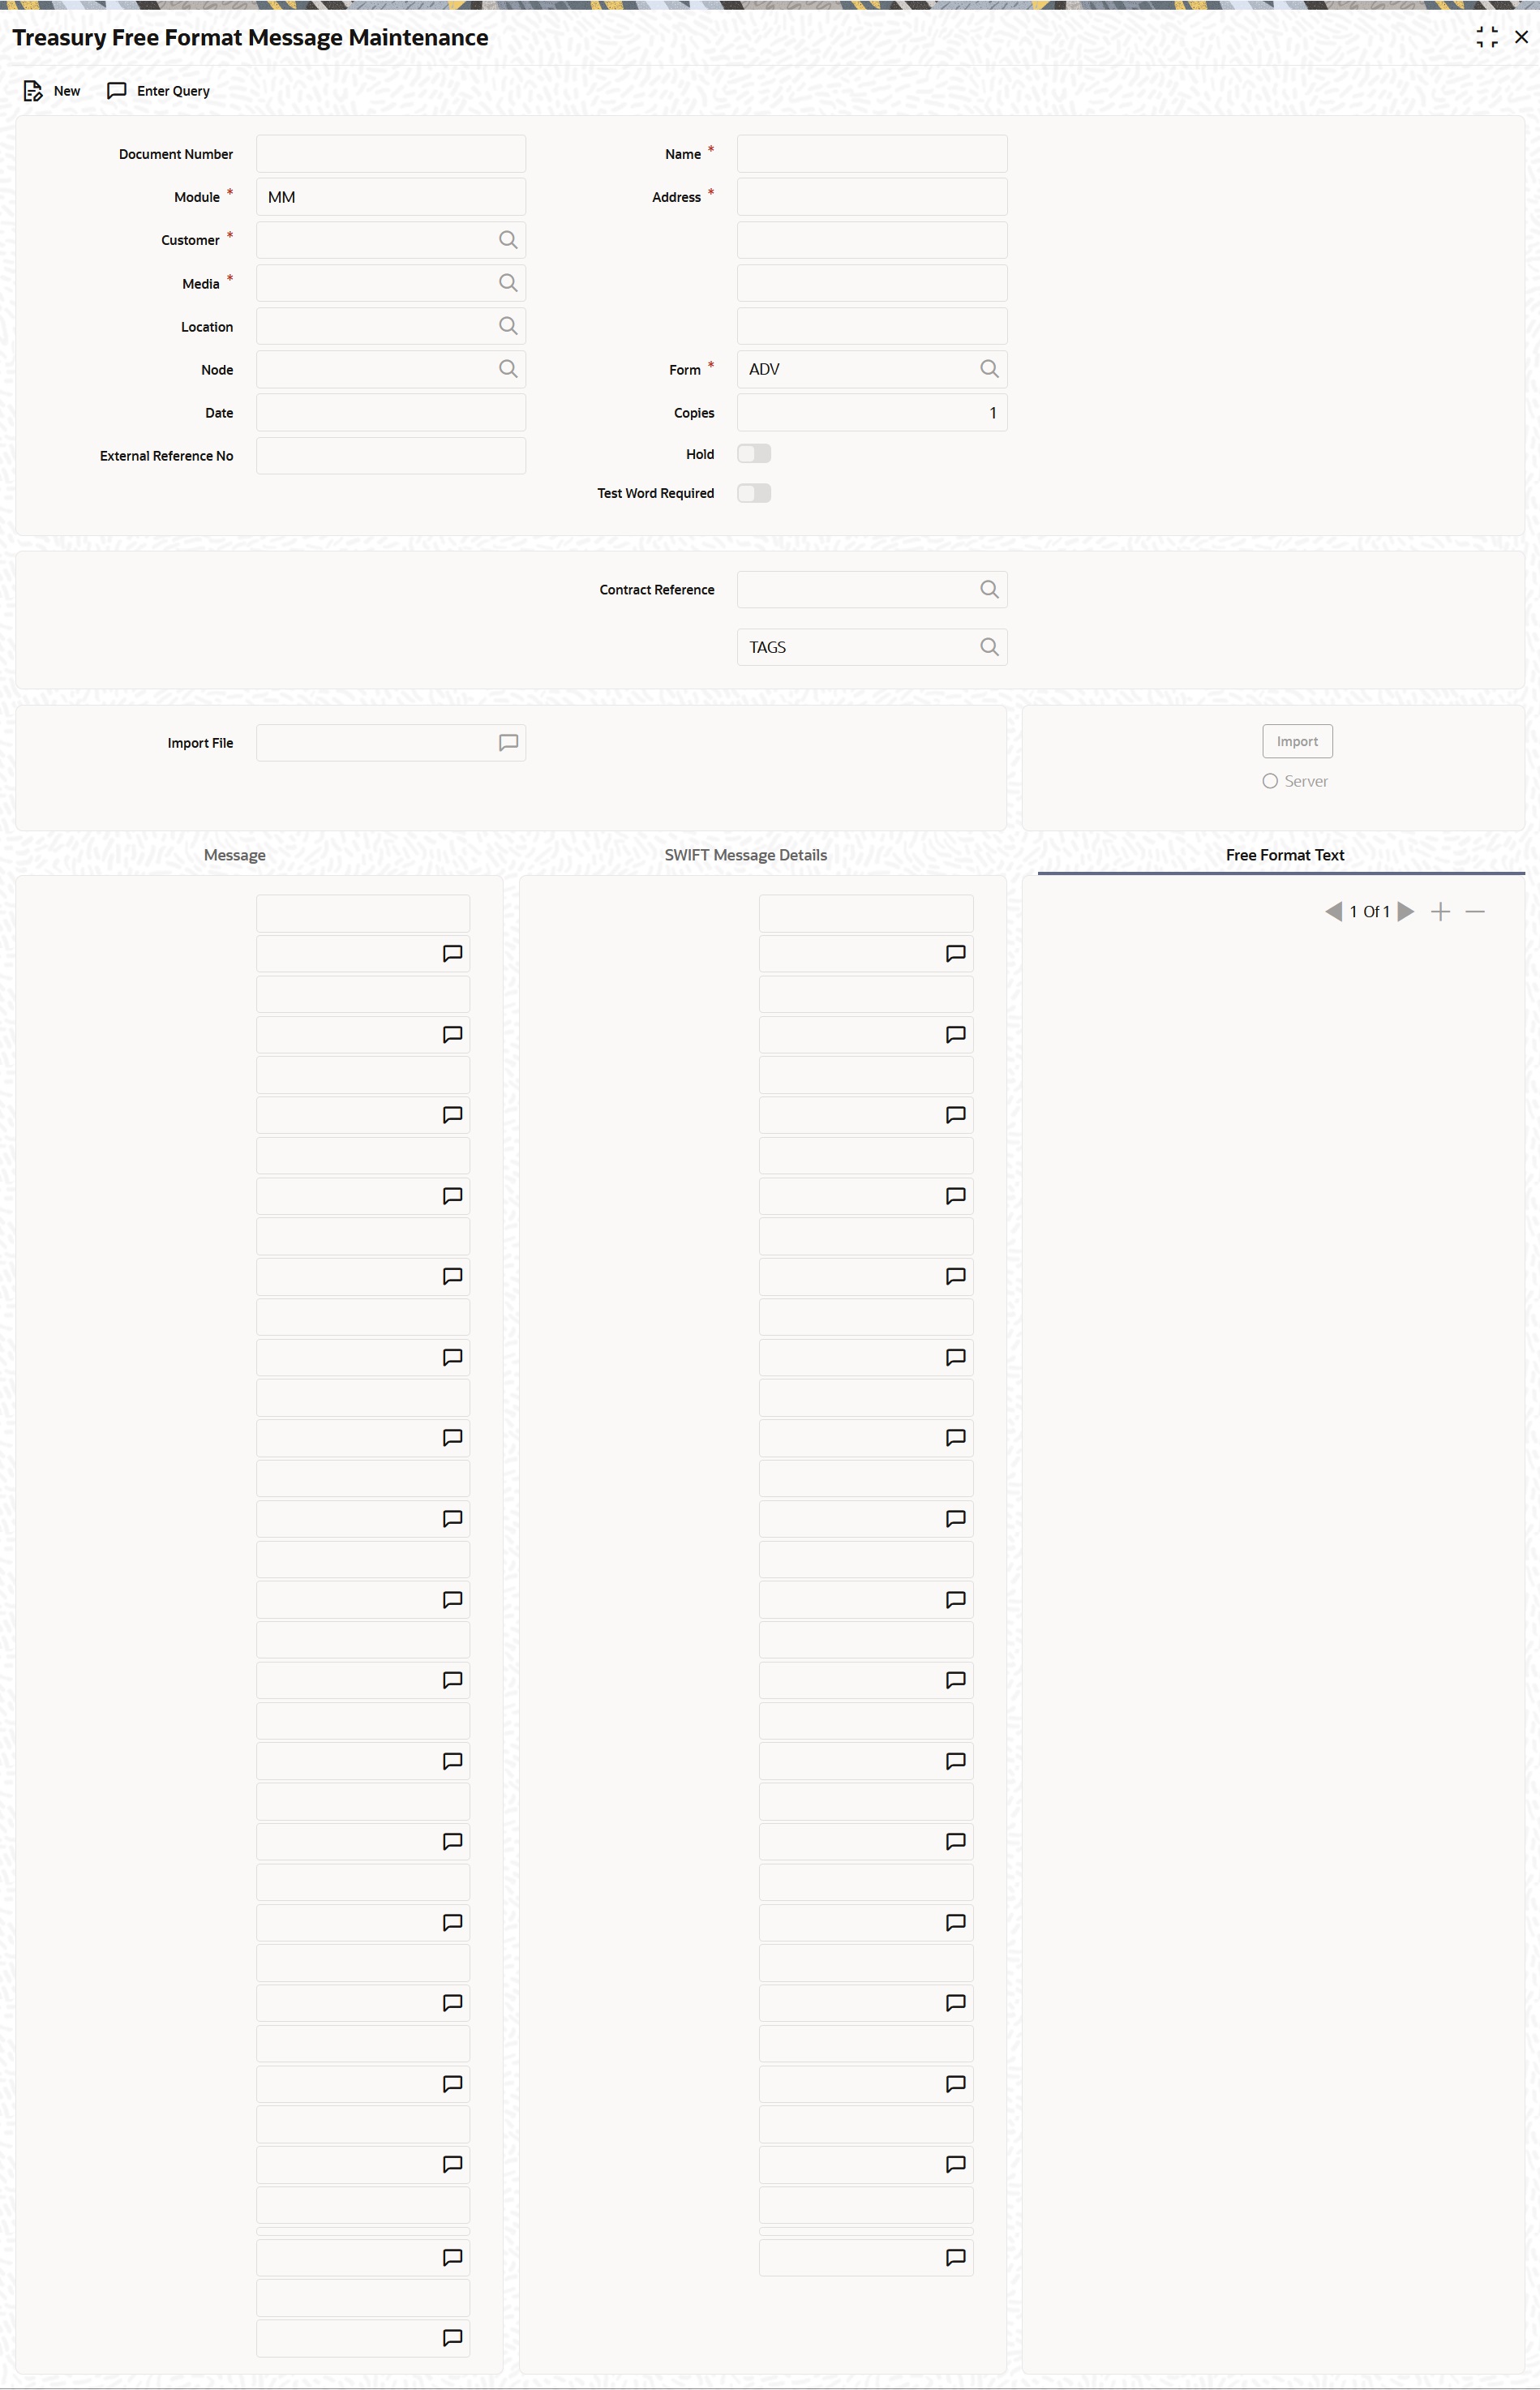
- On Treasury Free Format Message Maintenance screen, click the Free Format Text tab.Free Format Text tab displays.
Figure 8-4 Treasury Free Format Message Maintenance - Free Format Text

Description of "Figure 8-4 Treasury Free Format Message Maintenance - Free Format Text" - On Free Format Text tab, specify the details.To enter a format using the format editor, click the free format text icon positioned next to the text of the message. In the notepad, the user can tailor an advice to suit the requirements. Keywords to format the advice (similar to the Advice Format Maintenance screen) can be used here too to get the desired format. The following table contains a comprehensive list of the keywords that can be used in the format editor.A Free Format Message will be sent depending on the specifications in the Jobs Browser screen.
Table 8-4 Keywords
Keyword Significance #NL Indicates the number of lines that should be contained in a page when the message is printed #NC Indicates the number of columns that should be contained in a page when the message is printed #RH Indicates the start of the Report Header section #PH Indicates the beginning of the Header for a page #EH Indicates both the end of the Header section of the report or the end of Header section of a page #RF Indicates the start of the Report Footer section #PF Indicates the start of the Footer of a page #EF Indicates both the end of the Footer of a report or page #B Indicates the start of the body of the message #EB Indicates the end of the body of the message #CL Indicates that you can collapse a line #EC Indicates the end of a line that you have collapsed #LOOP Indicates the beginning of a loop #ENDLOOP Indicates the end of a loop #IF Indicates a Conditional section #ANDIF Indicates a Conditional section #ORIF Indicates a Conditional section #ENDIF Indicates the end of a Conditional section - If the background process is running, a free format text that is defined will be immediately sent on saving the record.
- If the background process is not running, the Free Format Message that is defined will be displayed in the Outgoing Message browser from where can be processed.
- After specifying the mandatory entries, save the record.A free format record that is defined should be authorized by a user bearing a different login Id, before the End of Day (EOD) process is run.
- Click the Exit button to end the transaction.