5 Appendix B
FMW Configuration Wizard Configure the new Domain
Following the database schema creation, the Fusion Middleware (FMW) Configuration wizard is required to create and setup a domain for Documaker if not using a prepared template.
Information on the Fusion Middleware Configuration Wizard is available in the Installing and Configuring the Oracle Fusion Middleware Infrastucture Release 14.1.2
Take note of the values chosen (ports, names, etc.) for later use in synchronization with the weblogic_installation.properties file used for deployment of the Documaker resources to the new domain.
Example screen flow and steps below for Method #1 type deployment. For Method #2 step 10 “Select Administration Server, Node Manager and Topology” can left unselected to skip to the end of the configuration. Note: FMW may change these screens.
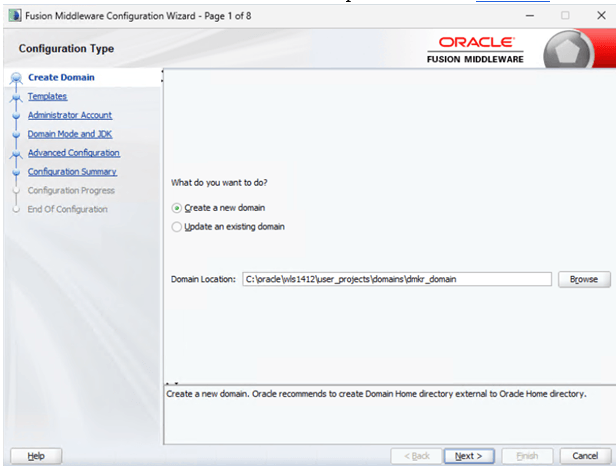
- Select ‘Create a new domain’ radio button and provide domain location.
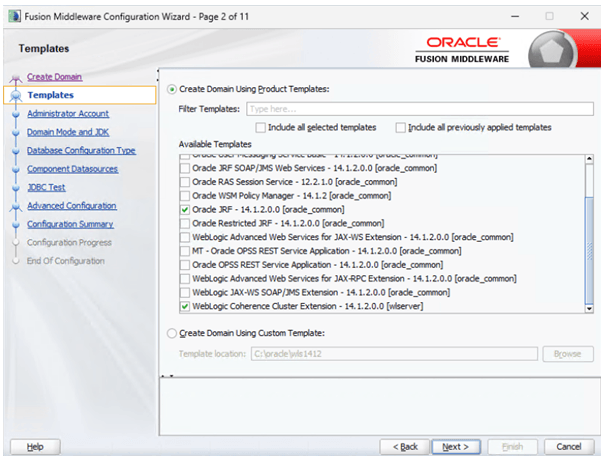
- 2. Select ‘Oracle JRF [oracle_common]’ check box, it automatically selects dependent component. Click ‘Next’.
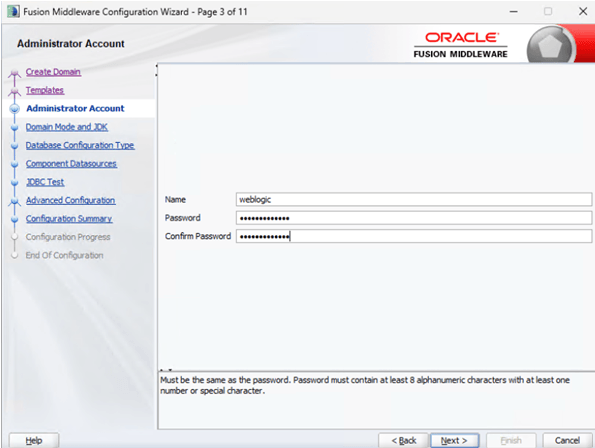
- Enter weblogic username and password. Click ‘Next’.
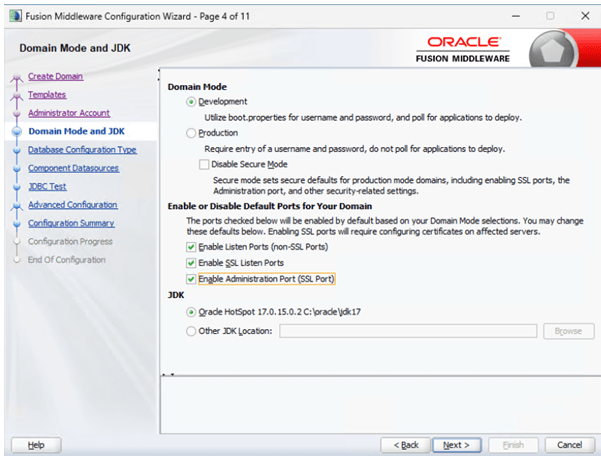
- 4. Select Development radio button with SSL ports enabled (for sandbox type enviroment) and click ‘Next’.
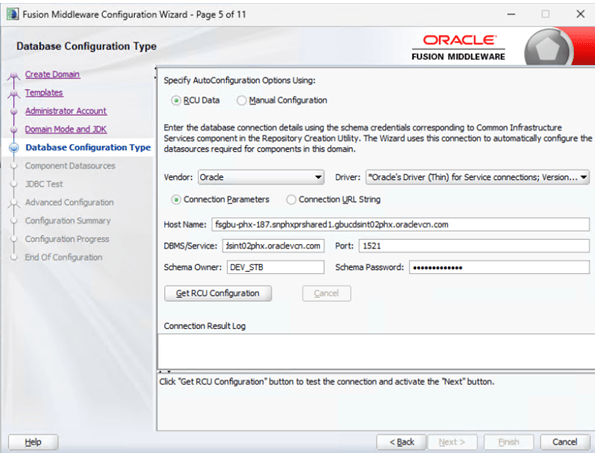
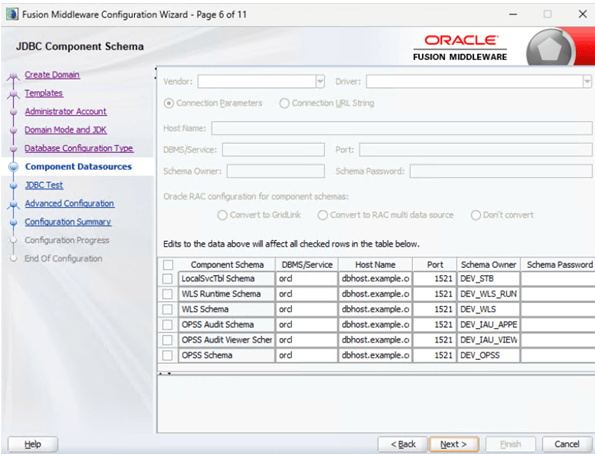
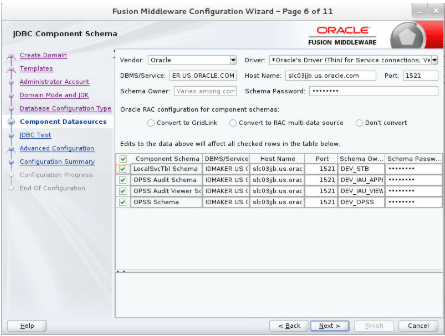
- Enter database, driver and schema owner details.
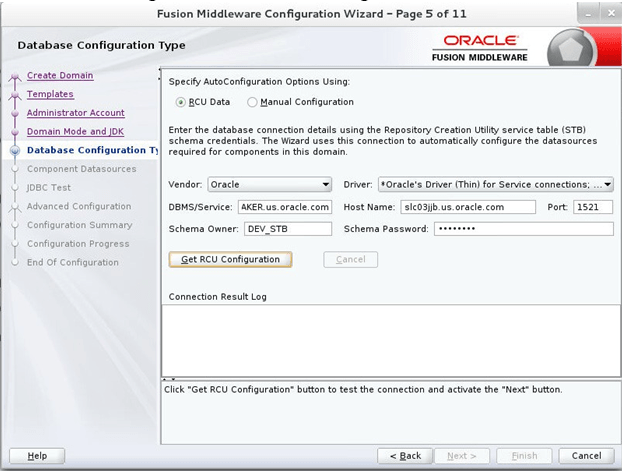
- Click ‘Get RCU Configuration’ button after filling out RCU data.
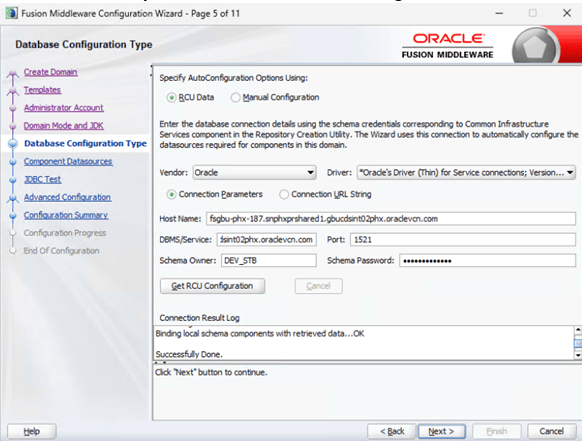
- If you see Successfully Done in ‘Connection result log’ click ‘Next’.
- Select all check boxes and click ‘Next’.
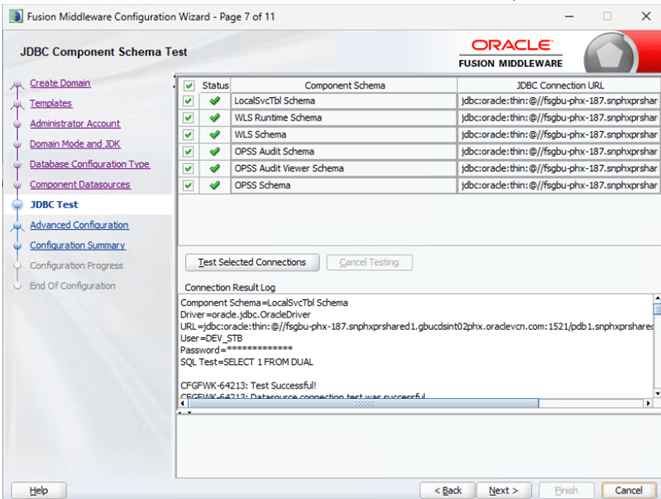
- Select ‘Test Selected Connections’ button. If test is successful, then click Next.
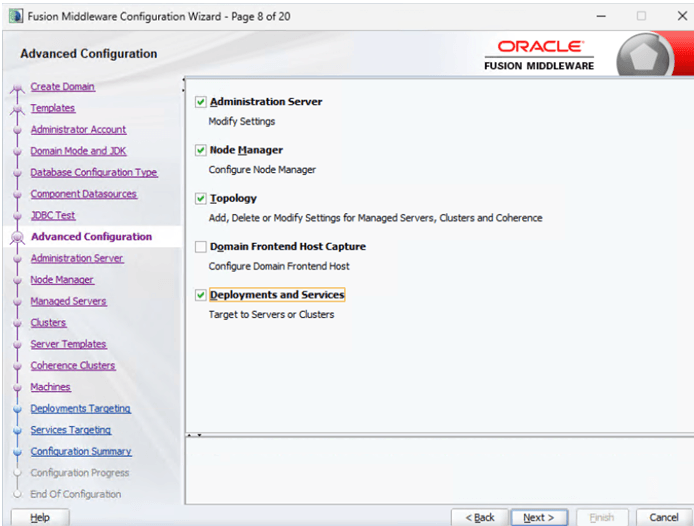
- Select Administration Server, Node Manager, Topology and Deployments and Services then Click ‘Next’.
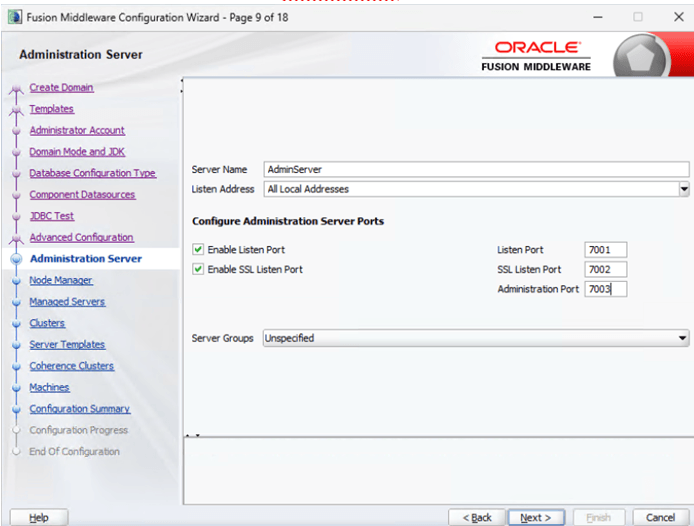
- Setup Administration Server as AdminServer with Admin SSL port and click ‘Next’.
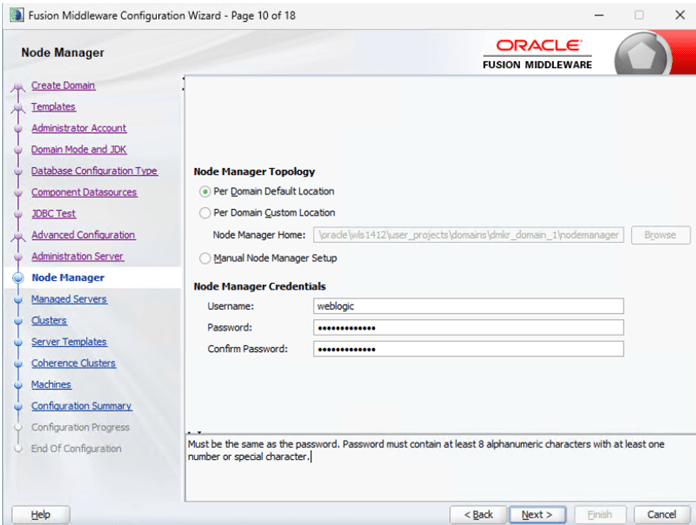
- Setup Node Manager and click ‘Next’.
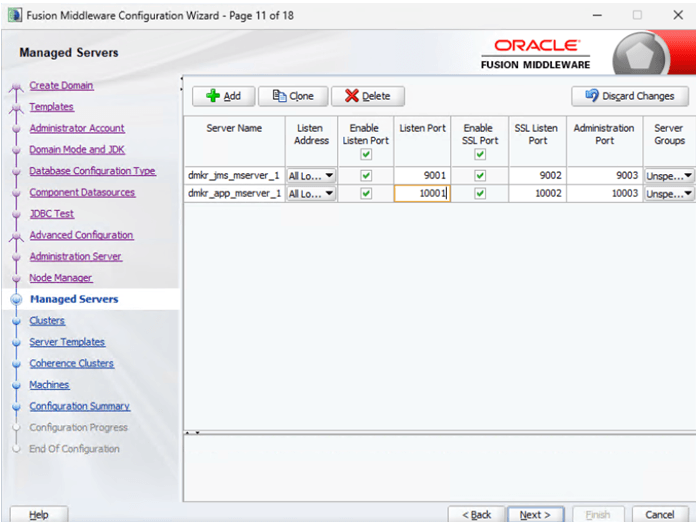
- Setup the Managed Servers for JMS and Documaker Web apps and click ‘Next’.
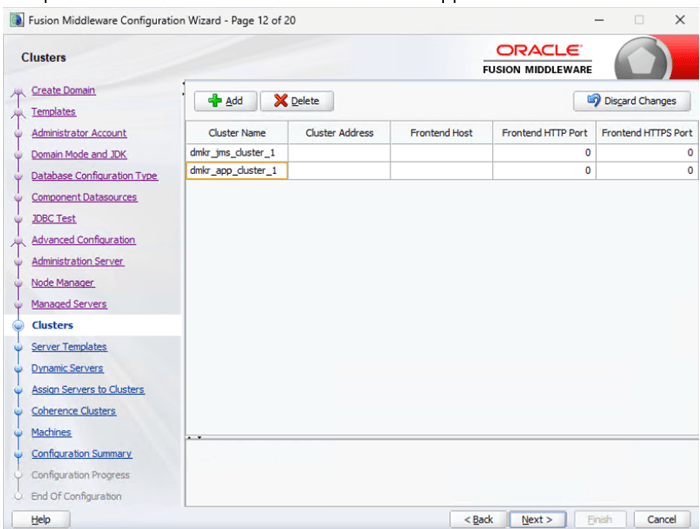
- 14. Setup the Clusters for JMS and Documaker web apps and click ‘Next’.
- Setup Server Template and click ‘Next’.
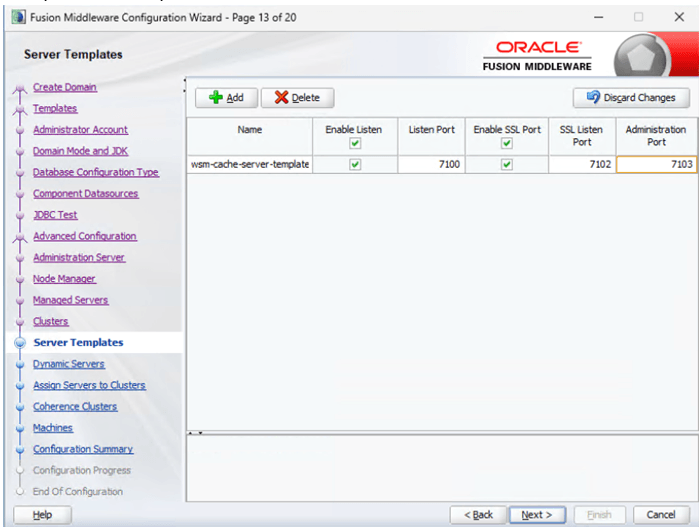
- Setup Dynamic Servers and click ‘Next’.
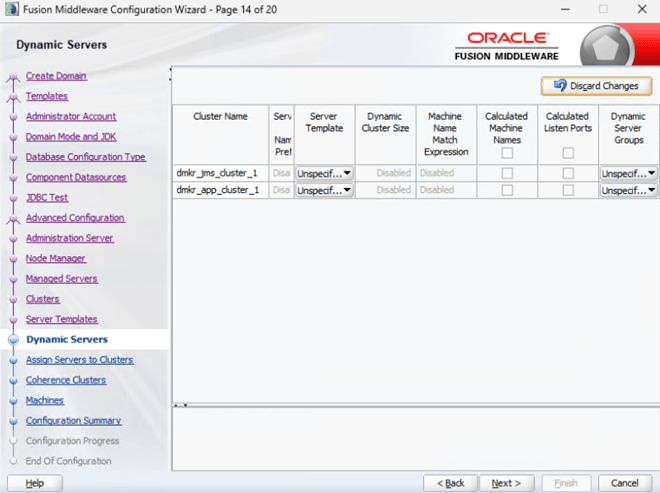
- Assign Managed Servers to Clusters and click ‘Next’.
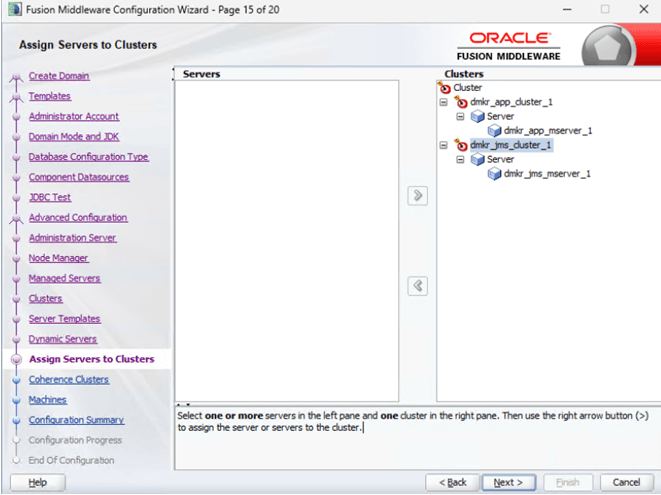
- Setup Coherence Clusters and click ‘Next’.
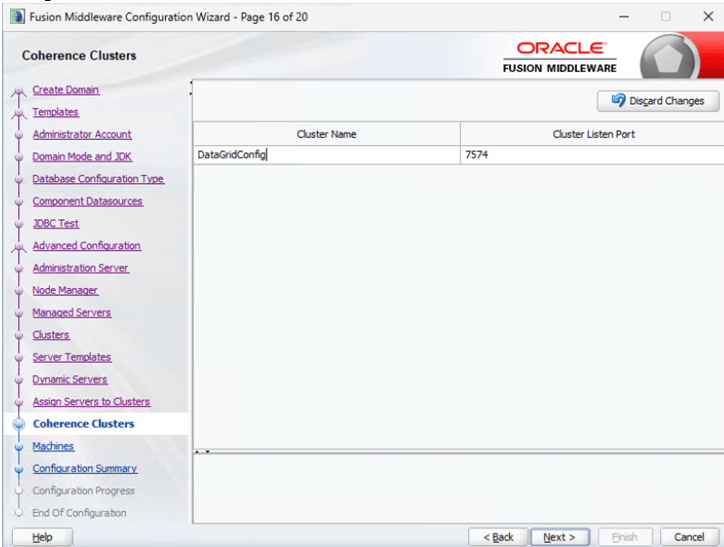
- Setup Machine Nodes for current server and click ‘Next’.
Note:
Unix Machine should be used when OS is Linux and UNIX variant.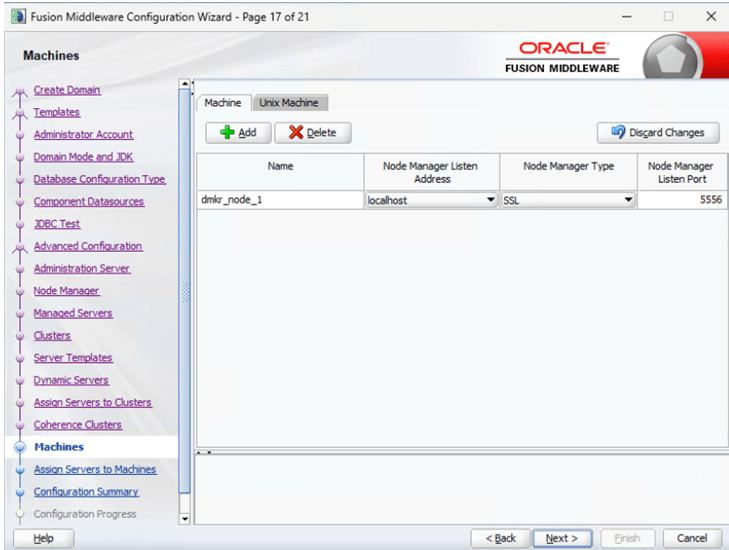
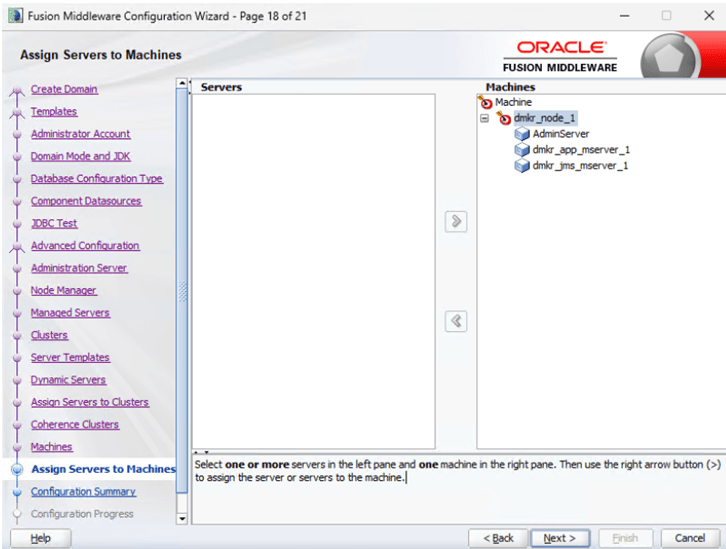
- Assign Managed Servers to Machine nodes and click ‘Next’.
- Deployment Targeting to associate the base and ADF libraries to the Documaker apps cluster and click ‘Next’.
Note:
UIX, adf.oracle.*, oracle.adf.*, jsf*, jstl*, odl.*ohw*, oracle.dconfig-infra*, oracle.jrf*, oracle.jsp*, and oraclei18n-adf* libraries are needed in the cluster hosting the Documaker web app EARs. Most all but the oracle.bi.*, oracle.sdp.* and oracle.wsm.*.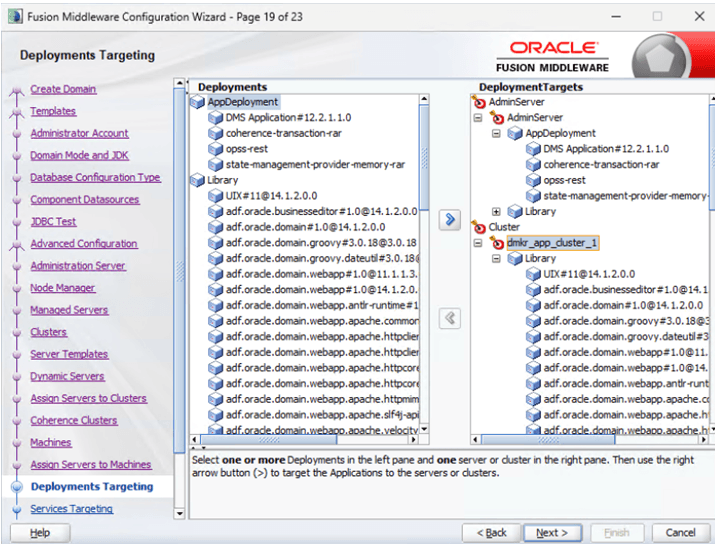
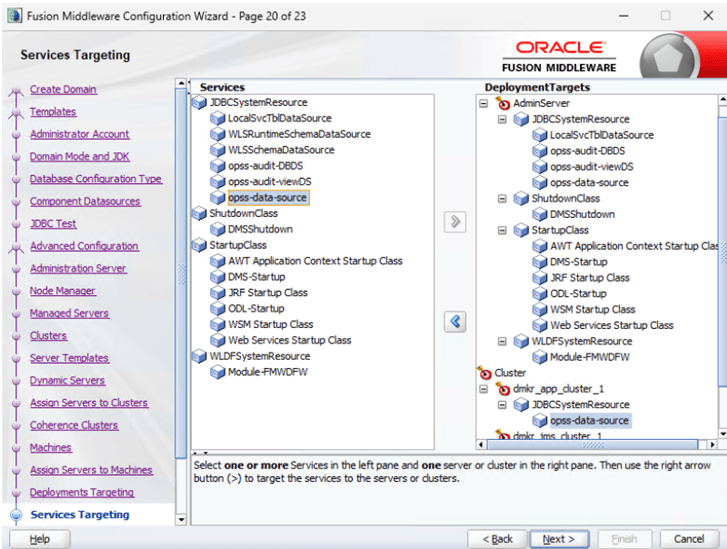
- Services Targeting, associate the opss-data-source JDBCSystemResource needed by ADF Security (OPSS/JPS) components for the Documaker ADF Runtime (JRF) based web apps and click ‘Next’.
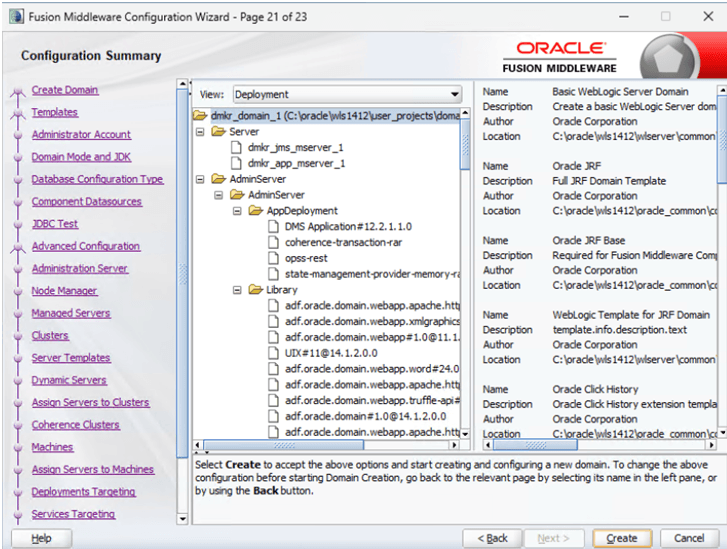
- Review the Configuration Summary and press ‘Create’ when done.
Configuration progress bar and processing list appears.
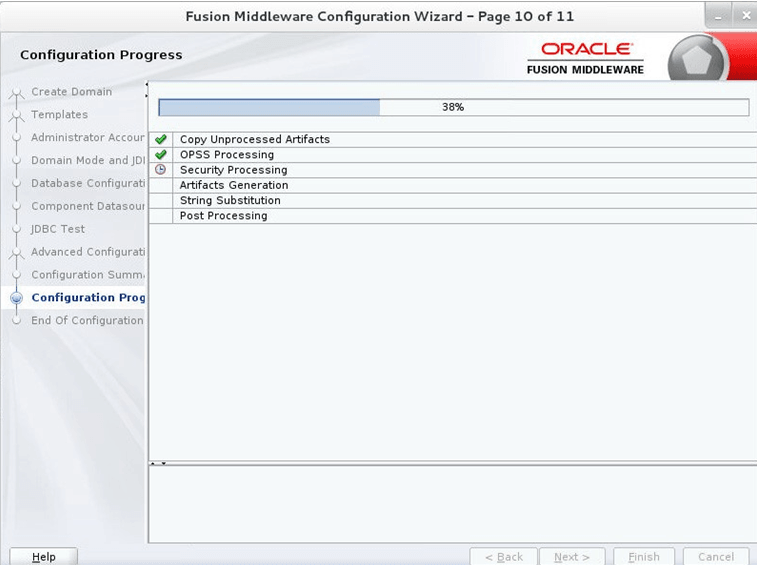
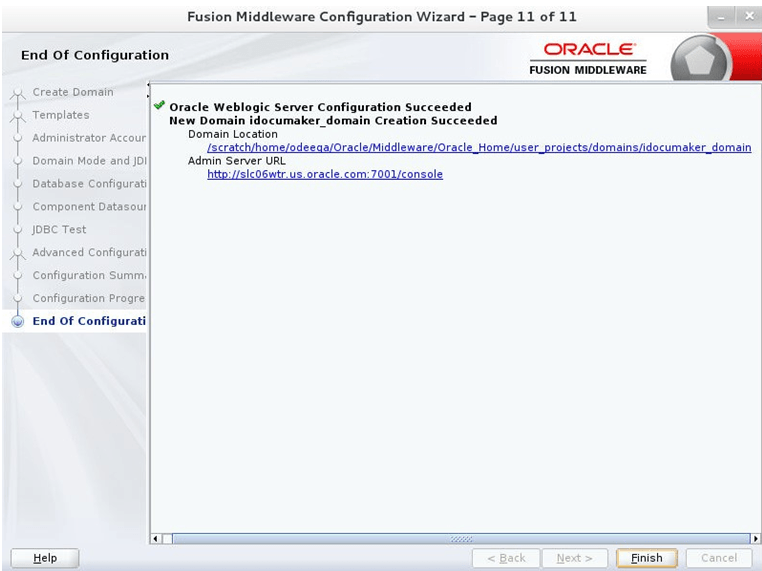
- Click ‘Next’.
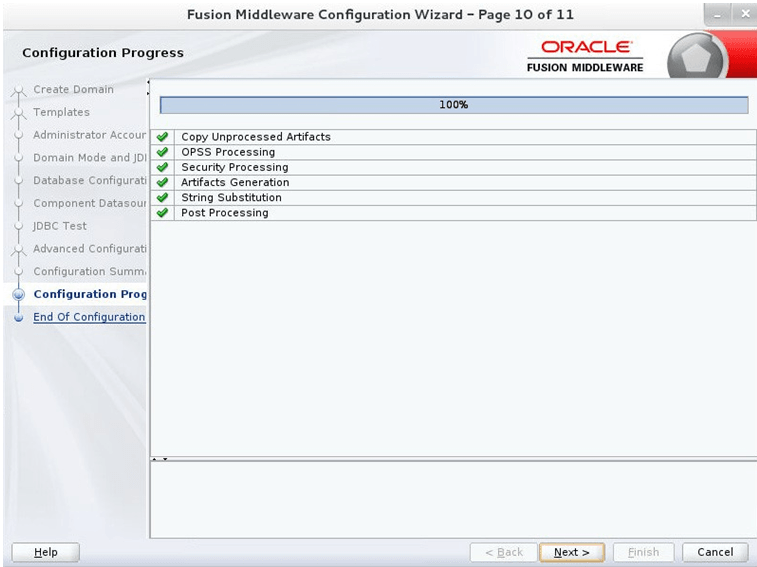
- Click ‘Finish’ to complete the configuration.
