1.2 Generate Notification Trigger
This topic provides the systematic instructions to generate new or modify the existing Notification Trigger.
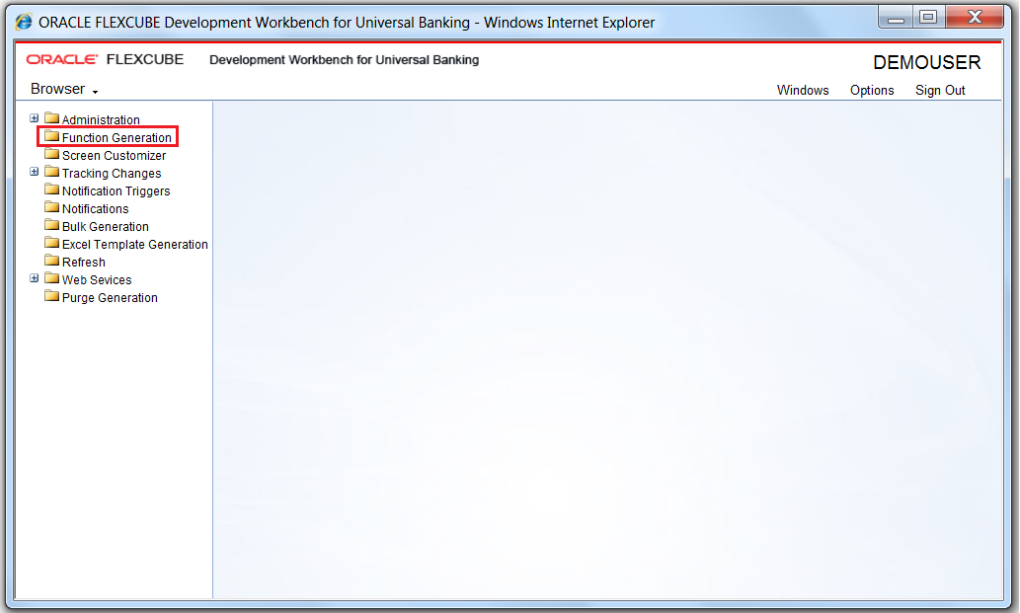
- Log in to the Development Workbench.The Development Workbench For Universal Banking screen displays.
Figure 1-2 Development Workbench For Universal Banking
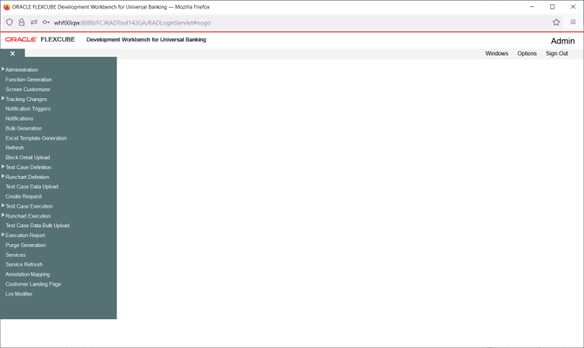
- Click the Notification Triggers option under the
Browser menu.The Notification Trigger screen displays.Notification Trigger has two options:
- Add a New Trigger
- Modify the Existing one
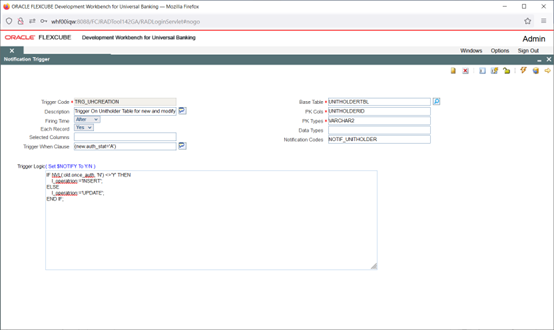
Figure 1-4 Notification Trigger
- Click the New icon to specify the details in the Notification Trigger screen and save the notification trigger to add a new Notification Trigger.
- On the Notification Trigger - New screen, specify the
fields.For more information on this, refer to the field description table.
Table 1-1 Notification Trigger - New
Field Description Trigger Code A unique value for a notification trigger. The naming conversion should start with TRG_XXXX. This is a mandatory field.
This attribute signifies the trigger code created as part of the trigger creation step in OTD. Each notification will be linked to a trigger code.
Description This is an information field. Specify a meaningful description of Trigger.
Firing Time Specify when the trigger needs to be fired. The user can create only Before and After triggers for tables.
INSTEAD OF triggers are only available for views; typically they are used to implement view updates. (After/Before).
Each Record Specify for each row required or not.
If For Each Row option is specified, the trigger is row-level; otherwise, the trigger is statement-level. (Yes/No)
Base Table The base table on which, the trigger is built. This is a mandatory field. Select a valid table from available LOV next to the field. Pk Cols Enter Primary key fields of table in tilde (~) separated format. This is a mandatory field. Pk Types Enter the Primary key type of the corresponding primary key field. This is a mandatory field. Selected Columns and Data Types Defunct Trigger When Clause A simple when clause for the notification trigger. A trigger restriction can be specified in the WHEN clause, enclosed by parentheses.
The trigger restriction is a SQL condition that must be satisfied for Oracle to fire the trigger. This condition cannot contain sub queries. Without the WHEN clause, the trigger is fired for each row.
Notification Codes If the trigger is associated with a specific notification code, then the particular notification code has to be provided in the field. If the trigger is shared across many Notifications, the field can be left empty. - Click the Generate button to generate the new
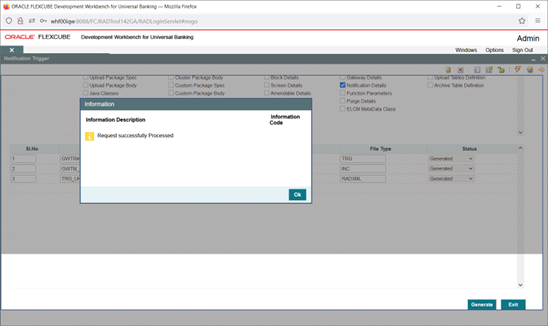
Notification Trigger.On successful save, Notification Trigger generates two files:
- gwtr#_<trg-code>.trg
- GWTM_NOTIFICATION_TRIGGERS__<trg-code>.INC
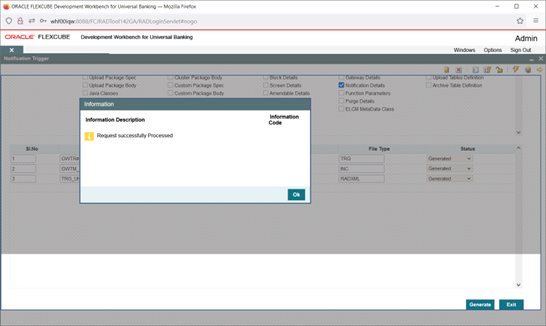
The Information window displays with confirming the message of successful generation of new Notification Trigger. - Click the Browse icon to modify the details in the
Notification Trigger screen.The Notification Trigger screen displays.
- On the Notification Trigger screen, specify the trigger
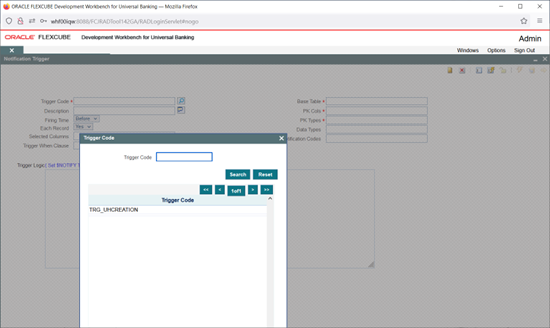
to be modified in the Trigger code field.The Trigger Code window displays.
- Specify the trigger to be modified in the Trigger code field and click the Search button.
- Select the Trigger Code from the list.The Notification Trigger screen displays with the selected Trigger code.
Figure 1-7 Notification trigger_Modification- Entering values
- Specify the new details to modify the existing one and save the Notification
Trigger.The Information window displays with confirming the message of successful modification of the Notification Trigger.
Figure 1-8 Notification trigger_Modification - Successful Generation
Parent topic: Notification – Getting started
