2.2 Change Host Schema Password

This topic explains the process of changing Host Schema password.

If you change the host schema password, you also need to change the passwords of the data sources pointing to the host schema.
You need to test whether the data source password change was successful. Follow the steps given below:
  1. Log in to Oracle WebLogic Server.
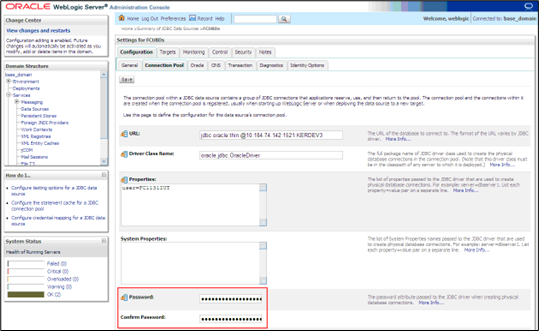
  2. On Home screen, navigate to Services and choose Data Sources from the list.
    You will notice a table that contains the list of all data sources created in the application server.
  3. Click the data source jdbc/fcjdevDS.
  4. Select Connection Pool tab.
  5. On the Summary of JDBC Data Sources screen, specify the following fields.
    Refer to the table for JDBC Data Sources.

    Table 2-1 JDBC Data Sources

    Field Description
    Password

    Specify the new password.

    Confirm Password

    Specify the new password again.

  6. Click Save.
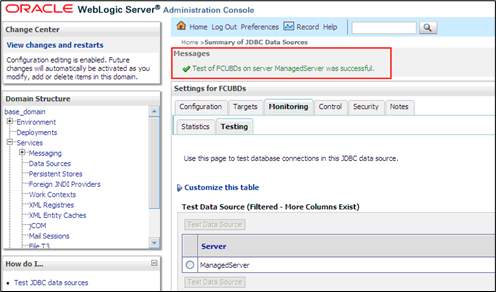
  7. Select Monitoring tab and choose Testing tab within to test database connections in this JDBC data source.
    The monitoring screen displays.
  8. Select the target server and click Test Data Source.
    The screen displays a message confirming successful testing.
  9. Restart the Application Server once you get the message.
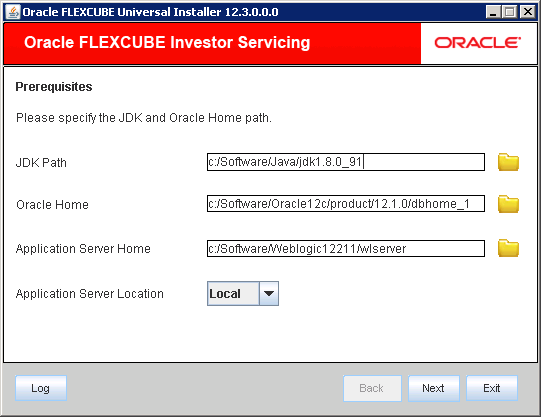
  10. Start Oracle FLEXCUBE Universal Installer.
    The Oracle FLEXCUBE Universal Installer is displayed.

    Figure 2-4 Oracle FLEXCUBE Universal Installer


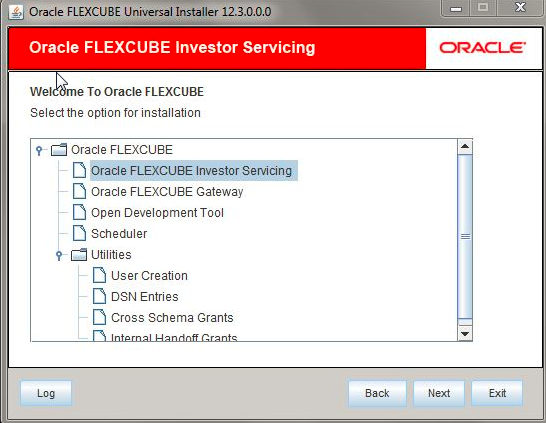
  11. Select Oracle FLEXCUBE Investor Servicing from the lists of Oracle FLEXCUBE options.
    The available options for installation are displayed.

    Figure 2-5 Option for Installation


  12. Launch a summary screen or execute a simple transaction to test.
    Try the above process in UAT or any other test environment before you change the password in a production environment.