1.1 Gateway EJB Application
This topic describes the steps to create the property file for the Gateway EJB Application.
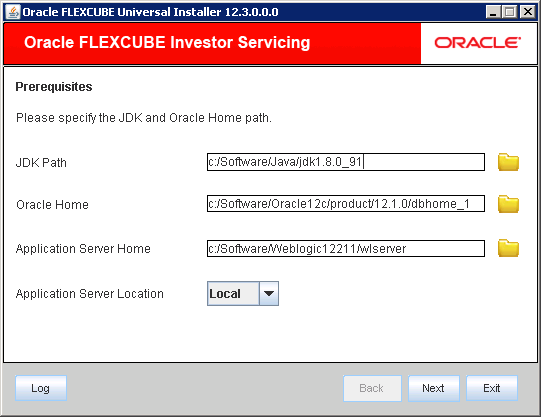
- Start Oracle FLEXCUBE Universal Installer.The Oracle FLEXCUBE Universal Installer is displayed.
Figure 1-1 Oracle FLEXCUBE Universal Installer
- On Oracle FLEXCUBE Universal Installer screen, enter the following details.Refer to the table for JDK and Oracle Home path.
Table 1-1 JDK and Oracle Home path
Field Description JDK Path Provide Home folder path of JDK1.8.
Oracle Home Provide home folder path of Oracle Client or Database.
Application Server Home Provide home folder path of Application Server.
Application Server Location Select location of the application server either local or remote.
- Click Next to select the option for installation.
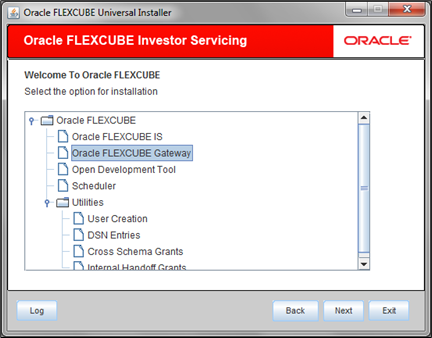
- Select Oracle FLEXCUBE Gateway from the lists of Oracle FLEXCUBE options.The available options for installation are displayed.
- Click Next to choose Oracle FLEXCUBE component for installation.
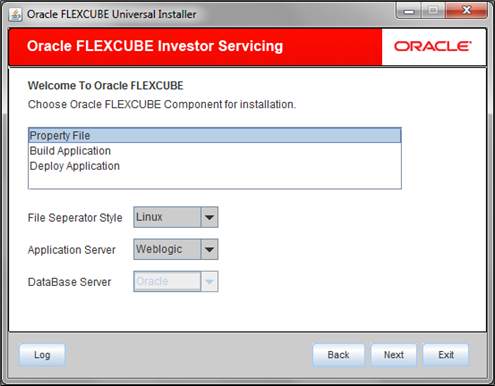
- Select Property File.
Figure 1-3 Oracle FLEXCUBE Component for Installation
- Specify the type of file separator (Eg: Linux or Windows). Choose the appropriate one from the drop-down list. You also need to specify the version of the selected operating system.
- Specify the application server in which you are creating the property file. Choose the appropriate one from the drop-down list.
- Click Next and select Gateway EJB from the Gateway Application Type.The screen displays the selected Gateway Application Type.
Figure 1-4 Gateway Application Type_Gateway EJB
- Click Next.The following screen is displayed.
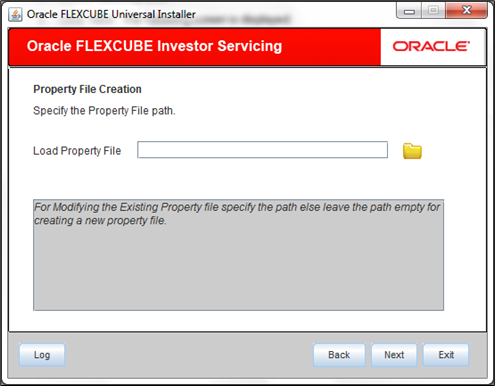
- On Property File Creation screen, Create a new property file. Specify the location of the property file manually in the Load Property File field when the existing file needs to be modified.
Note:
Ensure that the folder structures used in the following steps are created before proceeding. - Click Next. You are provided with an option to enable Single Sign On.The following screen is displayed.
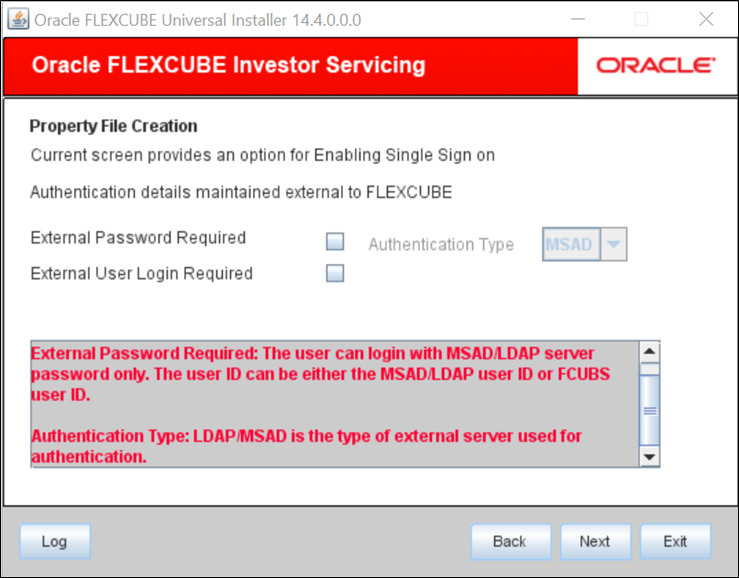
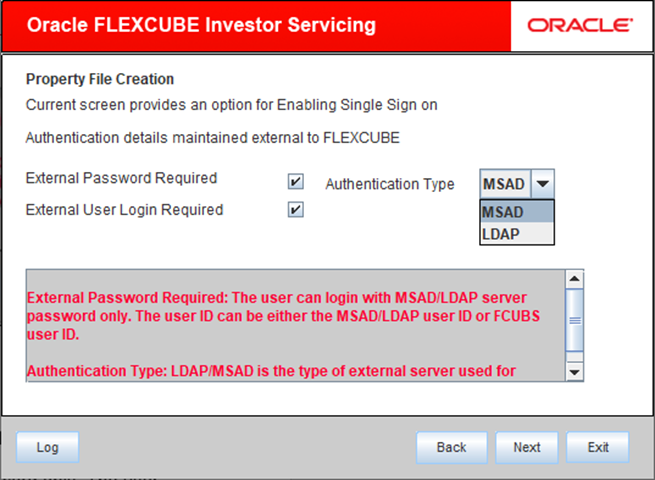
- On Single Sign On screen, select the External Password Required to allow the user login using MSAD/LDAP password irrespective of the user ID. This option is unchecked by default.If you check this box, the user ID can be either the MSAD/LDAP user ID or the FCIS user ID. And the password can be MSAD/LDAP server password only.
Figure 1-6 Authentication Details maintained external to FLEXCUBE
- Select the External User Login Required to enable user login using MSAD/LDAP user ID.If you check this box, the user can log in using MSAD/LDAP server user ID as well as FCIS user ID.
- Select the Authentication Type from the adjoining drop-down list. This is the type of external server that is used.The following options are available:
- Microsoft Active Directory (MSAD) The default option is MSAD. However, you can change it.
- Lightweight Directory Access Protocol (LDAP)
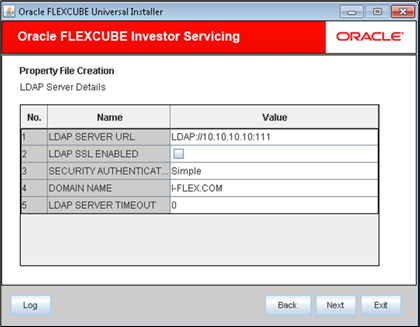
- Choose the Authentication Type as LDAP and click Next.The LDAP server details for Gateway is displayed.
- On LDAP Server Details screen, enter the following details.Refer to the table for LDAP Server details.
Table 1-2 LDAP Server details
Field Description LDAP Server URL Specify the URL to access the LDAP server where the external user Ids or passwords are maintained.
LDAP SSL Enabled Check this box if the LDAP server is SSL enabled.
Note: If you check this box, then you need to specify the SSL port in the field LDAP SERVER URL.
Security Authentication Type Depending on the authentication mechanism supported by the LDAP server, you need to select one of the following:- Simple
- Strong
Note: Different servers support different authentication mechanisms. By default, the security authentication type is Simple; however, you can change it.
Domain Name Specify the domain name.
LDAP Server Timeout Specify the LDAP server timeout in milliseconds.
Note:- By default, the LDAP server timeout is zero; however, you can change this.
- You must enter a positive integer value. For example, 1000, 10000, 5000, etc.,
- If the value specified is zero or less, it indicates that no read timeout is specified. Then, the wait for the response infinite until it is received.
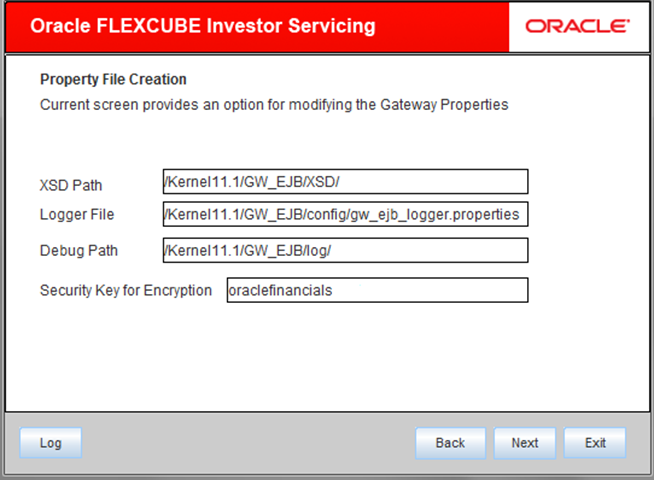
- Click Next. You are provided with an option to modify Gateway Properties.The following screen is displayed.
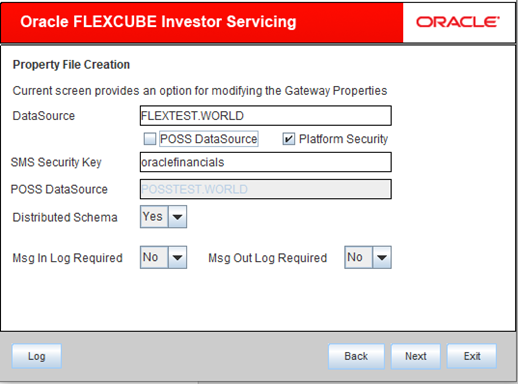
- On Gateway Properties screen, enter XSD Path and Security Key for Encryption details.Refer to the table for Gateway Properties.
Table 1-3 Gateway Properties
Field Description XSD Path Specify the path to the XSD file. File name is not required.
The file separator / must be available at the end. All the relevant XSD files must be manually copied to this location.
For Windows:
D:\GW_EJB\XSD\For Linux:
/GW_EJB/XSD/Logger File Specify the path of
gw_ejb_logger.propertiesfile with the file name. The file must be manually copied to the specified location.For Windows:
D:\GW_EJB\config\gw_ejb_logger.propertiesFor Linux:
/GW_EJB/config/gw_ejb_logger.propertiesDebug Path Specify the path to the folder where the application creates the logs.
The file separator / must be available at the end. You need to manually create the folder structure.
For Windows:
D:\GW_EJB\log\For Linux:
/GW_EJB/log/Security Key for Encryption Specify the security key for the Encryption, here in this case it is Oraclefinancialsolutions.
Note: The Installer creates two files
gw_ejb_logger.propertiesandGW_EJB_Prop.propetiesin the path provided to save the files. - On Gateway Properties screen, enter DataSource and message logging required details.Refer to the table for Gateway Properties.
Table 1-4 Gateway Properties
Field Description DataSource The JDBC data source is an object bound to JNDI tree and provides database connectivity through a pool of JDBC connections.
POSS Datasource Check this box if POSS is required. If you check this box, you need to specify the POSS Datasource Name in the field below.
Distributed Schema Select Distributed Schema as Yes. MSG IN LOG Required Select if message in logging is required as Yes or No.
MSG OUT LOG Required Select if message out logging is required as Yes or No.
- Select the Platform Security option and is available only for weblogic.
If Platform Security is checked for weblogic, the symmetric key is not stored in the property file for security reasons. If Platform Security is enabled during property file creation, then DB details should be the actual database in which the application to be deployed.
If Platform Security is not checked, the symmetric key is available in the property file and a warning message is displayed to the user.
Figure 1-11 Platform Security Disabled Information Message
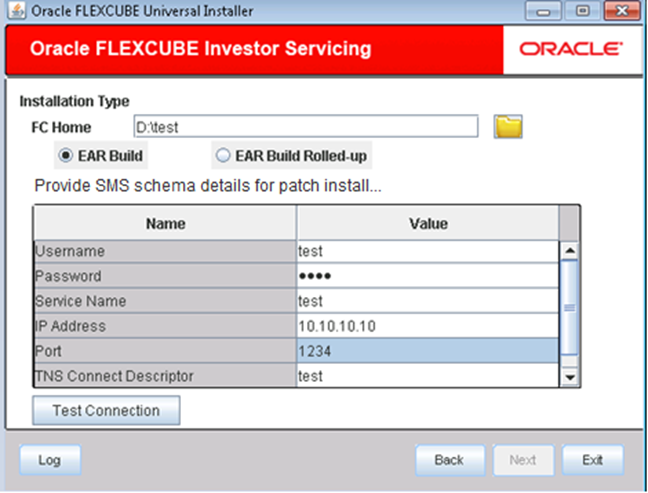
- Click Next.The following screen is displayed.
- Enter the source path in FC Home and provide the SMS schema details for patch installation.
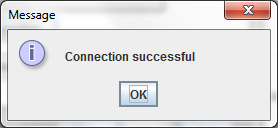
- Click Test Connection to test the connection with the Application server.On successful connection, the following message is displayed.
Figure 1-13 Information Message on Successful Connection
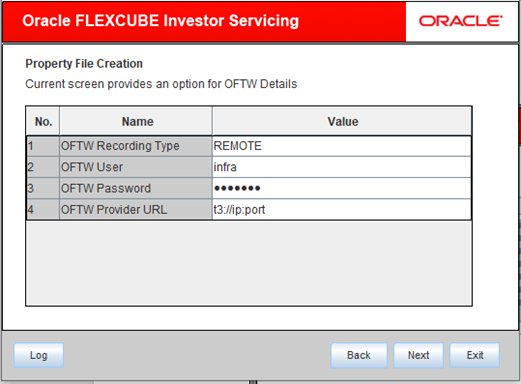
- Click Next.The following screen is displayed.
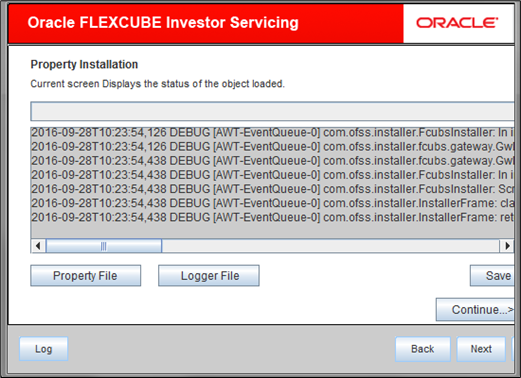
- On Property Installation screen, you can view the status of the object being loaded.The following screen is displayed.
- Click Property File to view the created property file.
- Click Save to save the created property file in the desired location.The property file will be created in a temporary folder.
- Click Continue to continue the installation process with gateway application type.
Parent topic: Create Property File for Gateway Applications
