2 Compile Object
This topic describes the steps to compile objects from Shipment Media.
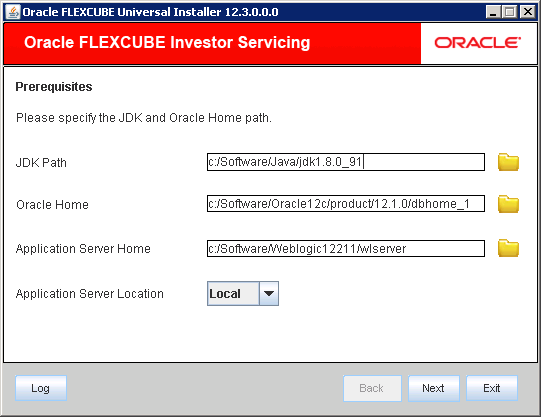
- Start Oracle FLEXCUBE Universal Installer.The Oracle FLEXCUBE Universal Installer is displayed.
Figure 2-1 Oracle FLEXCUBE Universal Installer
- On Oracle FLEXCUBE Universal Installer screen, enter the following details.Refer to the table for JDK and Oracle Home path.
Table 2-1 JDK and Oracle Home path
Field Description JDK Path Provide Home folder path of JDK1.8.
Oracle Home Provide home folder path of Oracle Client or Database.
Application Server Home Provide home folder path of Application Server.
Application Server Location Select location of the application server either local or remote.
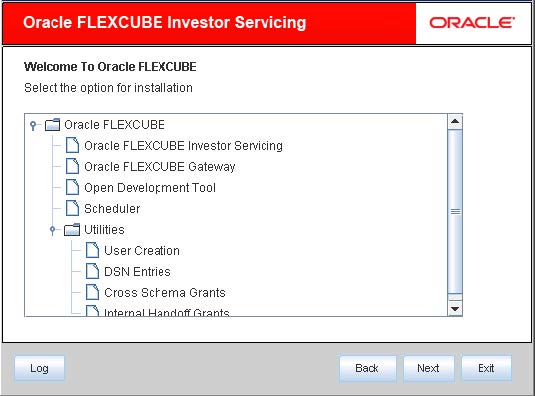
- Click Next to select the option for installation.
- Select Oracle FLEXCUBE Investor Servicing from the lists of Oracle FLEXCUBE options.The available options for installation are displayed.
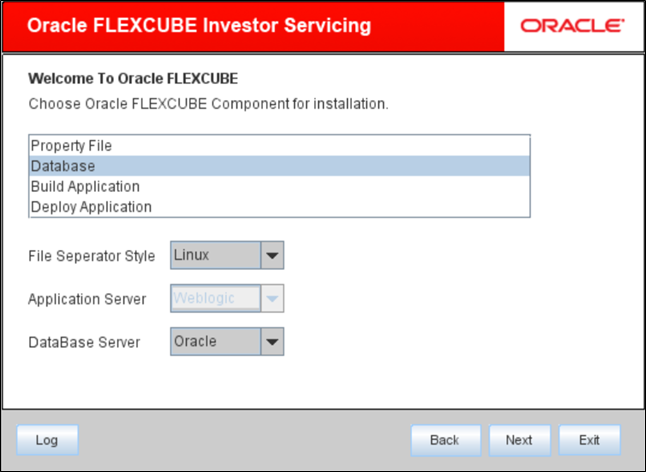
- Click Next to choose Oracle FLEXCUBE component for installation.
- Select Database.
- Select the appropriate file separator style.Example: Linux or Windows.
- Specify the application server on which you are installing Oracle FLEXCUBE.
- Specify the database server on which you are installing Oracle FLEXCUBE.
- Choose the FCIS Schema Type and click Next.The schema types for Oracle FLEXCUBE Investor Servicing are given below.
- SMS
- SP
- LOB
- PENSION
- REPORTS
- You need to get EXECUTE permissions for the procedures of all the schema types.
- DBMS_CRYPTO
- UTL_MAIL
- CTX_DDL
- UTL_RAW
- CTXSYS
- DBMS_RLS
- UTL_RECOMP
- DBMS_MONITOR
- DBMS_LOCK
- DBMS_AQ
- DBMS_REDACT
- You need to get the SELECT permissions for the Tables of all the schema types.
- GV_$INSTANCE
- REDACTION_POLICIES
- REDACTION_COLUMNS
- Select the Schema Type which needs to be deployed and click Next.The following screen is displayed.
- Enter the details in the FC Home, which is the location where FCIS sources copied from shipment media.The following screen is displayed.
- Select the appropriate Installation Type option.The options available are:
- New Installation
- Patch
- Rolled-up Patch
- Provide schema details for validation in case of Patch and Rolled-up Patch installation.For New Installation, schema details are not enabled.
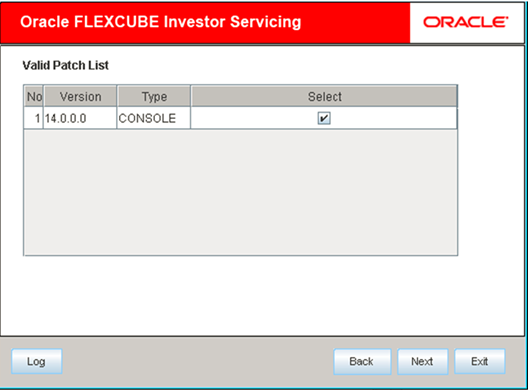
- Choose the required set of Main and Patch releases.The valid list of deployable units are displayed based on the FCHOME chosen.
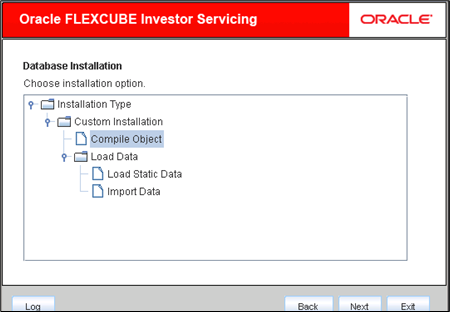
- Choose installation option from the Installation Type.The Oracle FLEXCUBE Universal Installer supports Custom Installation of Oracle FLEXCUBE in two methods.
- Compile objects.
- Load data.
- Select Compile Object under Custom Installation and click Next.The following screen is displayed.
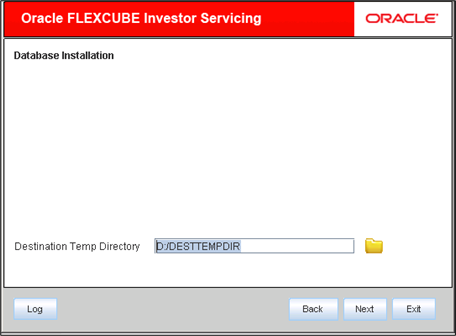
- Provide directory path as required in the Destination Directory and click Next.This directory will be used as a staging directory to copy required files for compilation.
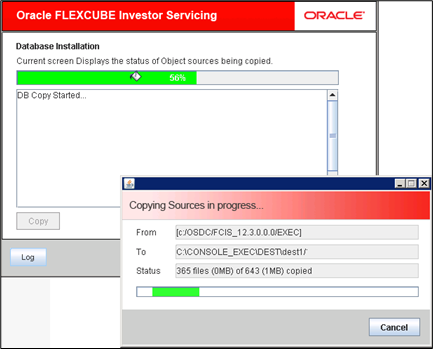
- Click Copy to start database objects source copy.The Installer will copy the source files from the source directory to the destination directory. The files are taken from this location for compilation.
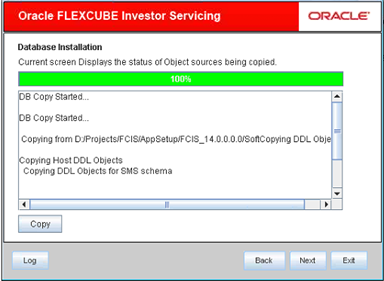
- Check the status of all the files being copied and complete the copy process.The following screen is displayed.
Figure 2-10 Status of Object sources being copied
- Click Next and provide schema details.
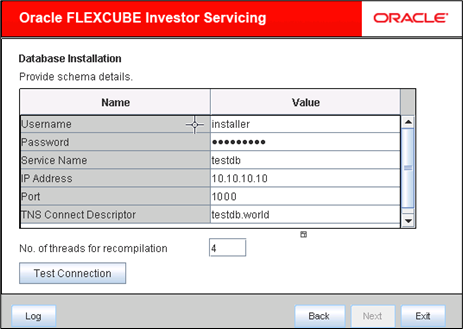
- Specify schema details.Refer to the table for Schema details.
Table 2-2 Schema details
Field Description User Name Specify the user name to access the schema.
Password Enter the schema password.
Service Name Provide service name of Database.
TNS Connect Descriptor Specify a valid connect string that contains the details for database connectivity.
IP Address Specify the IP address of the system where the database schema is installed.
Port Specify the port number.
No. of threads for recompilation Specify the number of threads that would be used to compile the objects. The value is defaulted to 4, if no value is given.
- Click Test Connection to test the connection with the Application server.
If there is an error in establishing the connection, the system displays the message Invalid DB Credentials.
If the TNS entry is not proper, the installer displays the message TNS entries are not proper.
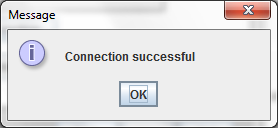
If the connection is established, the installer displays the message Connection Successful.Figure 2-12 Information Message on Successful Connection
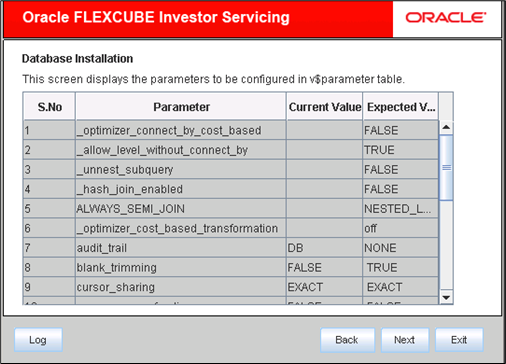
- Click Next after testing the connection successfully.This screen displays the parameter details of the database. This is for information purpose and you cannot modify the parameters from this screen.
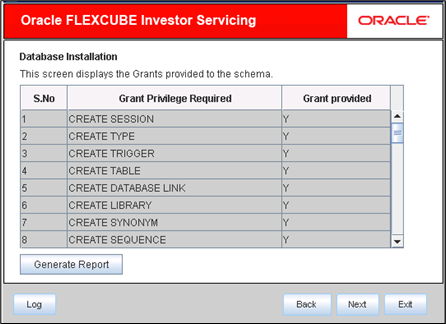
- Click Next.If object compilation is required and the privilege is not given, then you can find that out from this screen.The screen displays the grants provided to the schema. This is for information purpose only.
- Click Generate Report to grant privilege to an item in the schema. The installer creates a SQL file grantScript.sql containing the script for granting the privileges in the Logs folder.
- You can use this file to get the access.Only system user can execute the file grantScripts.sql for granting privileges.
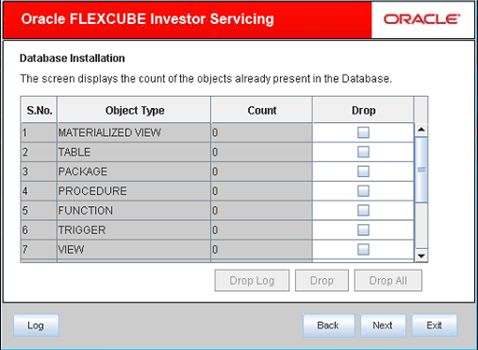
- You can view the count of the objects already present in the Database.The screen displays the count of the objects.
Figure 2-15 Count of the Objects in the Database
- On objects count screen, select the objects and click Drop to drop the selected objects. As you drop the objects, the count in this screen is updated. Click Drop All to drop all the objects at once.
- Click Drop Log to view the drop log.The details of the drop process are logged in a file Drop_All.log in the destination directory under the folder DBLogs.
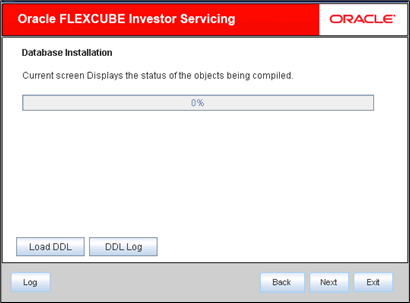
- Click Next after the count of objects being updated.The screen displays the status of the objects being compiled.
Figure 2-16 Status of DDL object being compiled
- Click Load DDL to compile the table, sequences and type objects.
- Click DDL Log button to view the DDL logs.You can rectify the missing DDL objects and recompile them either manually or by redoing the DDL compilation using Installer.The log file LoadDDL.log will be available in the destination directory under the folder DBLogs.
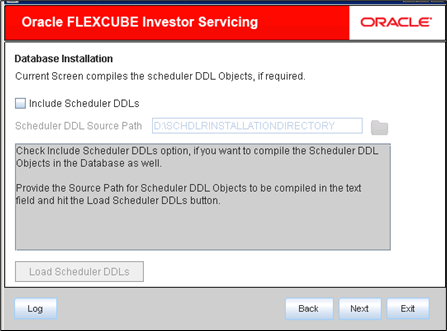
- For SMS setup, specify the following details.For other schema setup, these details will be skipped.
Table 2-3 Scheduler DDL objects compilation
Field Description Include Scheduler DDLs Check this box to include scheduler DDLs.
If you do not need to include the scheduler DDLs, leave this field unchecked.
Scheduler DDL Source Path Specify the location of the tables_oracle.sql folder, which is available in the extracted quartz.jar.
Note: Quartz is an open source job scheduling service. You can use Quartz to create schedules for executing jobs whose tasks are defined as standard Java components. You first need to download the file quartz.jar and extract it to the local machine.
In the extracted folder, find the location of the folder dbTables and enter that path in the field Scheduler DDL Source Path.
Refer the Release document for version and download url for quartz.
The following screen is displayed. - Click Load Scheduler DDLs to compile the files and click Next.
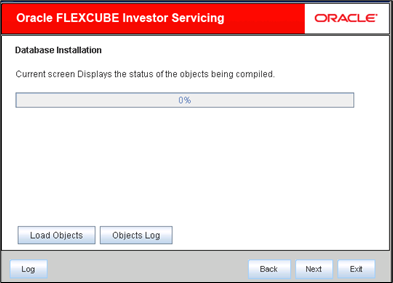
- Click Load Objects button.
Note:
You can rectify the missing objects and recompile them either manually or by redoing the Application object compilation using Installer.The installer loads the functions, procedures, views, triggers and packages as per your selection and compiles them. The installer loads the DDL and application objects based on the schema type selected.Figure 2-18 Status of Object sources being compiled
- Click Objects Log button to view the log.The log file LoadAppObj.log will be available in the destination directory under the folder DBLogs.
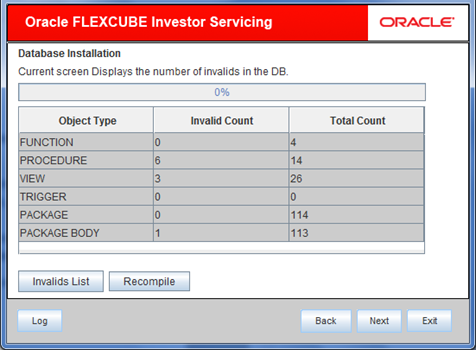
- Click Next to view the list of invalid objects in the DB.The following screen is displayed.
- Click Invalid List button to view the count of invalid objects.The installer creates the file InvalidList.txt in the destination directory under the folder DBLogs.
- You can use Recompile button to do a cyclic recompilation. This will reduce the invalid objects count.The Installer allows you to use Recompile button multiple times, in order to reduce the invalid objects count.
- In case if the invalids still exist, use the recompile option after running the Cross Schema Scripts Utility.Refer the topic Cross Schema Scripts for running the Cross Schema Scripts Utility.
