3 Load Static Data
This topic explains the steps to load static data into the database and the basic setup to be done.
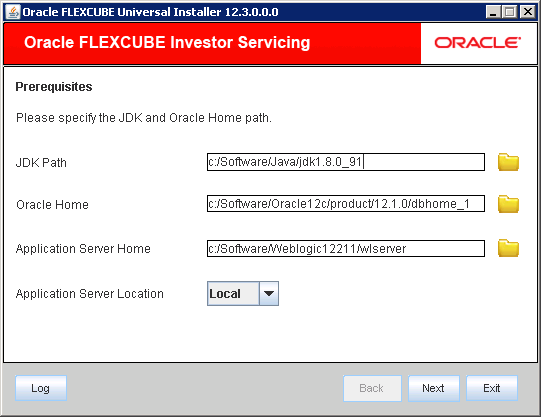
- Start Oracle FLEXCUBE Universal Installer.The Oracle FLEXCUBE Universal Installer is displayed.
Figure 3-1 Oracle FLEXCUBE Universal Installer
- On Oracle FLEXCUBE Universal Installer screen, enter the following details.Refer to the table for JDK and Oracle Home path.
Table 3-1 JDK and Oracle Home path
Field Description JDK Path Provide Home folder path of JDK1.8.
Oracle Home Provide home folder path of Oracle Client or Database.
Application Server Home Provide home folder path of Application Server.
Application Server Location Select location of the application server either local or remote.
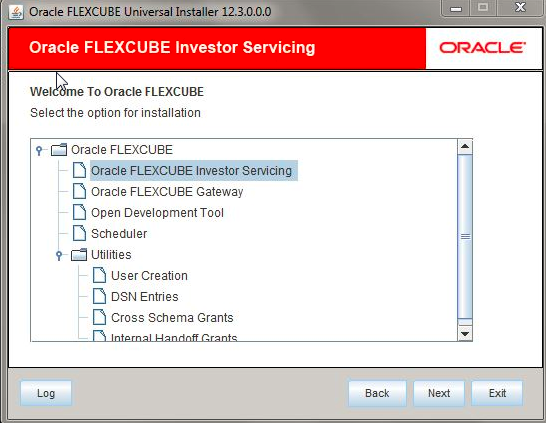
- Click Next to select the option for installation.
- Select Oracle FLEXCUBE Investor Servicing from the lists of Oracle FLEXCUBE options.The available options for installation are displayed.
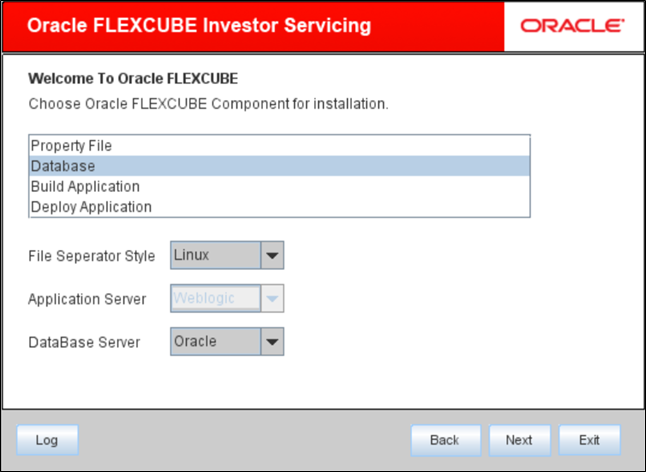
- Click Next to choose Oracle FLEXCUBE component for installation.
- Choose Database.
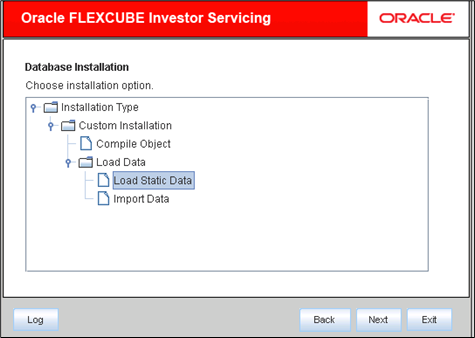
- Choose installation option from the Installation Type.The Oracle FLEXCUBE Universal Installer supports Custom Installation of Oracle FLEXCUBE in two methods.
- Compile objects.
- Load data.
- Select Load Static Data under Custom Installation and click Next.The following screen is displayed.
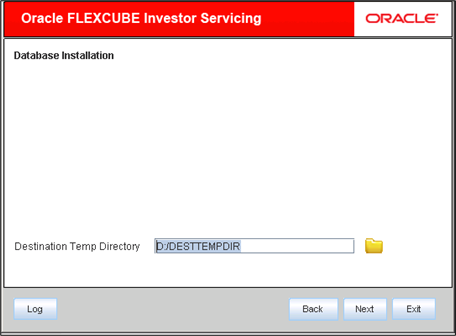
Figure 3-4 Custom Installation_Load Data_Load Static Data
- Provide directory path as required in the Destination Directory and click Next.The following screen is displayed.
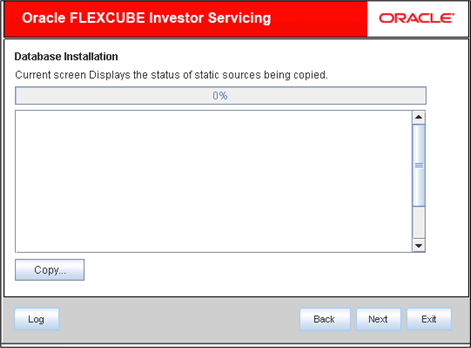
- Click Copy to start database objects source copy.The Installer will copy the source files from the source directory to the destination directory. The files are taken from this location for compilation.
- Check the status of all the files being copied and complete the copy process.The following screen is displayed.
Figure 3-6 Status of static sources being copied
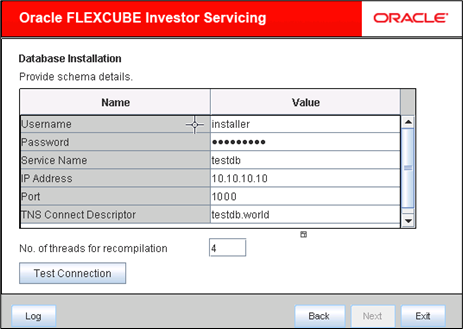
- Click Next and provide schema details.
- Specify schema details.Refer to the table for Schema details.
Table 3-2 Schema details
Field Description User Name Specify the user name to access the schema.
Password Enter the schema password.
Service Name Provide service name of Database.
TNS Connect Descriptor Specify a valid connect string that contains the details for database connectivity.
IP Address Specify the IP address of the system where the database schema is installed.
Port Specify the port number.
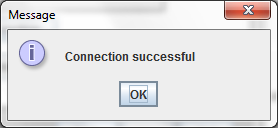
- Click Test Connection to test the connection with the Application server.If the connection is established, the installer displays the message Connection Successful.
Figure 3-8 Information Message on Successful Connection
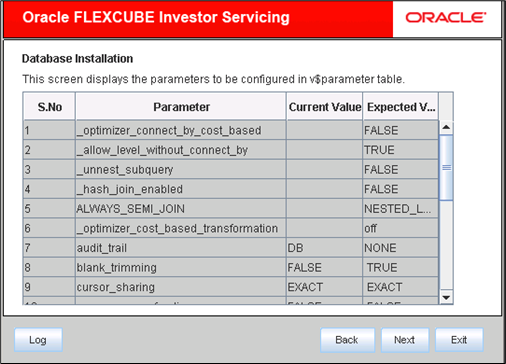
- Click Next after testing the connection successfully.This screen displays the parameter details of the database. This is for information purpose and you cannot modify the parameters from this screen.
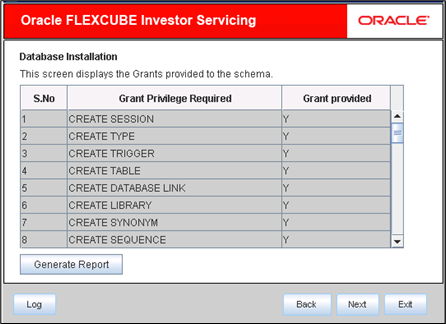
- Click Next.If object compilation is required and the privilege is not given, then you can find that out from this screen.The screen displays the grants provided to the schema. This is for information purpose only.
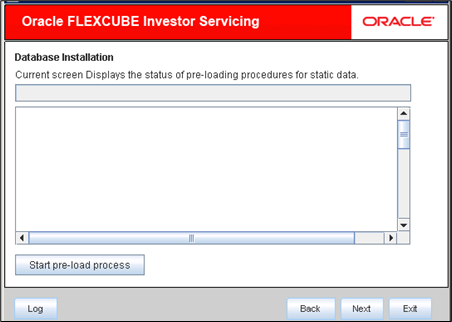
- You can view the status of pre-loading procedures for static data.
- Click Start Pre-Load Process.The installer executes the procedures required before beginning static data compilation. All the triggers will be disabled during this process.
- Click Log button.The installer executes the process log.
- Click Next once the process is completed.The following screen is displayed.
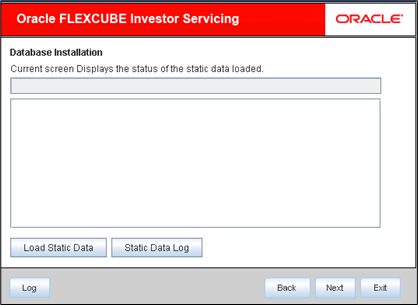
- Click Load Static Data to load the static data to schema.
- Click Static Data Log to view the static data log.
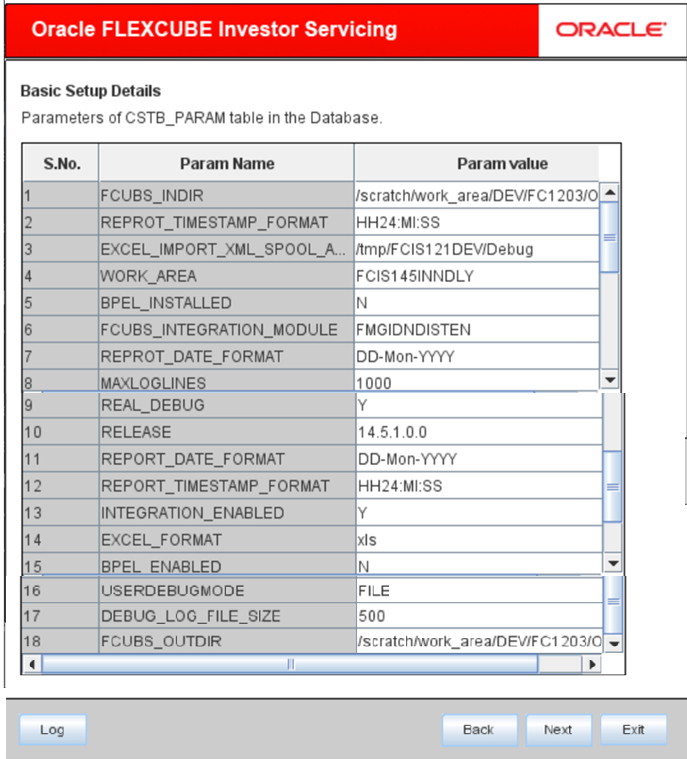
- Click Next once the static data is loaded.You can do the basic maintenances for the table CSTB_PARAM. The above screen appears only when doing the db setup for a console source but not for a patch source(s).The following screen is displayed.
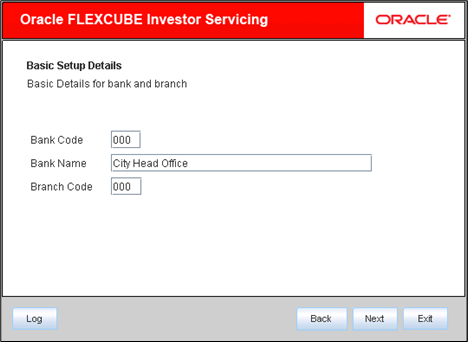
- Click Next once the basic setup details are done.You can do the basic maintenances for the tables STTM_BANK and STTM_BRANCH.The following screen is displayed.
Figure 3-14 STTM_BANK and STTM_BRANCH Table
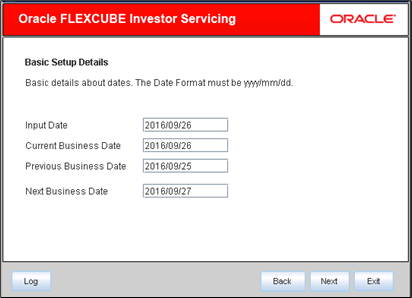
- Click Next to do the basic maintenance for the table STTM_DATES.The following screen is displayed.
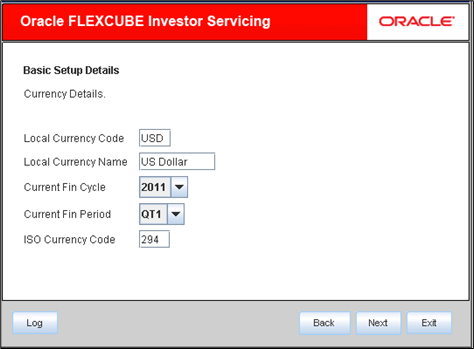
- Click Next to do the basic maintenances for the table CYTM_CCY_DEFN.The following screen is displayed.
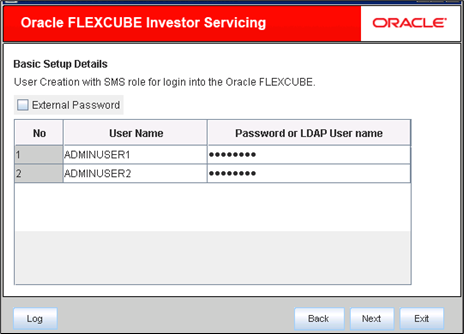
- Click Next for user creation with SMS role to log in to Oracle FLEXCUBE.
- On User Creation screen, you can do the basic maintenances for the table SMTB_USER and SMTB_USER_ROLE.
Figure 3-17 SMTB_USER and SMTB_USER_ROLE Table
- Specify the Password.You can use Uppercase, Lowercase, and Numerals in the password whereas you cannot use
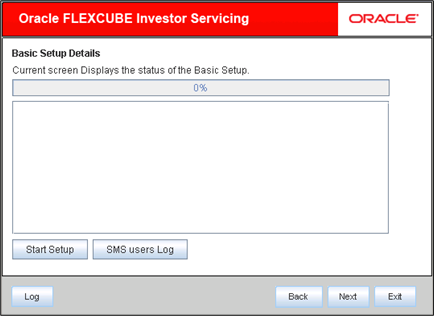
_(underscore)in the password. - Click Next to view the status of the basic setup.The following screen is displayed.
- Click Start Setup button to compile the entries.This completes the static maintenance and basic setup process. The STTM_HOST_DSN entry is to be done with the DSN Name as FCJSMS000DS for SMS and the same is to be used during datasource creation in weblogic.
