1.2 REST WebServices Full Deployment
This topic provides the systematic instructions to deploy REST WebServices into weblogic server in full deployment mode.
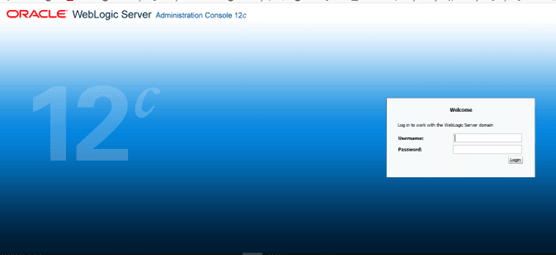
- Start WebLogic console.The following screen is displayed.
- On WebLogic Console screen, enter the following details
to log in WebLogic server.Refer to the table for WebLogic Console details.
Table 1-2 WebLogic Console
Field Description Username Enter WebLogic user name.
Password Enter password for WebLogic.
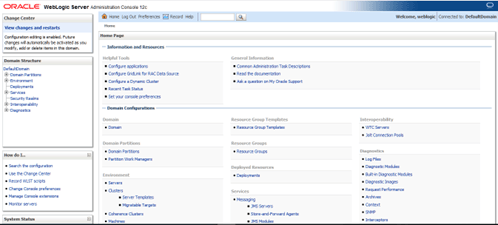
- Click Login.The following screen is displayed.
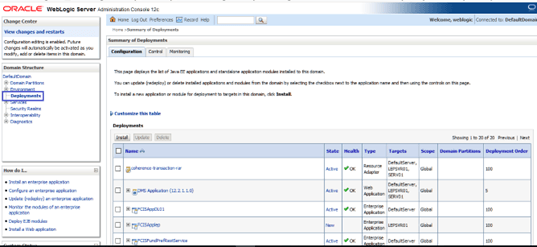
- Select Deployments from Domain
Structure.The following screen is displayed.
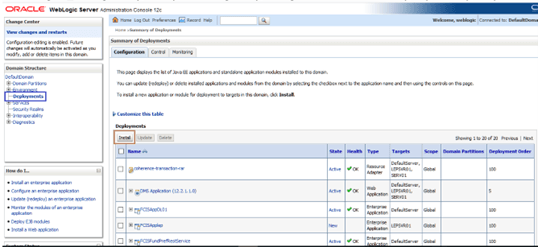
- Click Install from the
Deployments to install a new module or
application.The following screen is displayed.
- You can click Update or Delete to update or delete the installed applications by selecting the checkbox nect to the application name.
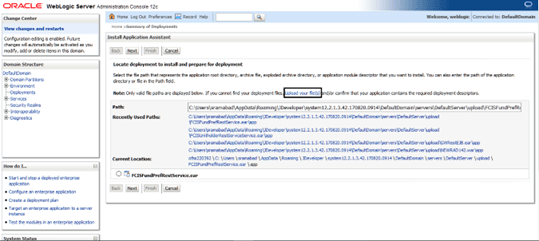
- Enter the complete path of the EAR.
Note:
Only valid file paths are displayed below. - Choose the option Upload your files, if deployment files
could not be found in the path.
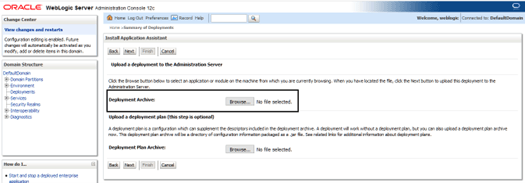
- Click Next to upload a deployment.The following screen is displayed.
Figure 1-20 Upload a deployment to the Administration Server_No File Selected
- Click Browse button to select an application or module.
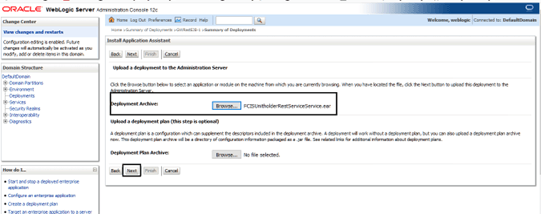
When you have located the file, click Next to upload this
deployment to the Administration Server.On successful deployment, the following screen is displayed.
Figure 1-21 Upload a deployment to the Administration Server_File uploaded
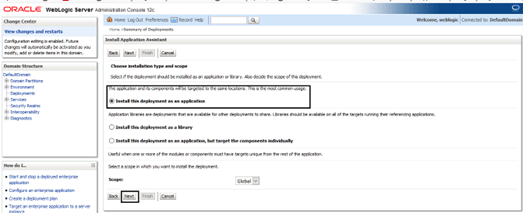
- Choose installation type and scope. Select if the deployment should be
installed as an application or library.The options available are:
- Install this deployment as an application
- Install this deployment as a library
- Install this deployment as an application, but target the components individually
- Select a Scope in which you want to install the
deployment.
- Click Next to select deployment targets.
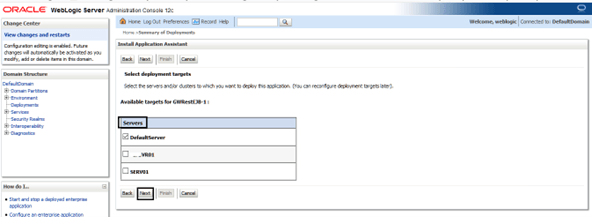
- Select the appropriate server where you want to deploy the EAR.The following screen is displayed.
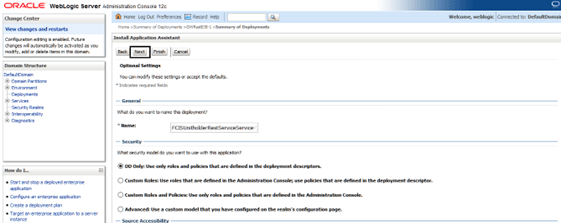
- Click Next to modify or accept the default details such
as Name, Security, and Source Accessibility.
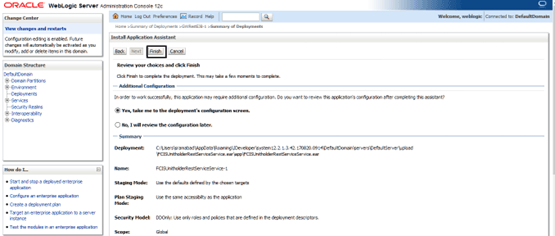
- Click Finish to complete the deployment.The following screen is displayed.
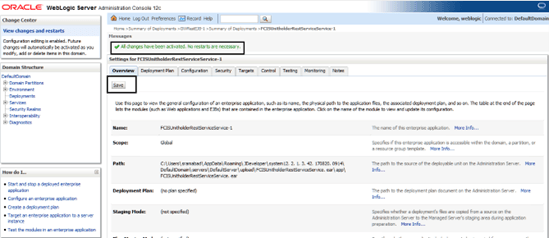
- Click Save.On successful updation, below message is displayed All changes have been activated. No restarts are necessary.The following screen is displayed.
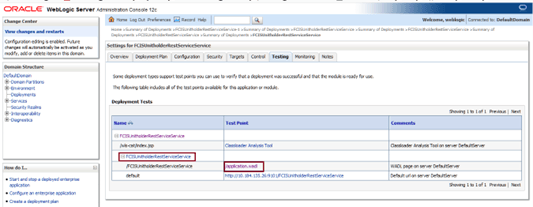
- Click Testing tab to get wadl link.
- Select the servicename and click
/application.wadlin the deployment tests table.Some deployment types support test points, that can be used to verify that a deployment was successful and that the module is ready for use.
Parent topic: REST Services Deployment in WebLogic
