- Retail Onboarding User Guide
- Retail Onboarding
- Onboarding Enrichment
- Onboarding Enrichment - Basic Information
1.3.1 Onboarding Enrichment - Basic Information
This topic describes about the personal information captured in the Initiation stage, the relationship managers can add important dates, supporting documents, and photos of the customer in the Basic Info screen.
Note:
The fields, which are marked with an asterisk, are mandatory.- Click Acquire and Edit in the Free
Tasks screen for the application for which Onboarding
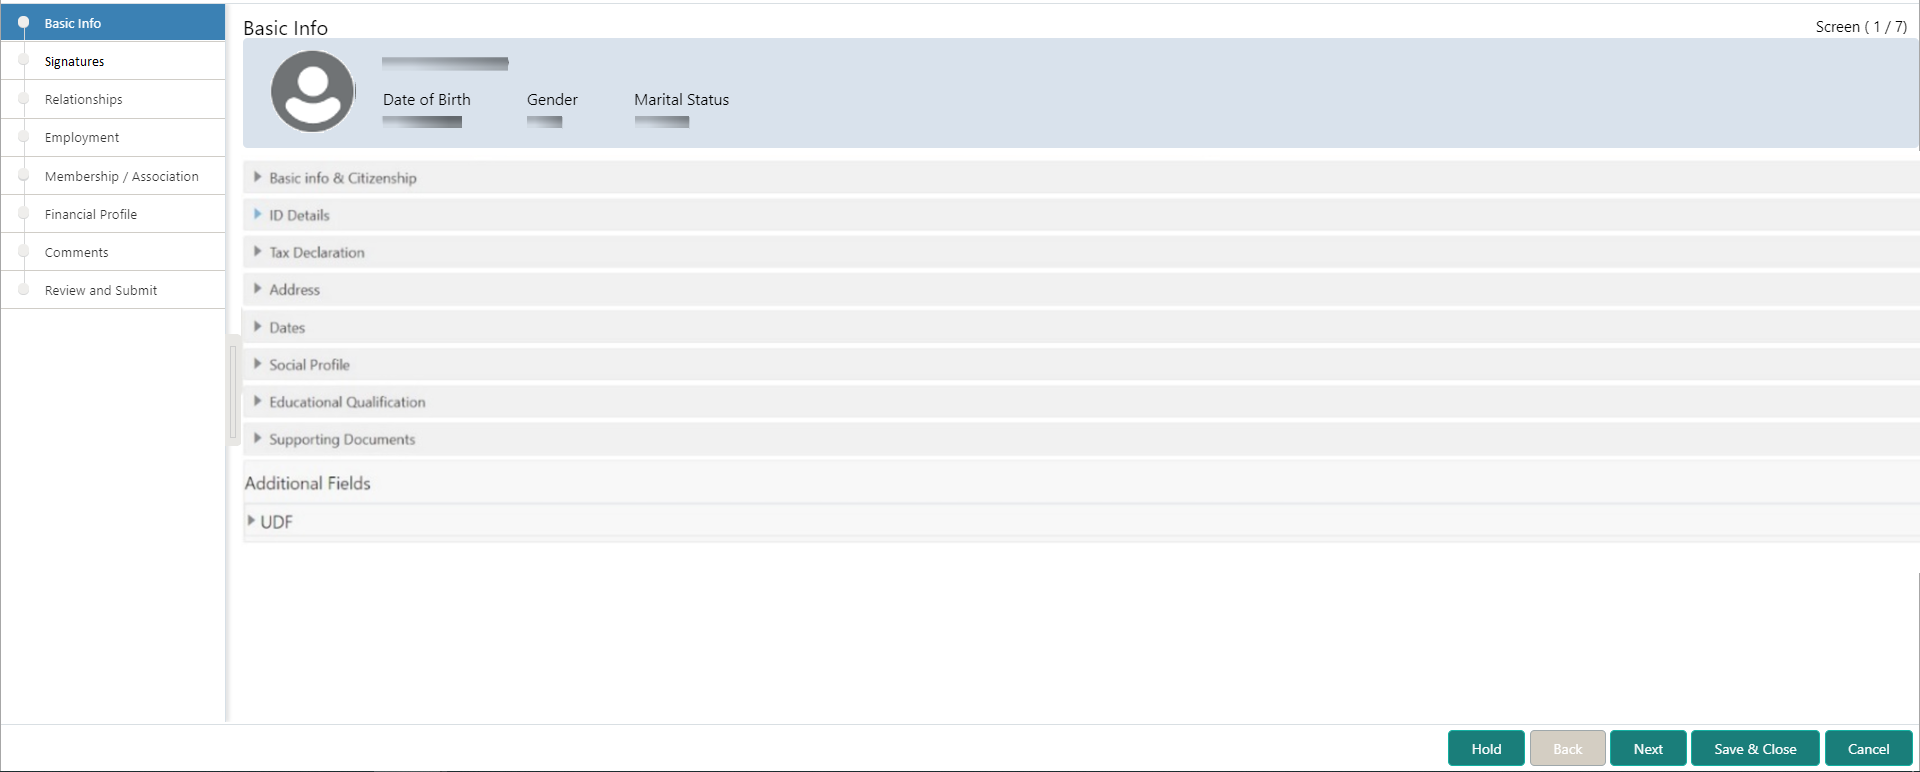
Enrichment stage has to be acted upon.The Onboarding Enrichment - Basic Info screen displays.The following details that are captured in the Initiation stage will be populated in this screen:
- Basic info and Citizenship
- ID Details
- Tax Declaration
- Address
- Dates
- Supporting Documents
- Social Profile
- Educational Qualification
- Additional Fields
Note:
For information on Basic info and Citizenship, Family details, Address, ID Details, Tax Declaration, Educational Qualification and Social profile section, refer to the Onboarding Initiation sub-section.As apart of basic information, the system checks the duplicate customers. Refer Duplicate section.
- On the Basic Info screen, click on the
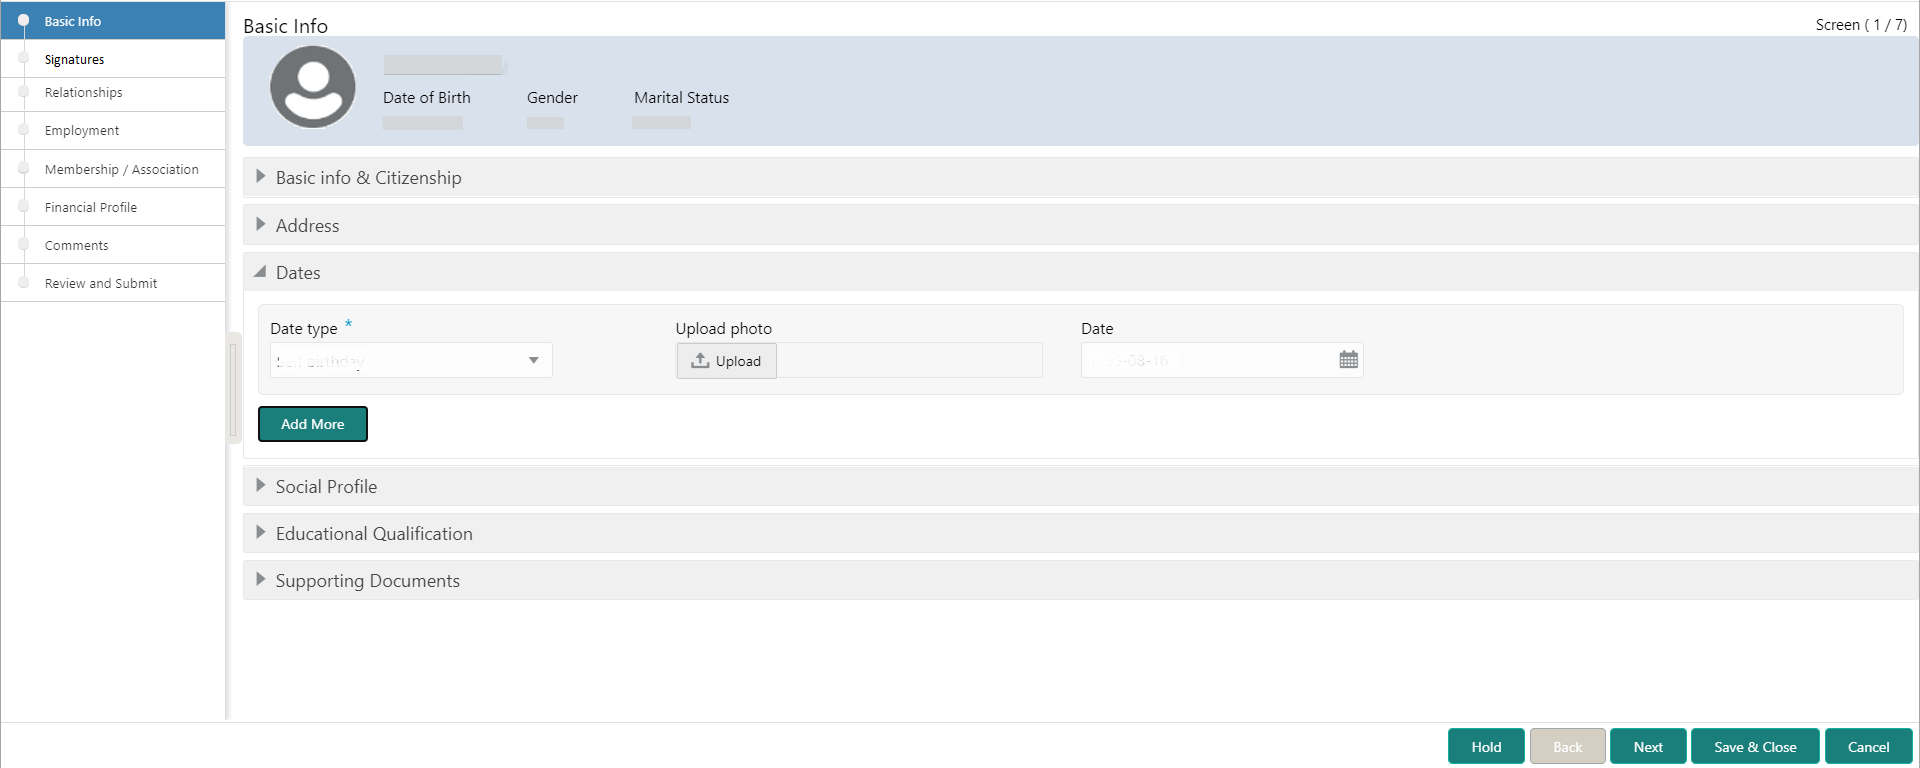
Dates segment to add important dates of the
customer.The Dates screen displays.
Figure 1-40 Enrichment – Basic Info – Dates
- Specify the details on the Dates screen.For more information on fields, refer to the field description table.
Table 1-32 Dates - Field Description
Field Description Date Type Select the date type from the drop-down list. Upload Photo Click Upload and select the photo to be uploaded. Date Click the calendar icon, and select the date. Add More Click Add More to display the fields related to important dates. - Click and expand the Supporting documents section to add
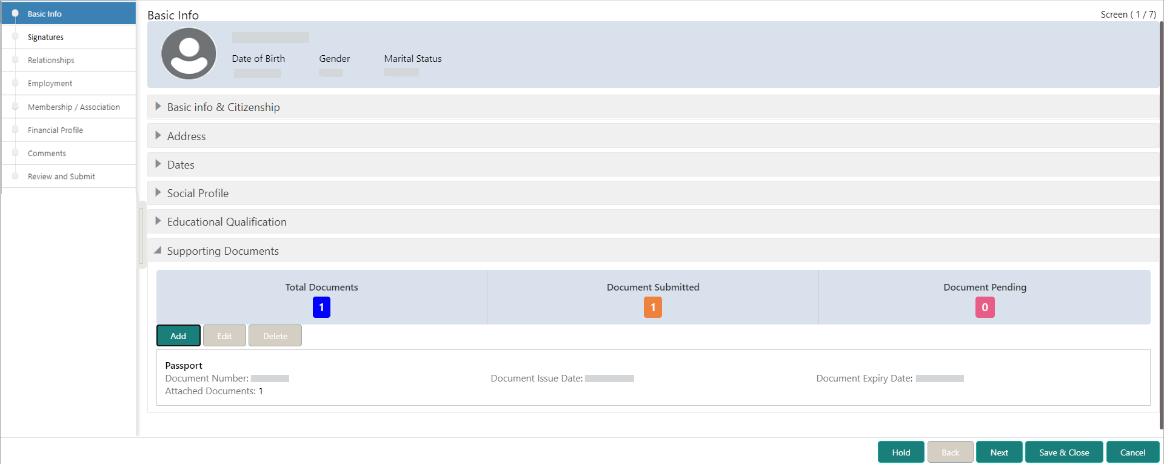
the supporting documents.The Supporting Documents screen displays.
Figure 1-41 Enrichment – Basic Info – Documents
- Click Add in the Supporting
documents section.The Add Document screen display
- On the Add Document screen, specify the details.For more information on fields, refer to the field description table.
Table 1-33 Add Document - Field Description
Field Description Document Name Select the document name from the drop-down list. Document Number Specify the document number. Document Issue Date Click the calendar icon, and select the issue date of the document. Document Expiry Date Click the calendar icon, and select the expiry date of the document. Upload Documents Click
 icon and select the document to be uploaded or
drag and drop the documents.
Uploaded Documents Displays the uploaded documents. - Click Save to save the details.The document details are added and listed in the Supporting Documents segment.
Note:
You can also select the required item from the list and click Edit/Delete to modify/delete the added document details. - Click Next to move to the Onboarding Enrichment - Relationships screen.
Parent topic: Onboarding Enrichment


